For many companies, Amazon S3 is the go-to object storage service to store images for their website. It’s a flexible and easy-to-use storage mechanism with pay-per-use pricing and no monthly fees.
Yet, users are often unaware that S3 falls short in delivering rich image experiences. Your website users may see poorly cropped images and experience slow page load times, or your developers may spend significant time manually duplicating and adjusting image sizes. S3 doesn’t offer an out-of-the-box solution to serve different images for a variety of screen sizes or deliver fast image load times with a CDN.
That’s where imgix comes in. Using imgix, you can transform your S3 bucket into a dynamic image server. imgix will enable you to deliver the best image experience to your website visitors without increasing the maintenance demands on your team. This article walks you through how to leverage imgix to maximize the value of your S3 bucket for image storage. Let’s dive in.
Benefits of using the imgix dynamic image server vs. using just an S3 bucket
- Your images don’t have to be public. When you use imgix, you can choose to make your images only accessible via imgix. This means that the contents of your S3 bucket can remain private and protected, and only your imgix image URLs will be publicly accessible.
- Every image that your users access using an imgix URL gets cached in the imgix CDN. Often when your customer fetches an image, it will be served directly from the imgix CDN; S3 won’t see the request. imgix’s additional caching provides two benefits: lower S3 data transfer costs (because fewer clients are downloading images directly from S3), and faster image download speeds when customers access your website.
- imgix will take care of scaling your images on demand. As a result, you no longer need to generate every imaginable size for all images on your website. You can simply store a single high-resolution copy of each image in your S3 bucket. Naturally, storing just one image size also saves on S3 storage costs.
- imgix libraries help ensure the images displayed on your website are optimized for the user's experience. These libraries allow you to serve an image of the correct size to the devices your customers use to access your web applications.
- imgix provides out-of-the-box metrics to monitor image distribution. For example, you can observe the bandwidth used by your images, the number of images served, and the health of the image server.
Setting up a dynamic image server with imgix
Many of our customers use S3 to store their images, so we wanted to make it very simple to use our service with S3. Most importantly, our solution does not require you to move your images out of your existing S3 bucket—which means no unnecessary migration work for you and your team.
To get started with the image server setup, you’ll need the following:
- A free account with imgix. You can sign up on the imgix website.
- An S3 bucket where you store one or more images. You can use an existing bucket or create a new one just for this tutorial.
- Access to your AWS Management Console—you’ll need to generate a new set of API keys for imgix to use when accessing your S3 bucket.
Once you have these things ready, you can begin setting up the image server.
Creating read-only S3 credentials for imgix
For imgix to fetch your images from S3, we need an AWS API token that has permission to access your images bucket. Follow our guide on configuring AWS credentials to create a new AWS IAM account, assign the right permissions, and export the Access Key ID and Secret Access Key.
Creating a new imgix Source
Once you’ve signed up for a free imgix account and configured an AWS account that our service can use, create a new image Source that points to your S3 bucket. On the imgix Dashboard, navigate to the Sources tab:
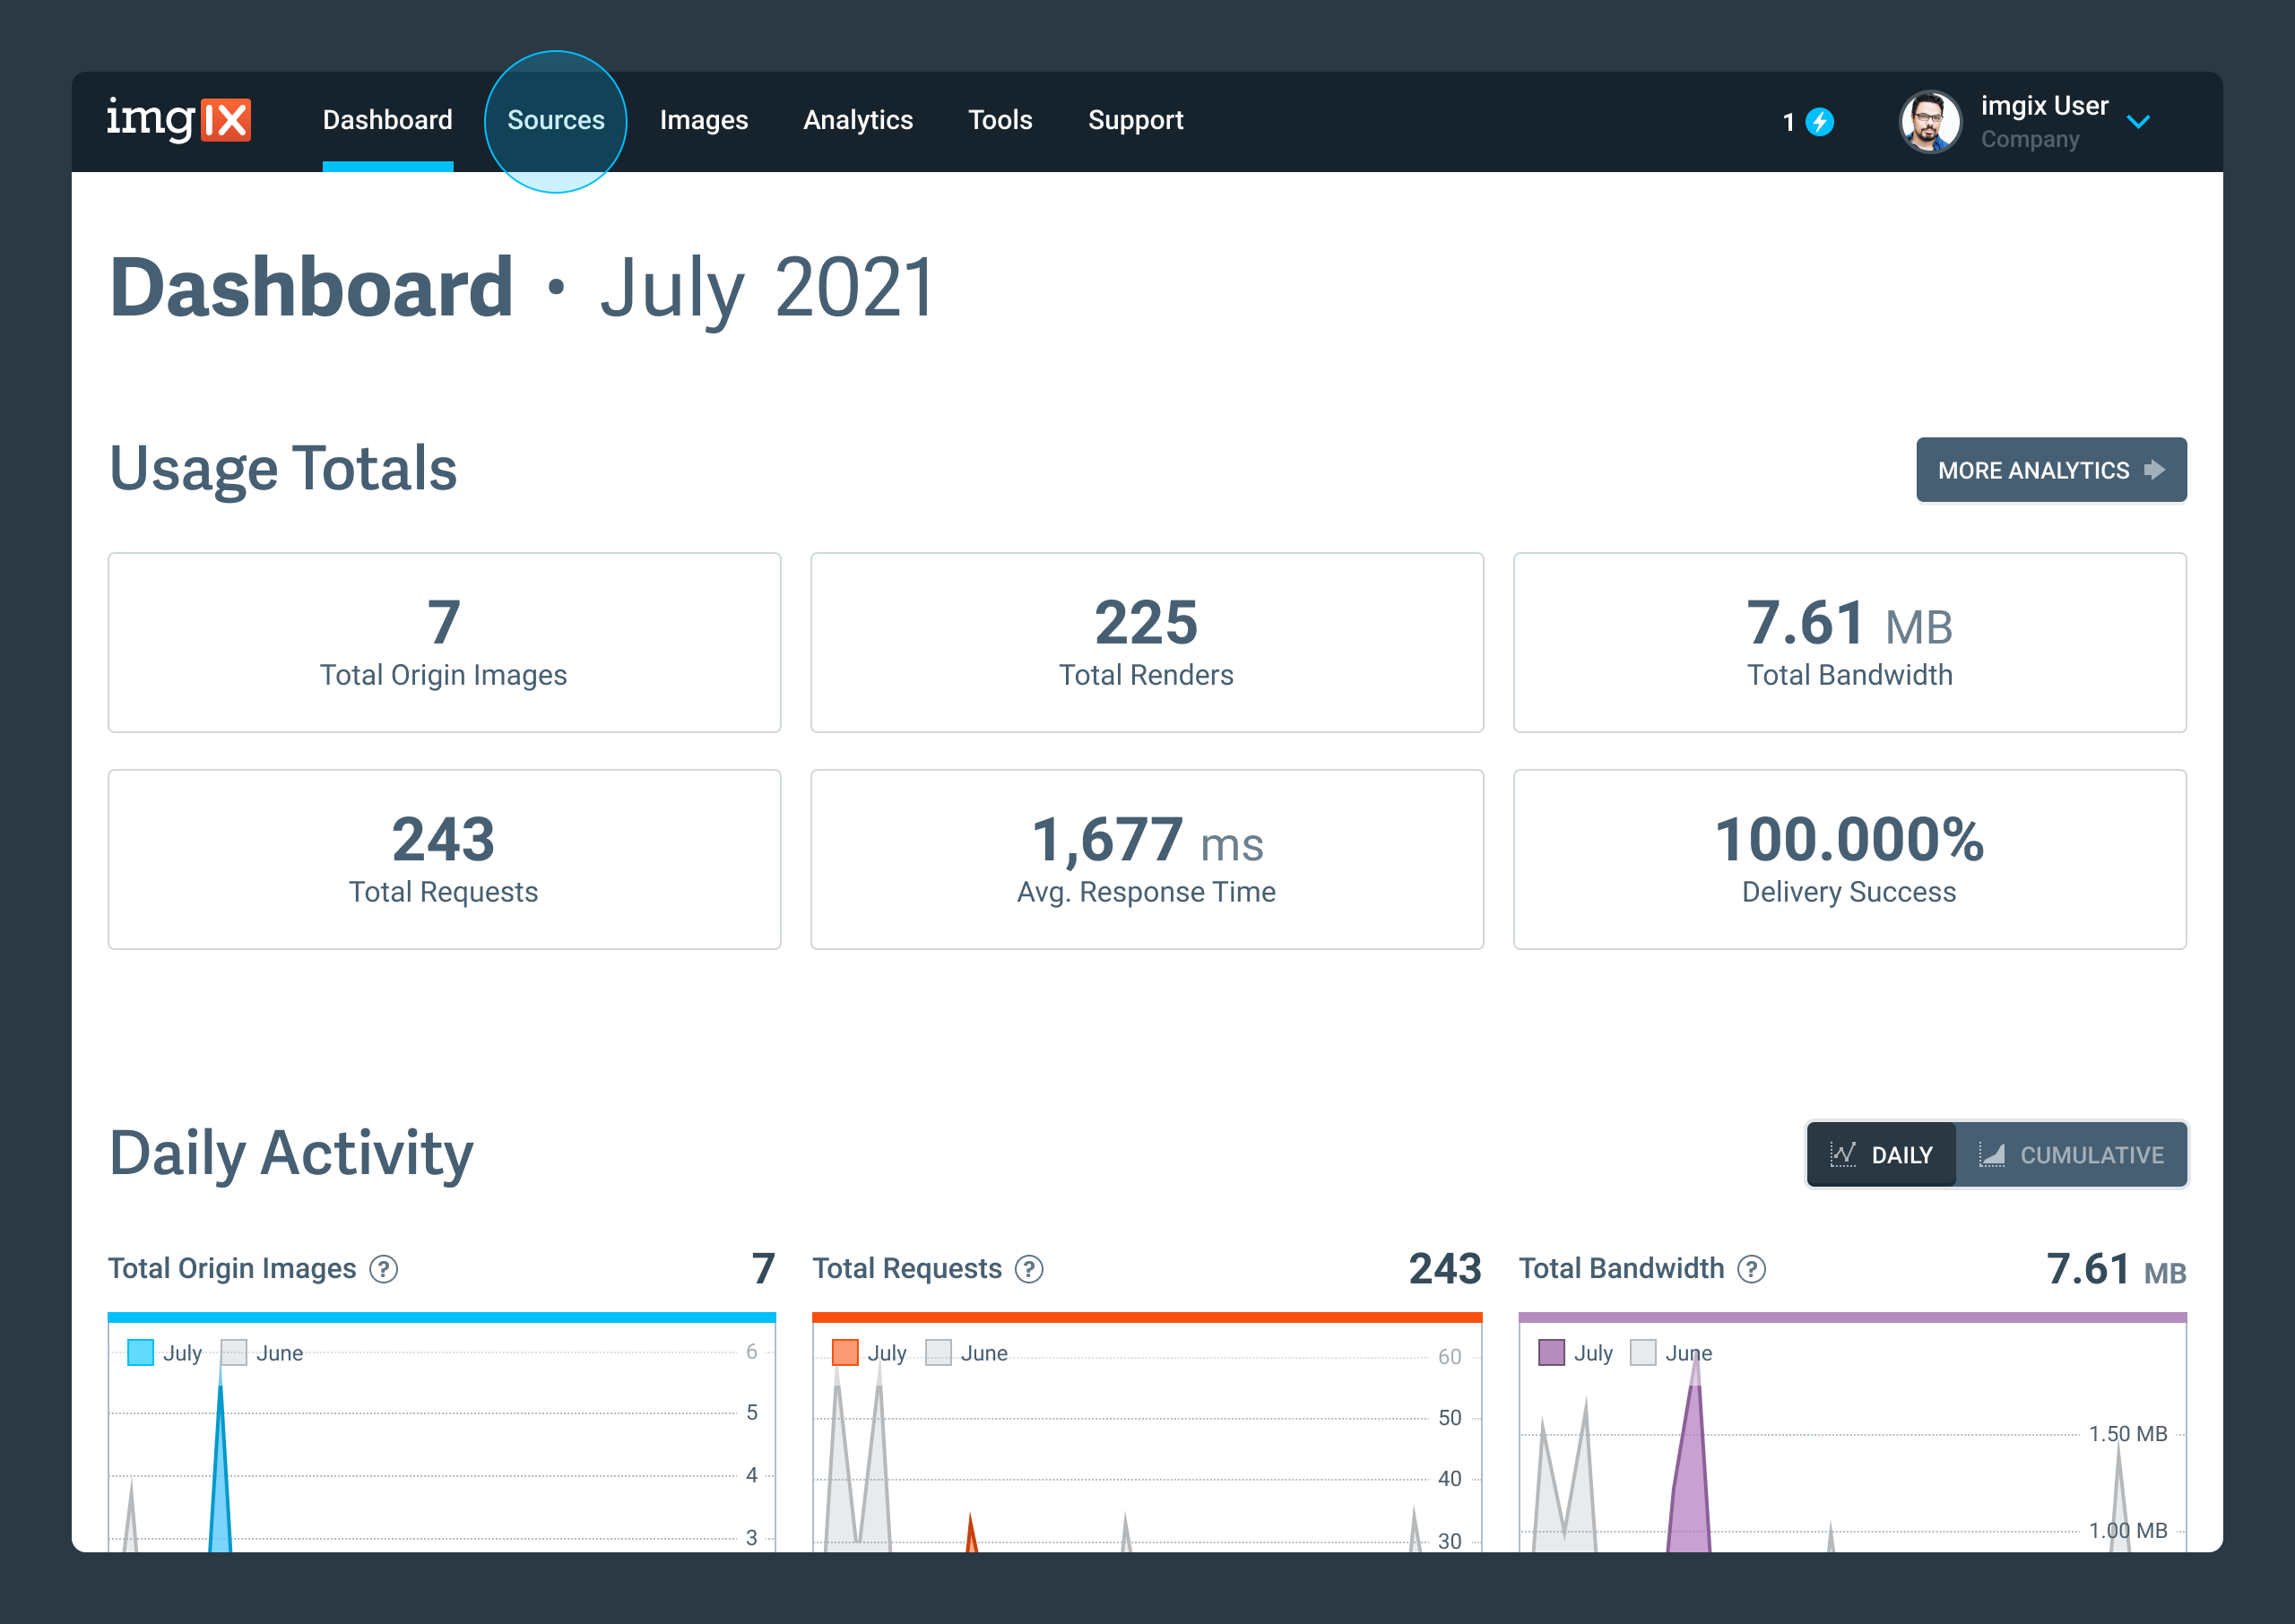
Now create a new Source:

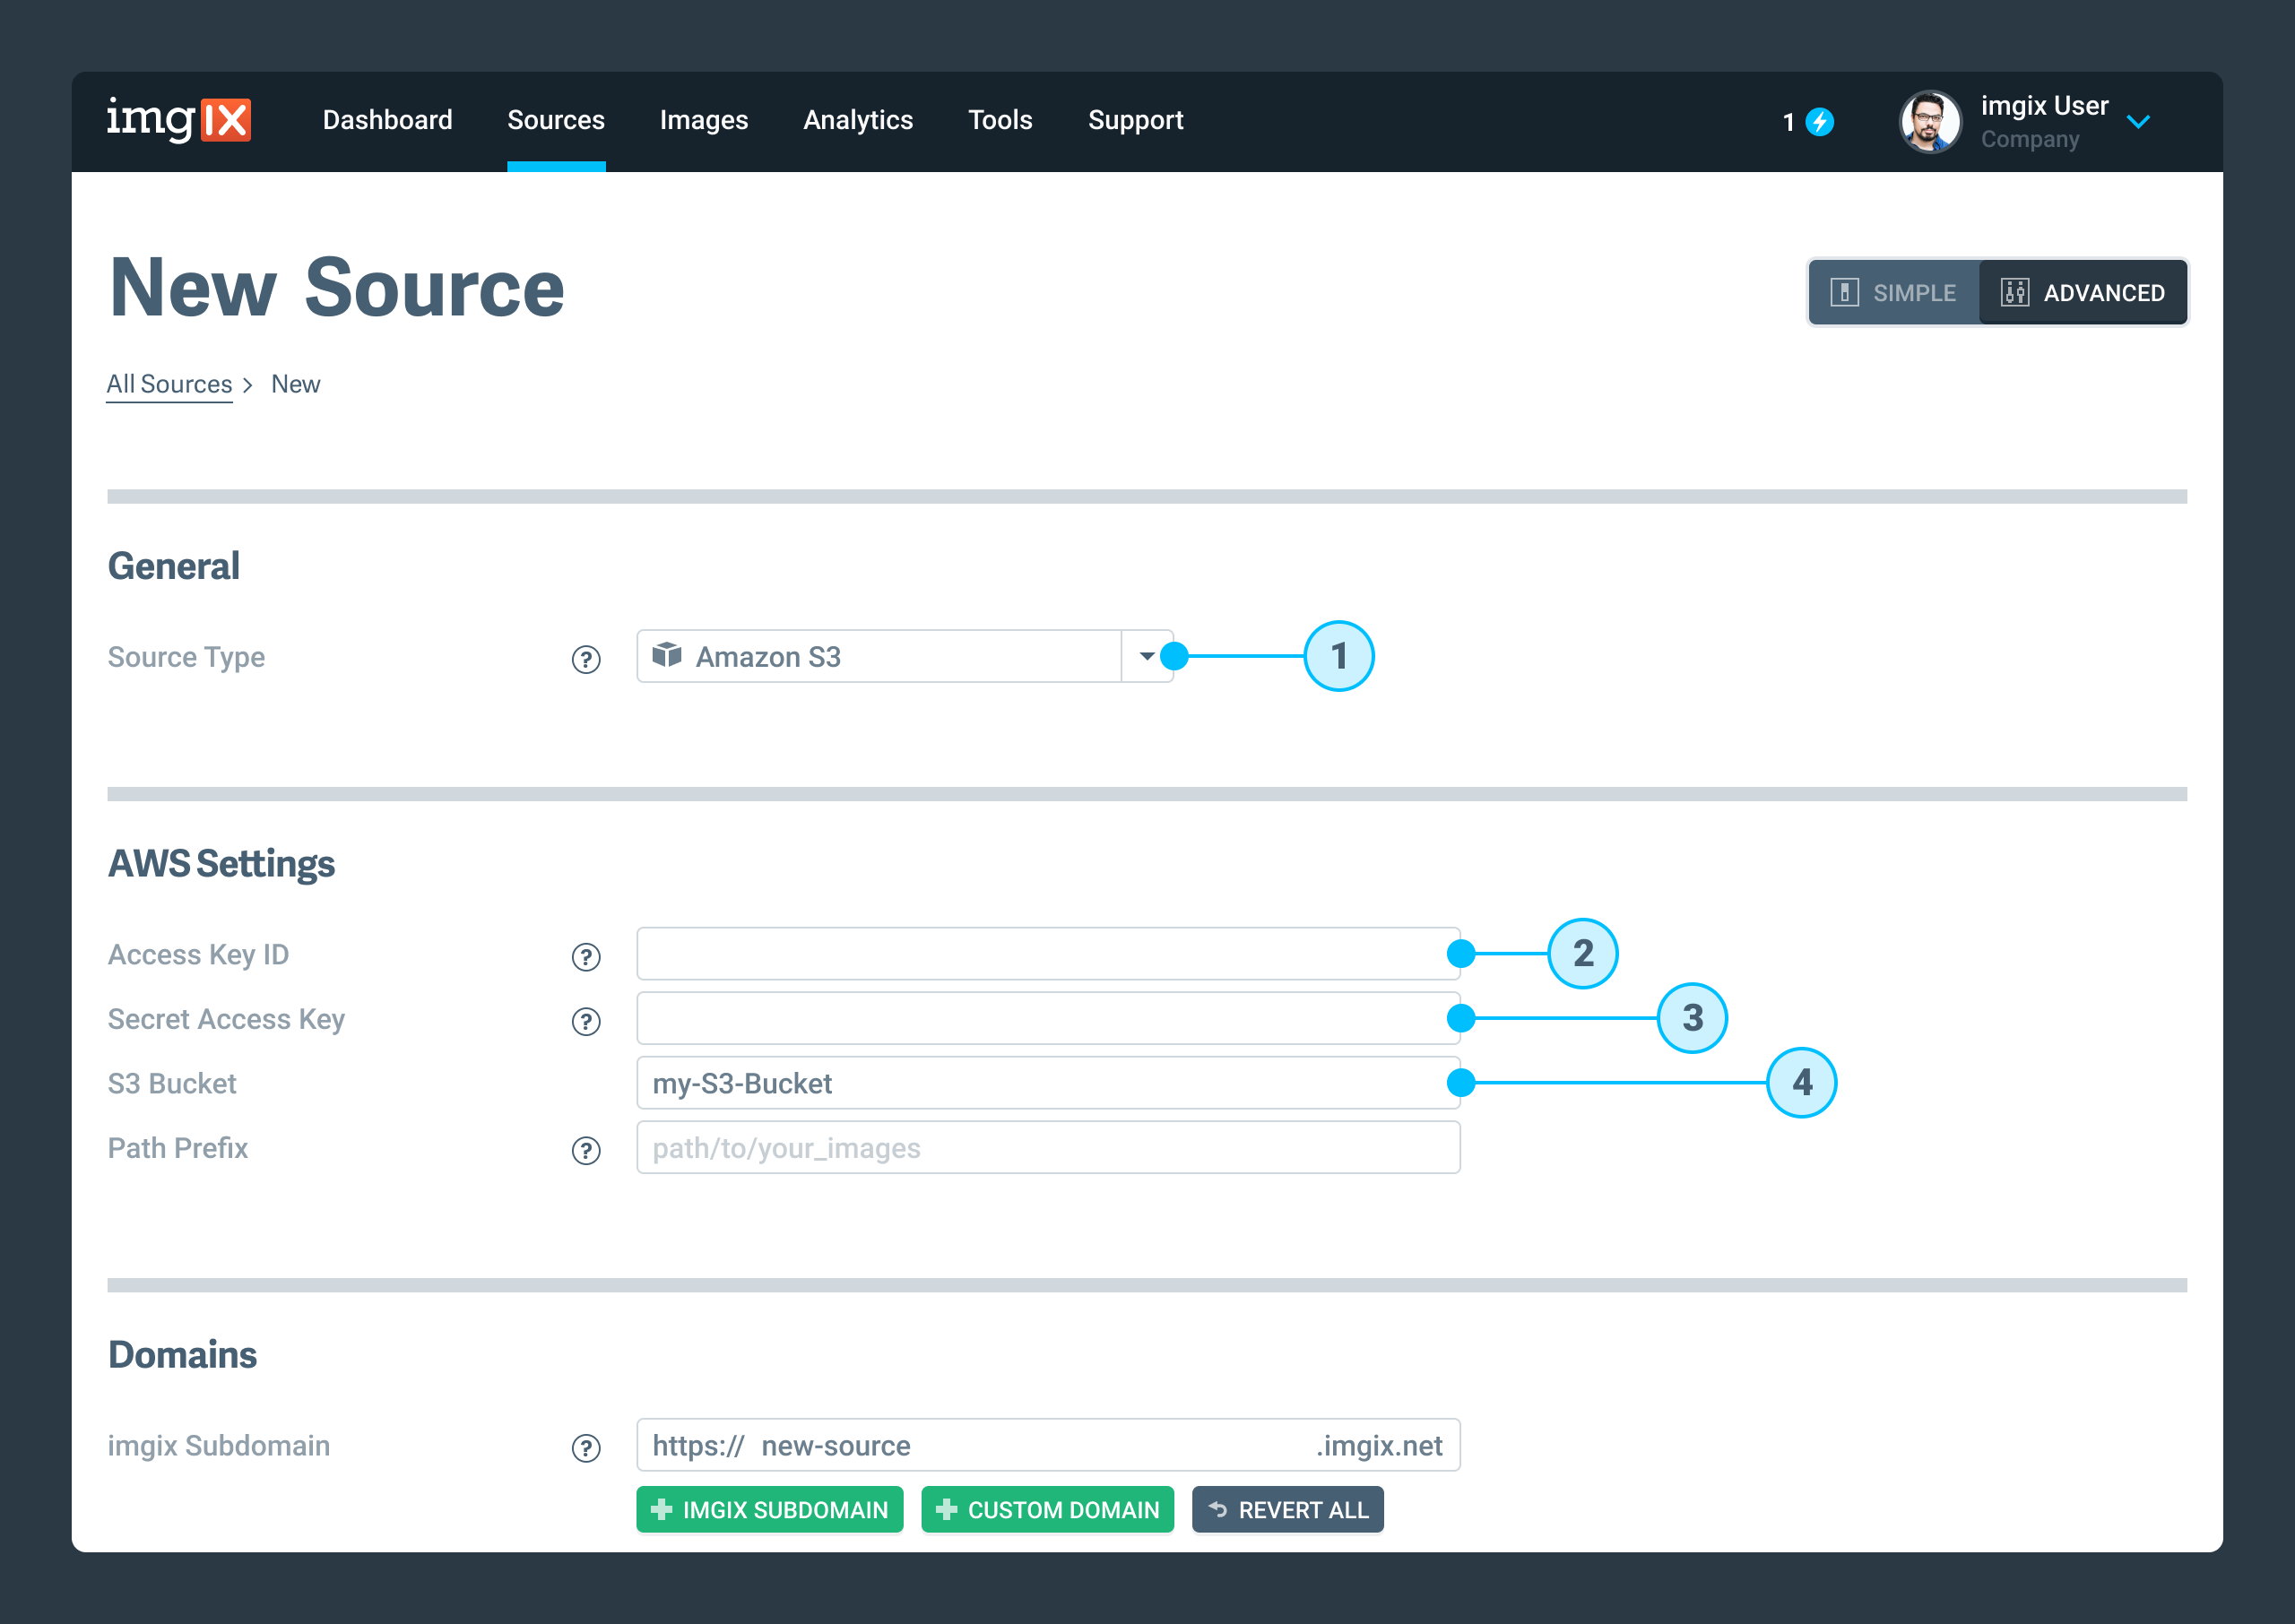
On the New Source page that opens, choose the “S3” option for the source type, then add the access credentials for the AWS user you just created. Choose an imgix subdomain—this will be the URL you use to access your images through imgix.
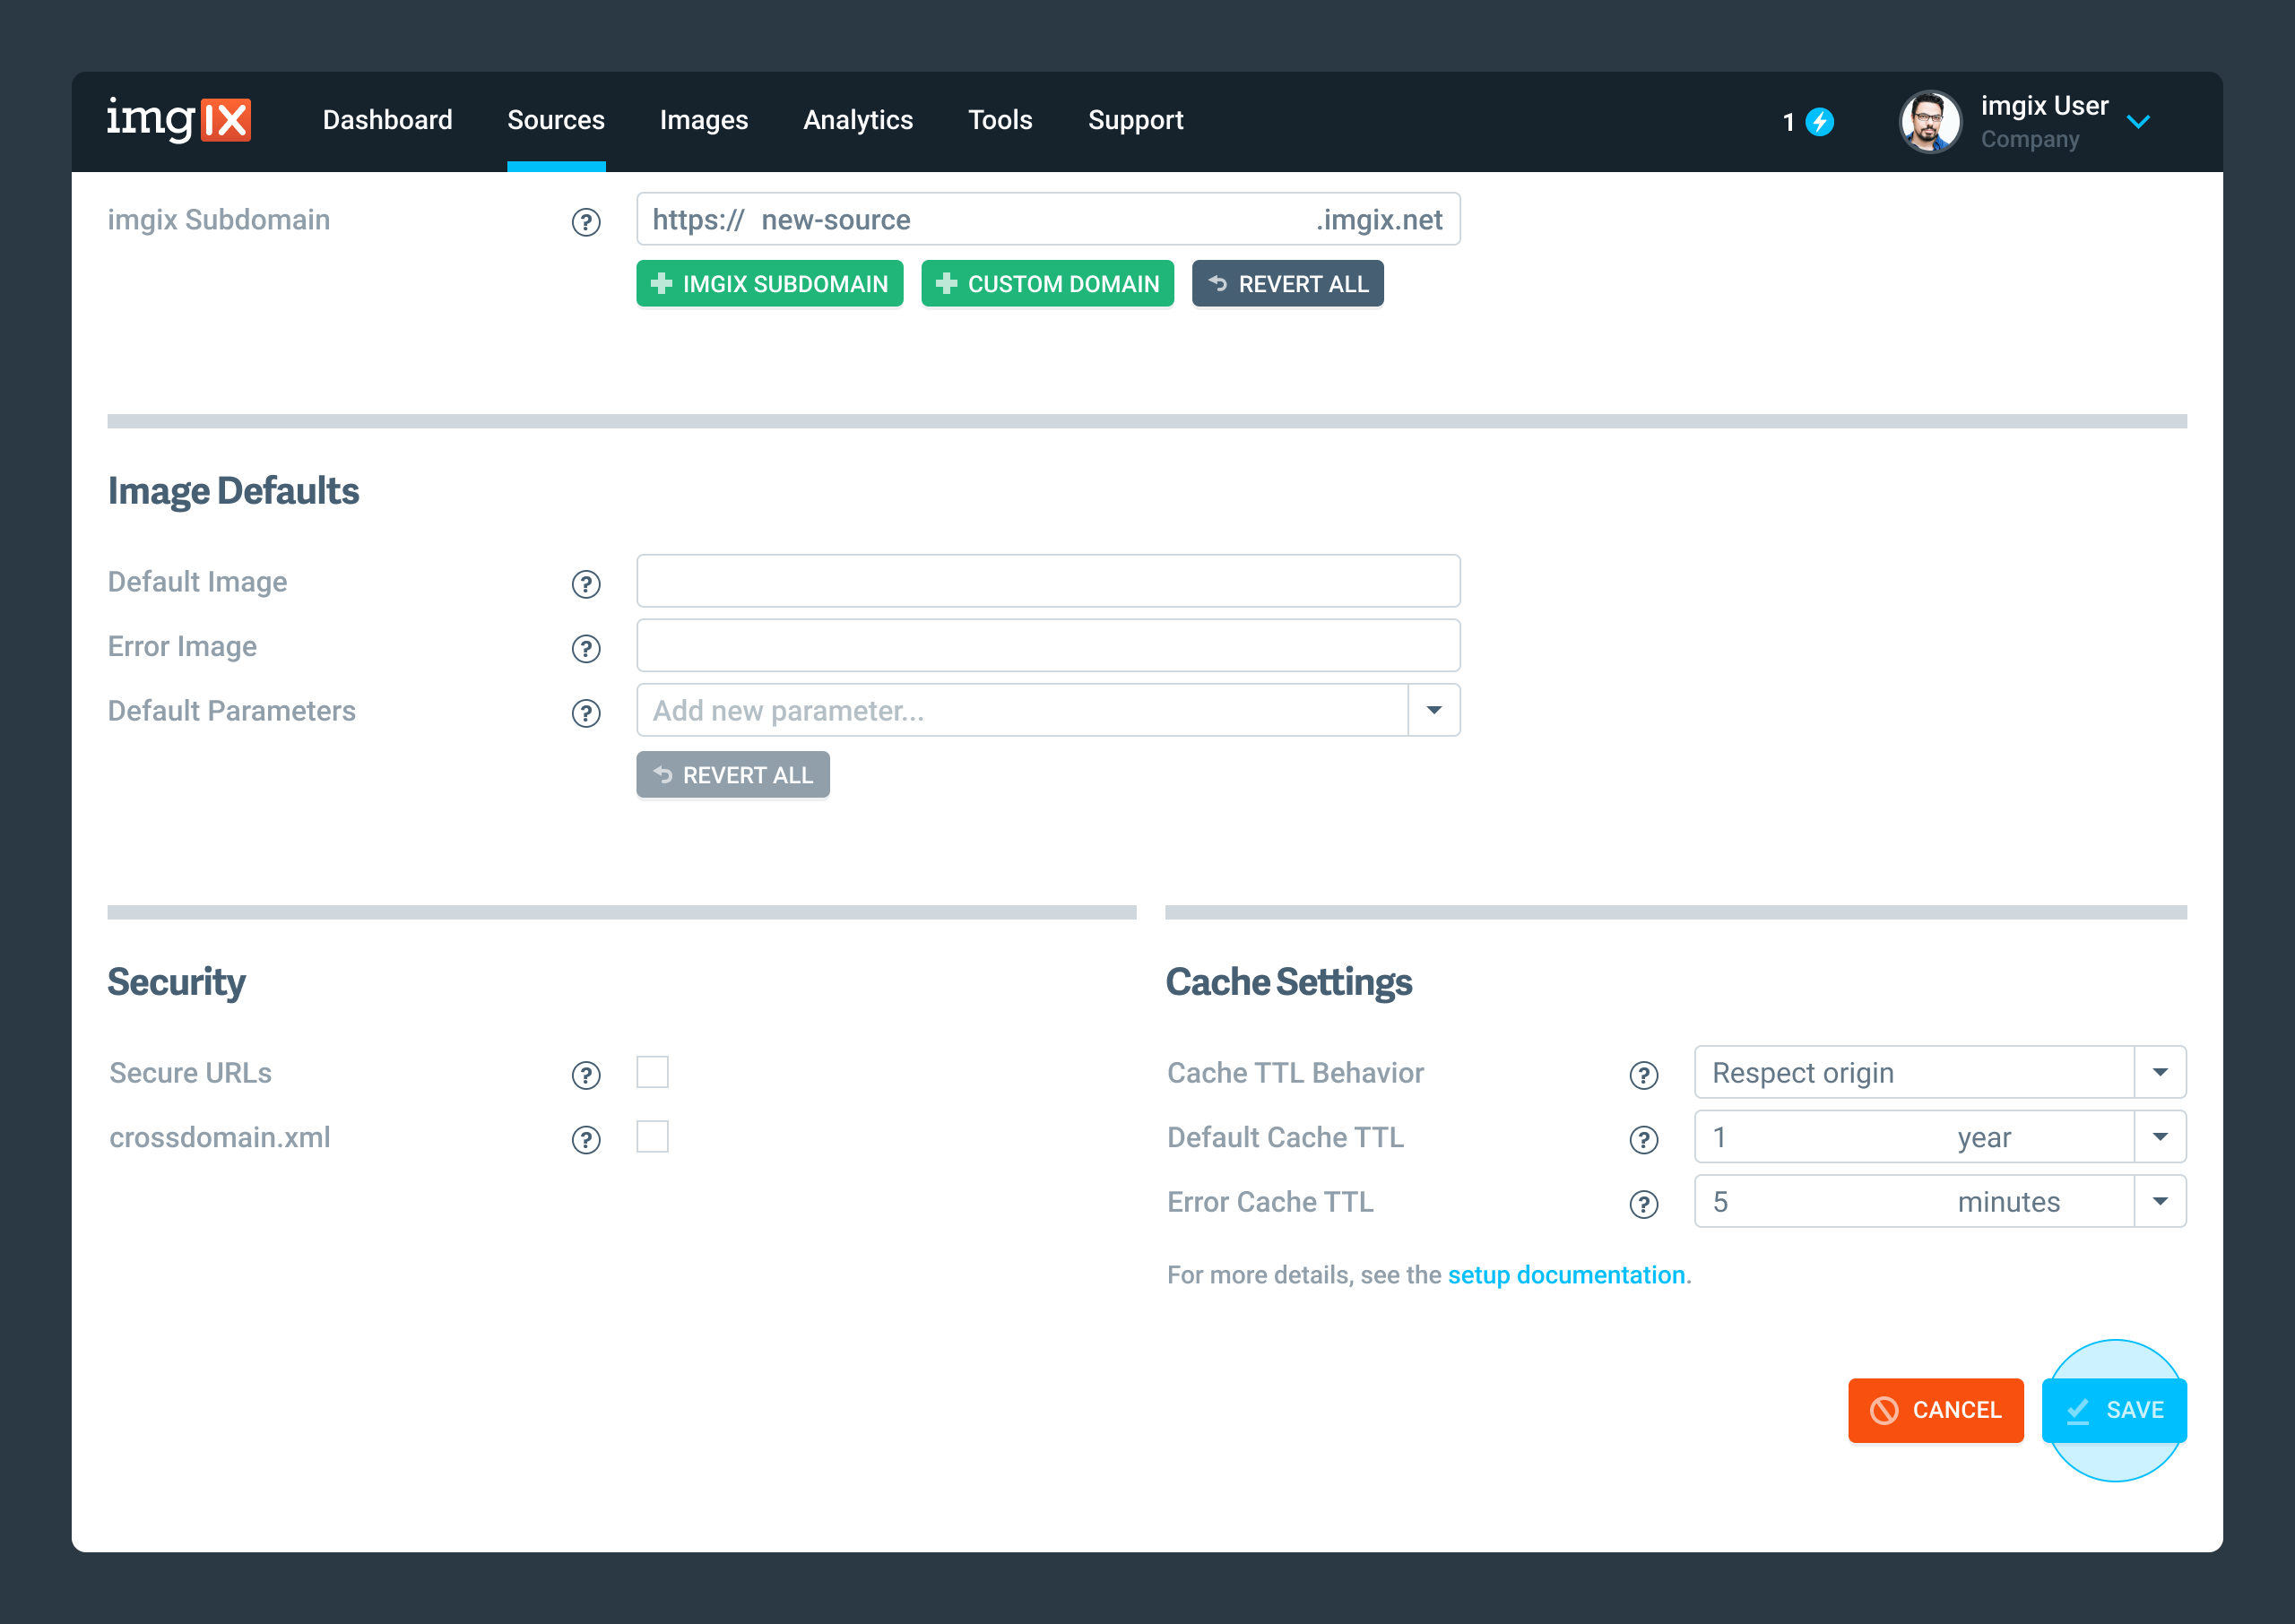
After you have added and verified all of the details, click Save to create your new imgix Source.
You will be redirected to the Source details page, where you’ll see that your newly created Source is already being deployed.
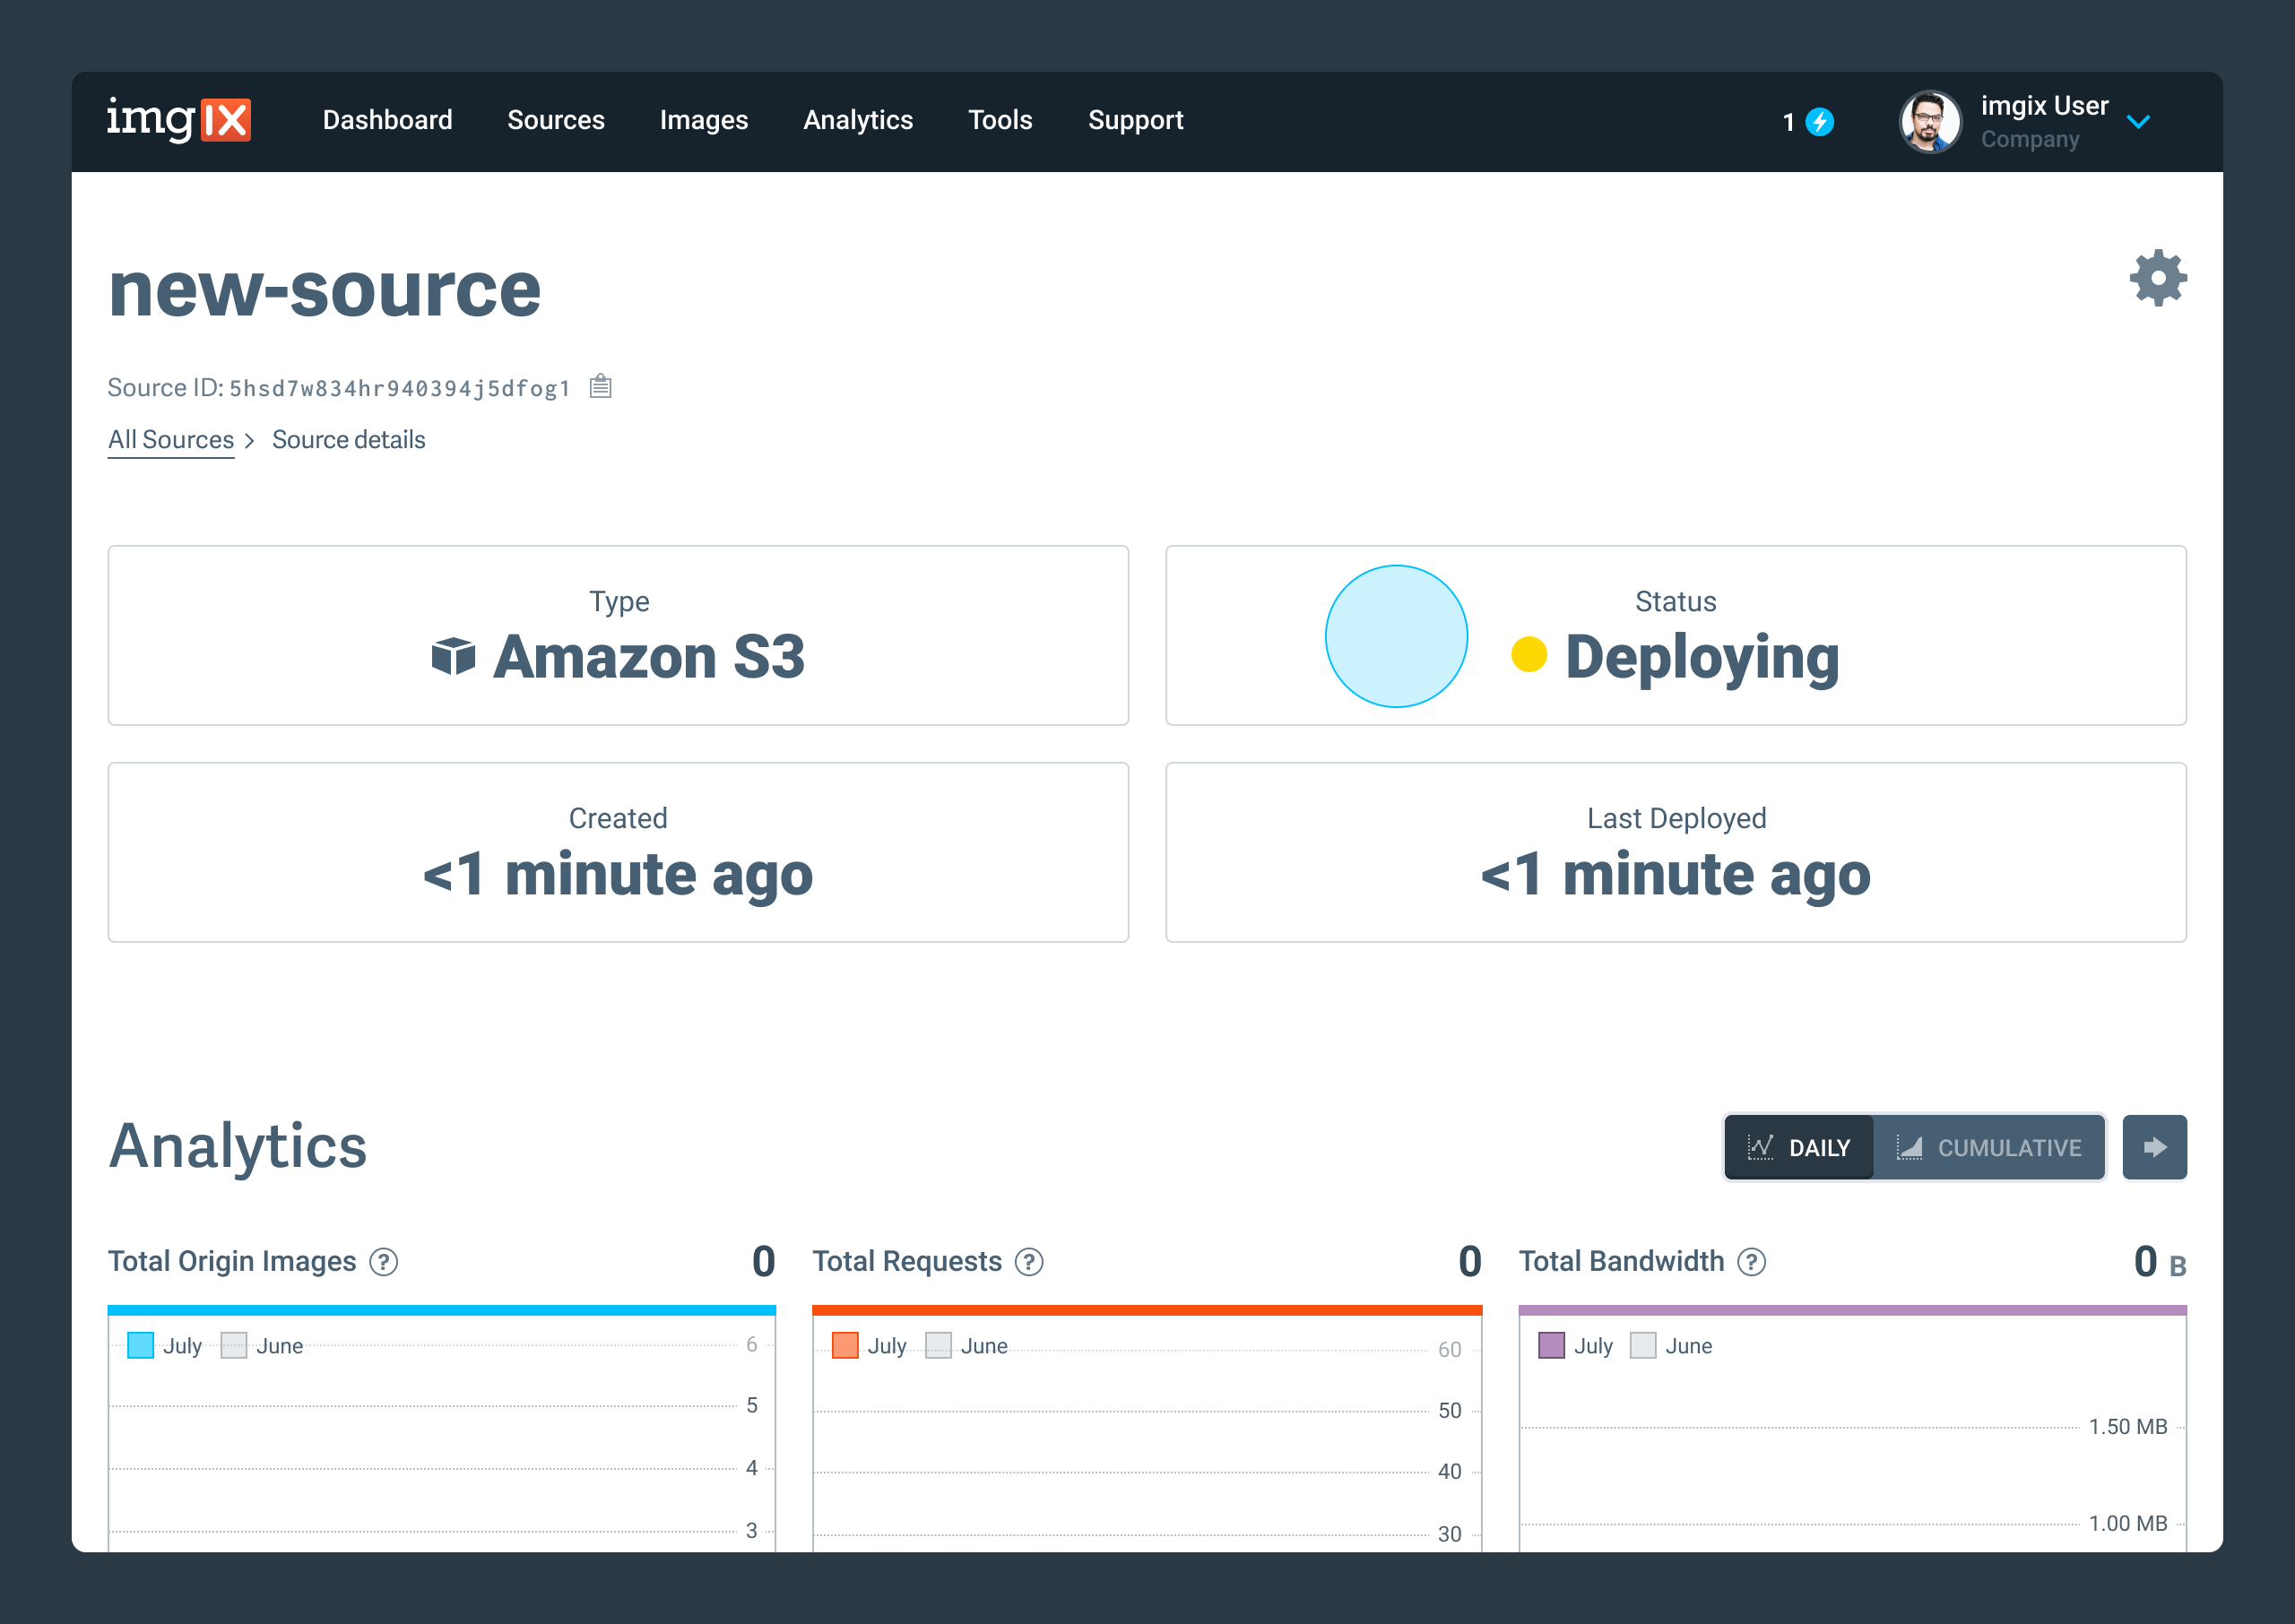
It’s as simple as that! After you create your new imgix Source, your S3 bucket can used as a dynamic image server.
Accessing your images through imgix URLs
Once your Source has finished deploying, you can access your images using imgix URLs. Just append the imgix hostname you chose with the path to a given image, and you’ll get the imgix URL for that specific image.
For example, if one of the images in our S3 bucket has the filename 742.jpg, the imgix URL for this image is as follows:
https://s3-dynamic-image-server.imgix.net/742.jpg
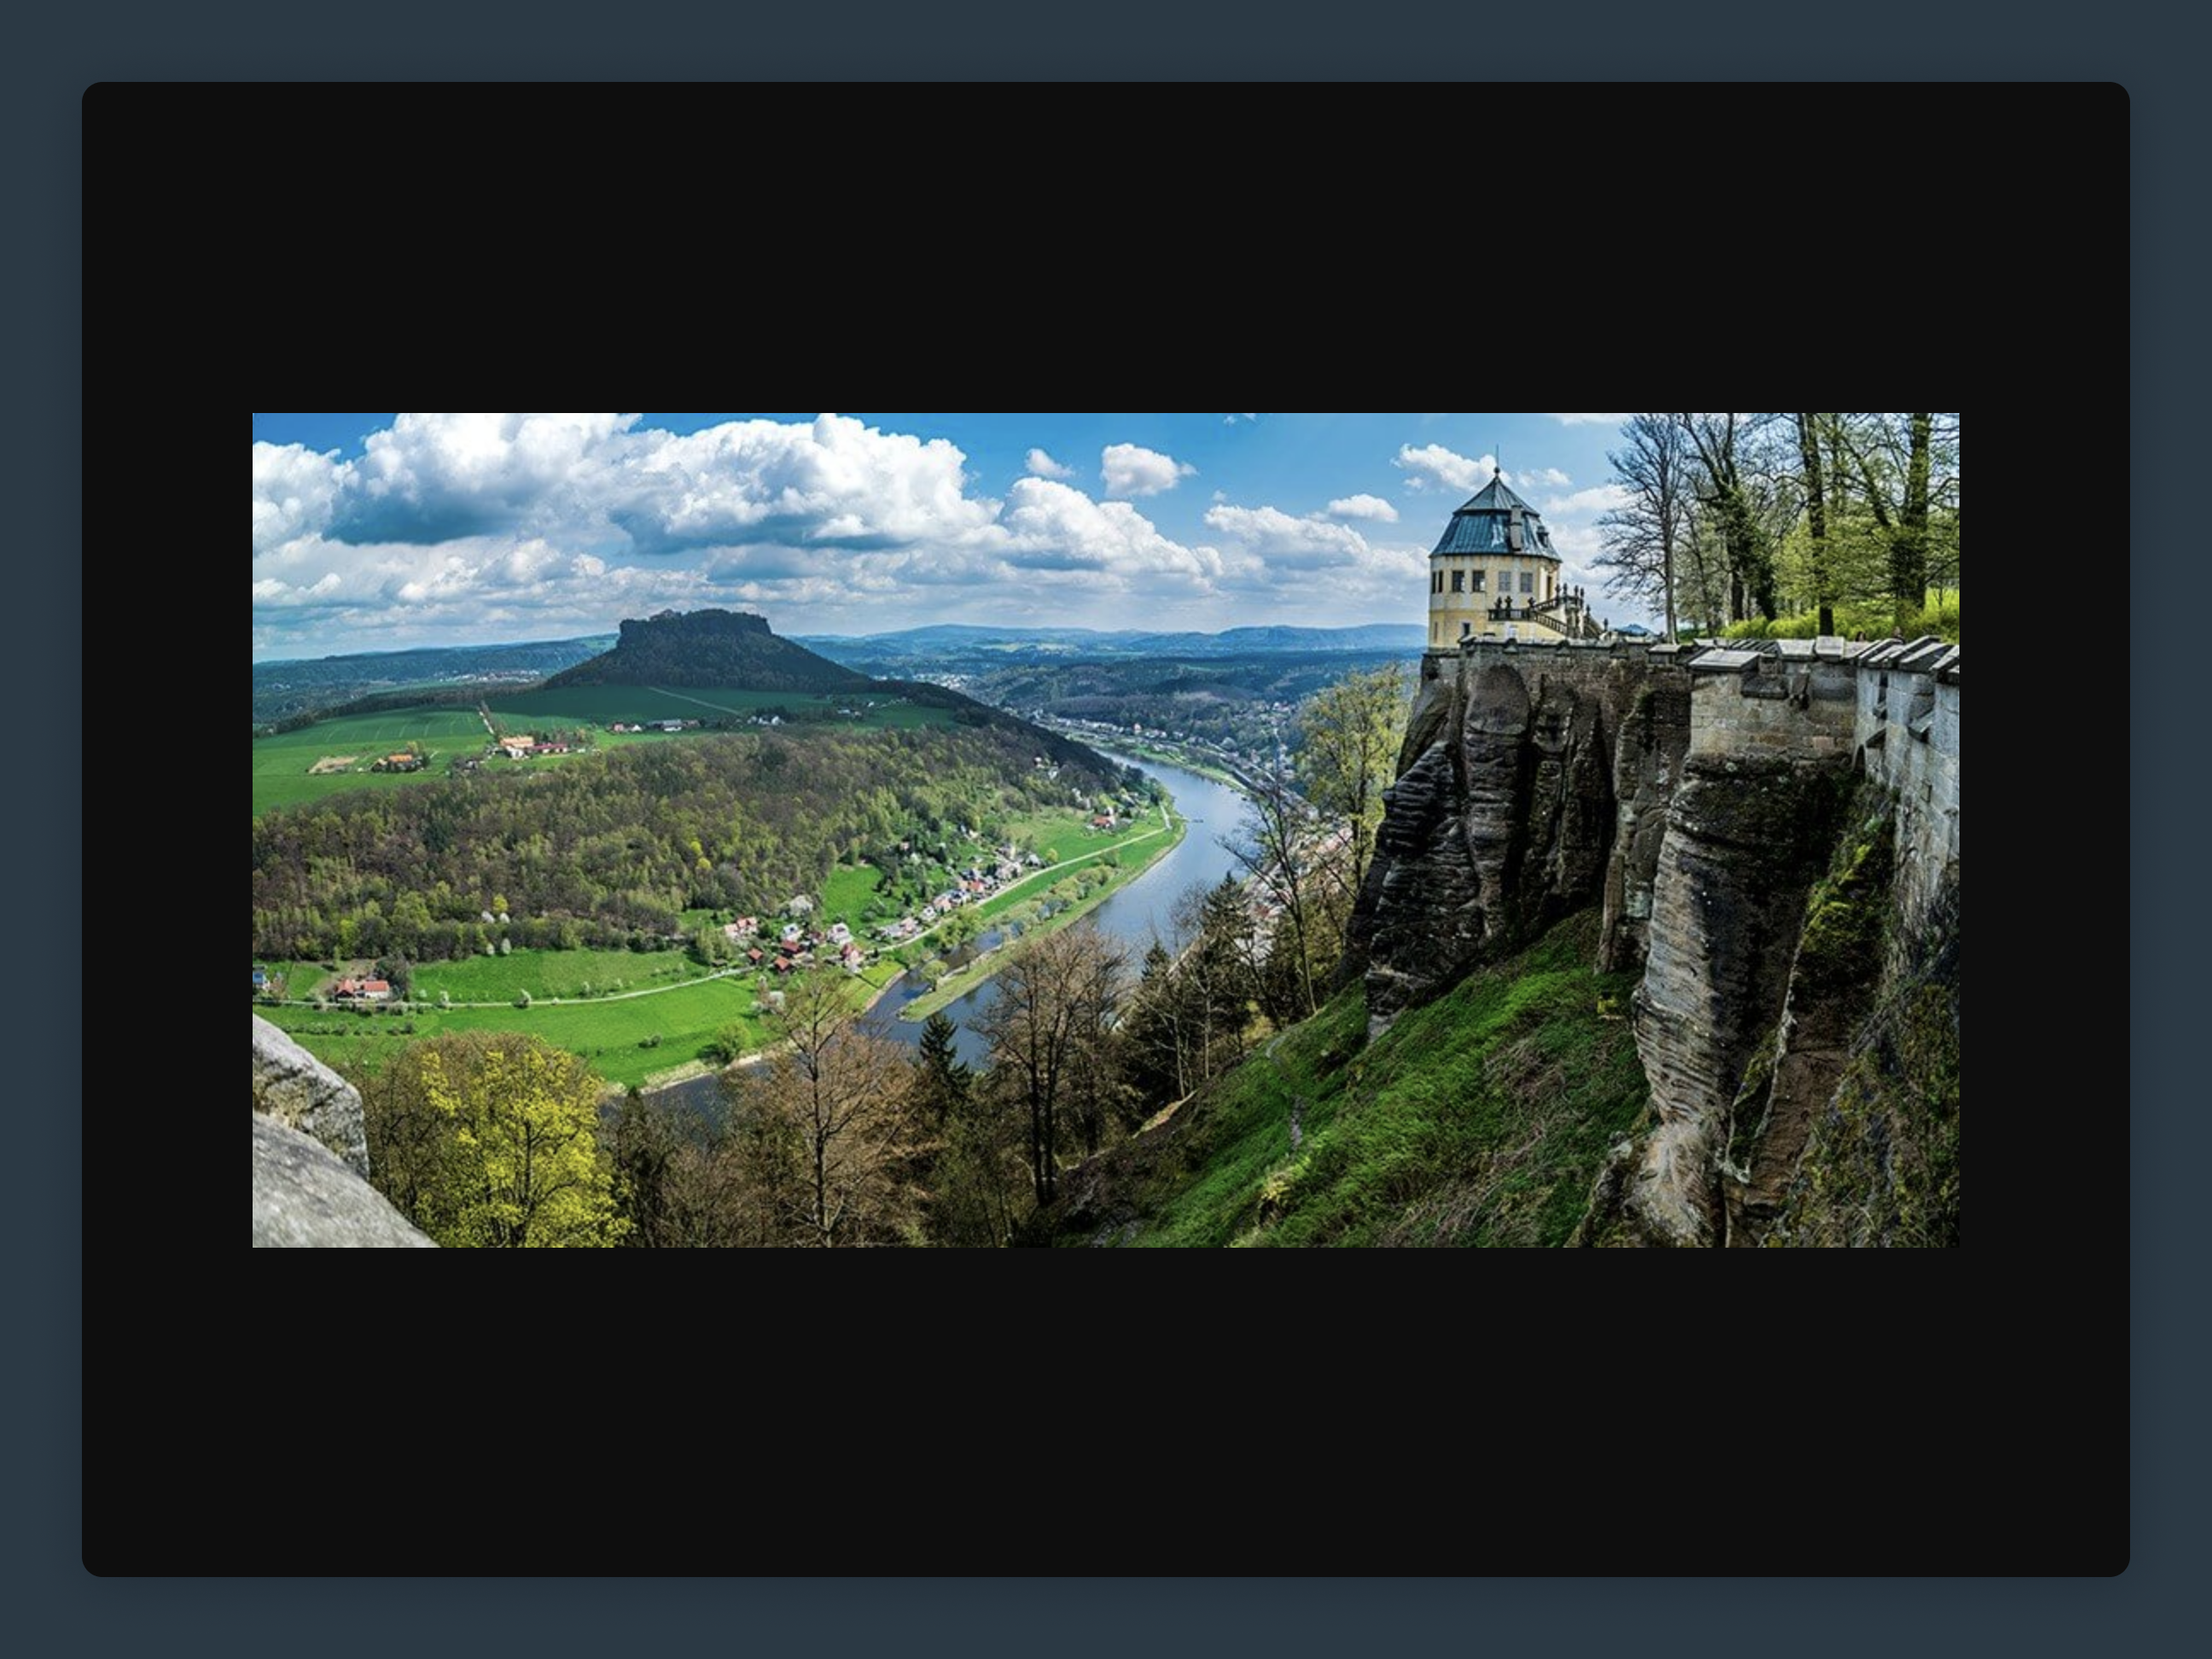
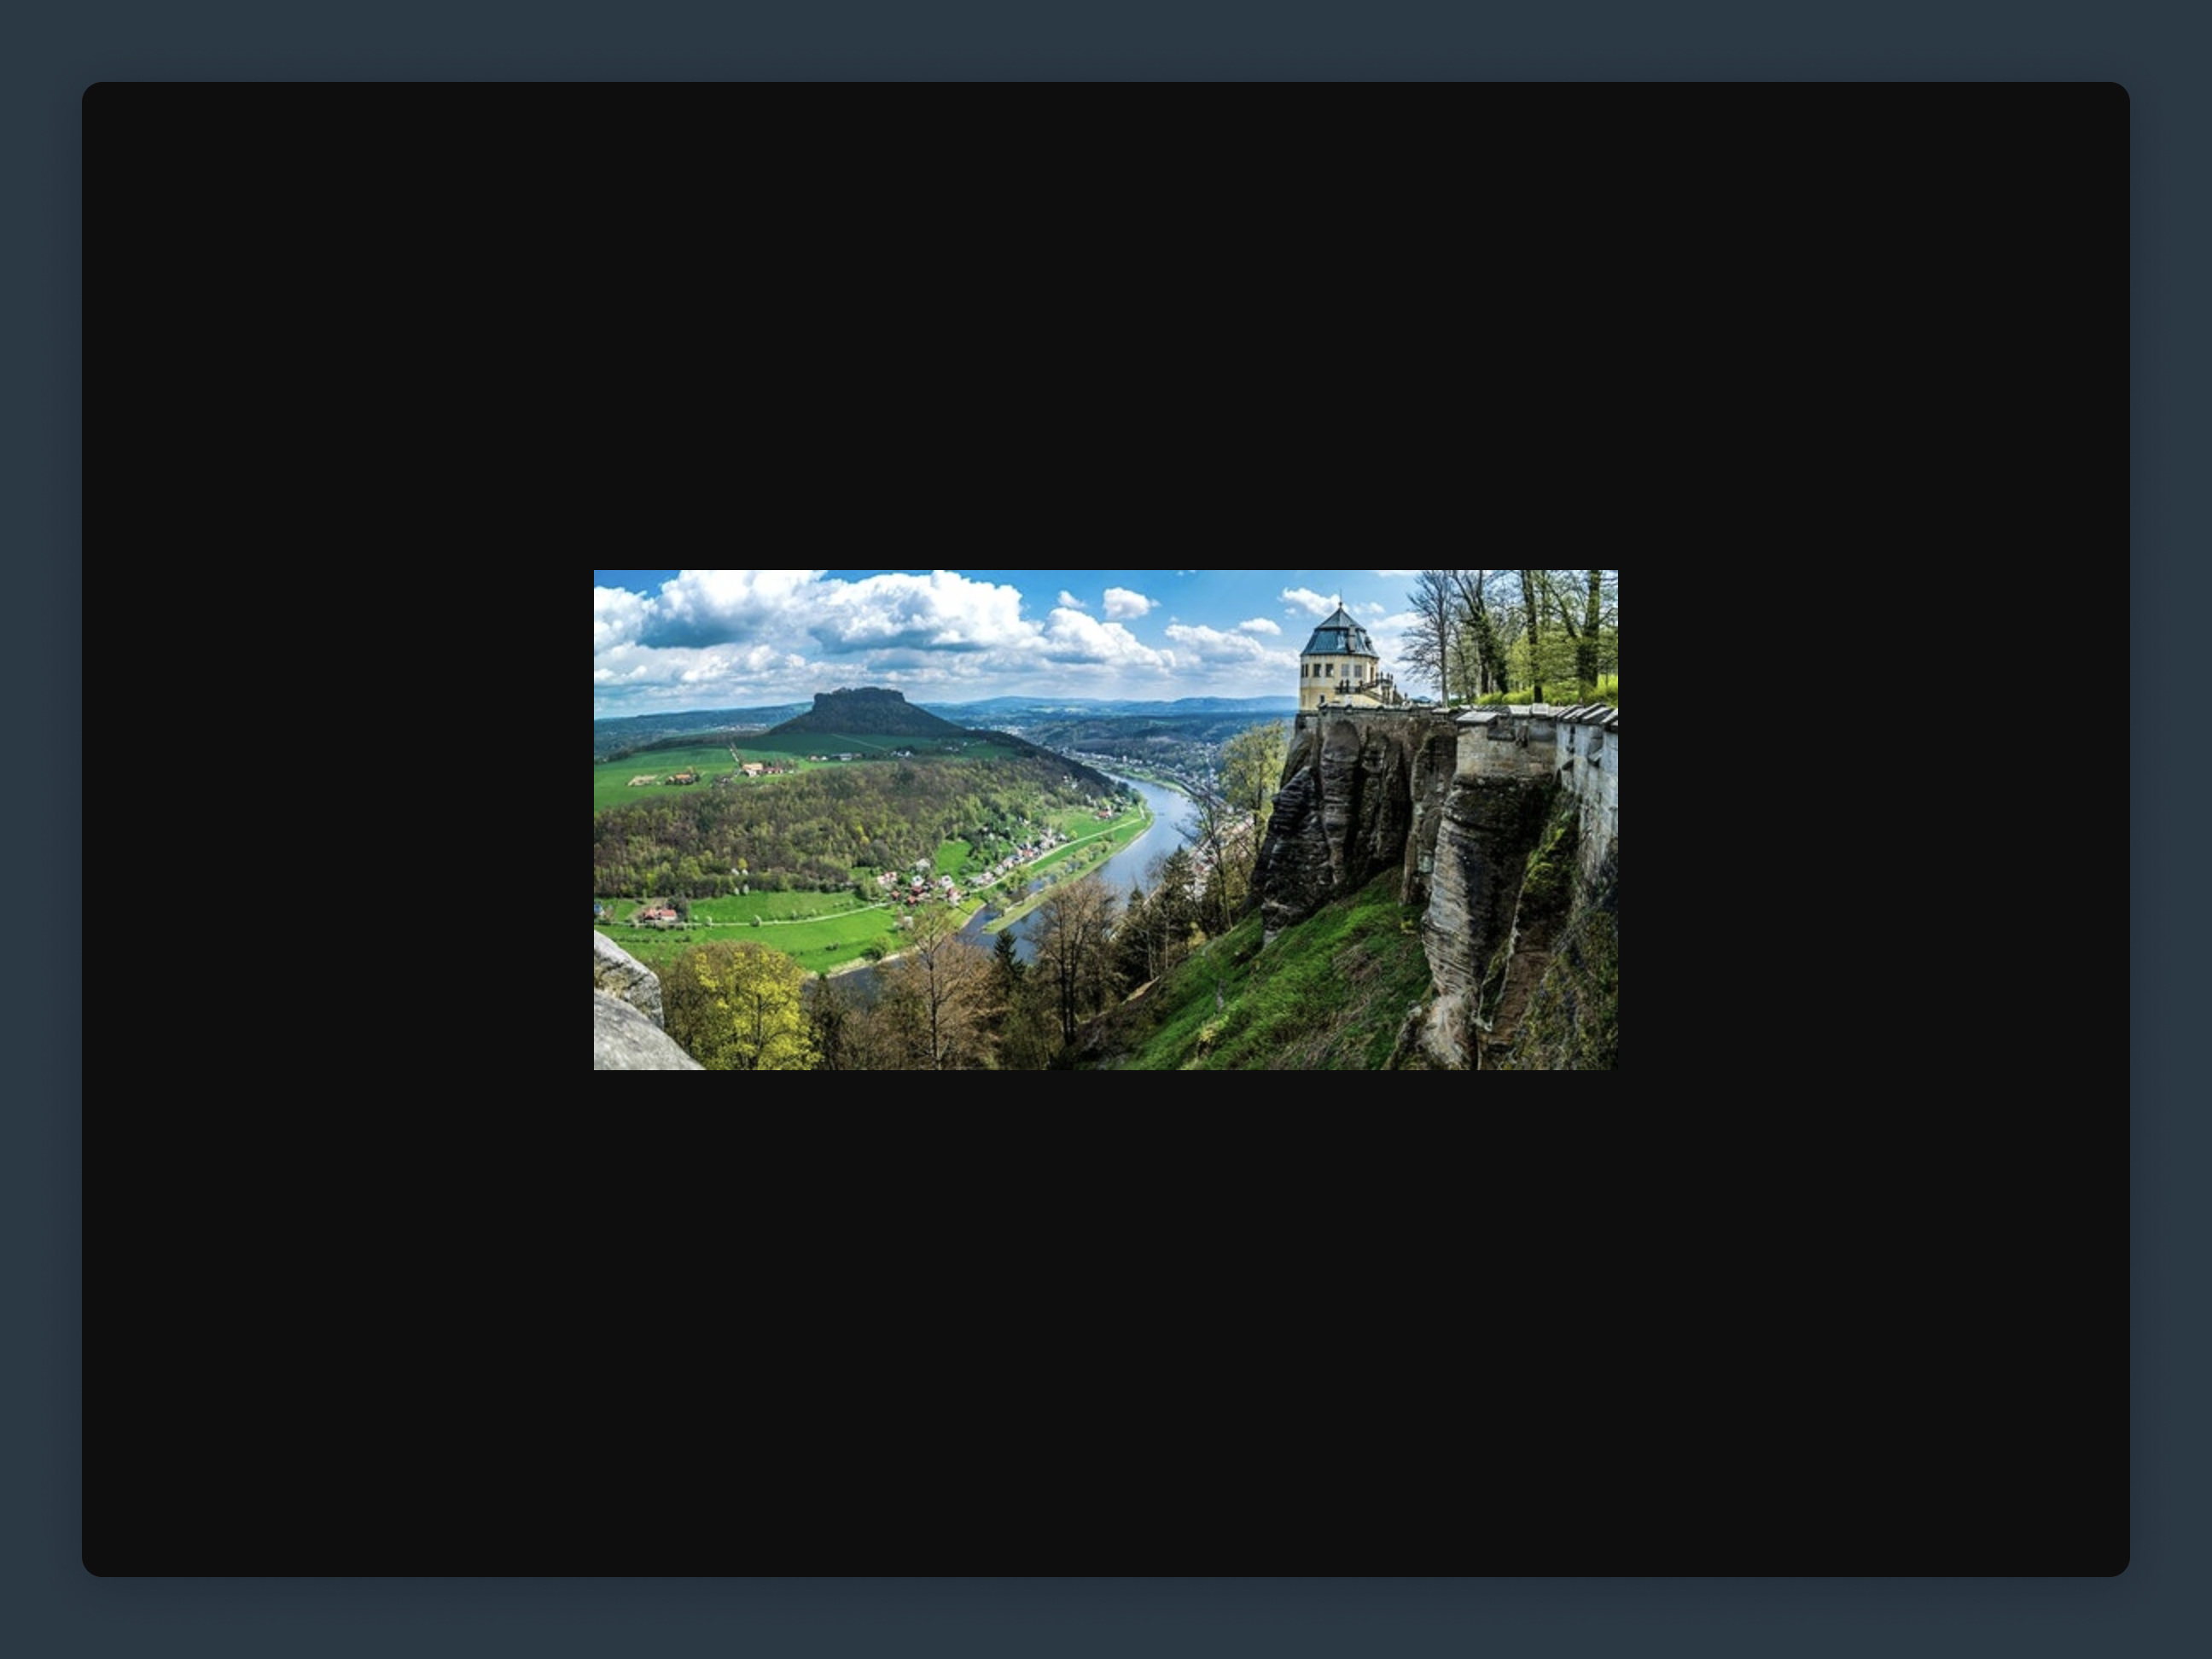
With imgix, it’s also easy to resize and crop images by specifying URL parameters. If we want to resize to 600 pixels wide and adjust the exposure setting to 1, we would use these parameters:
https://s3-dynamic-image-server.imgix.net/742.jpg?w=600&exp=1
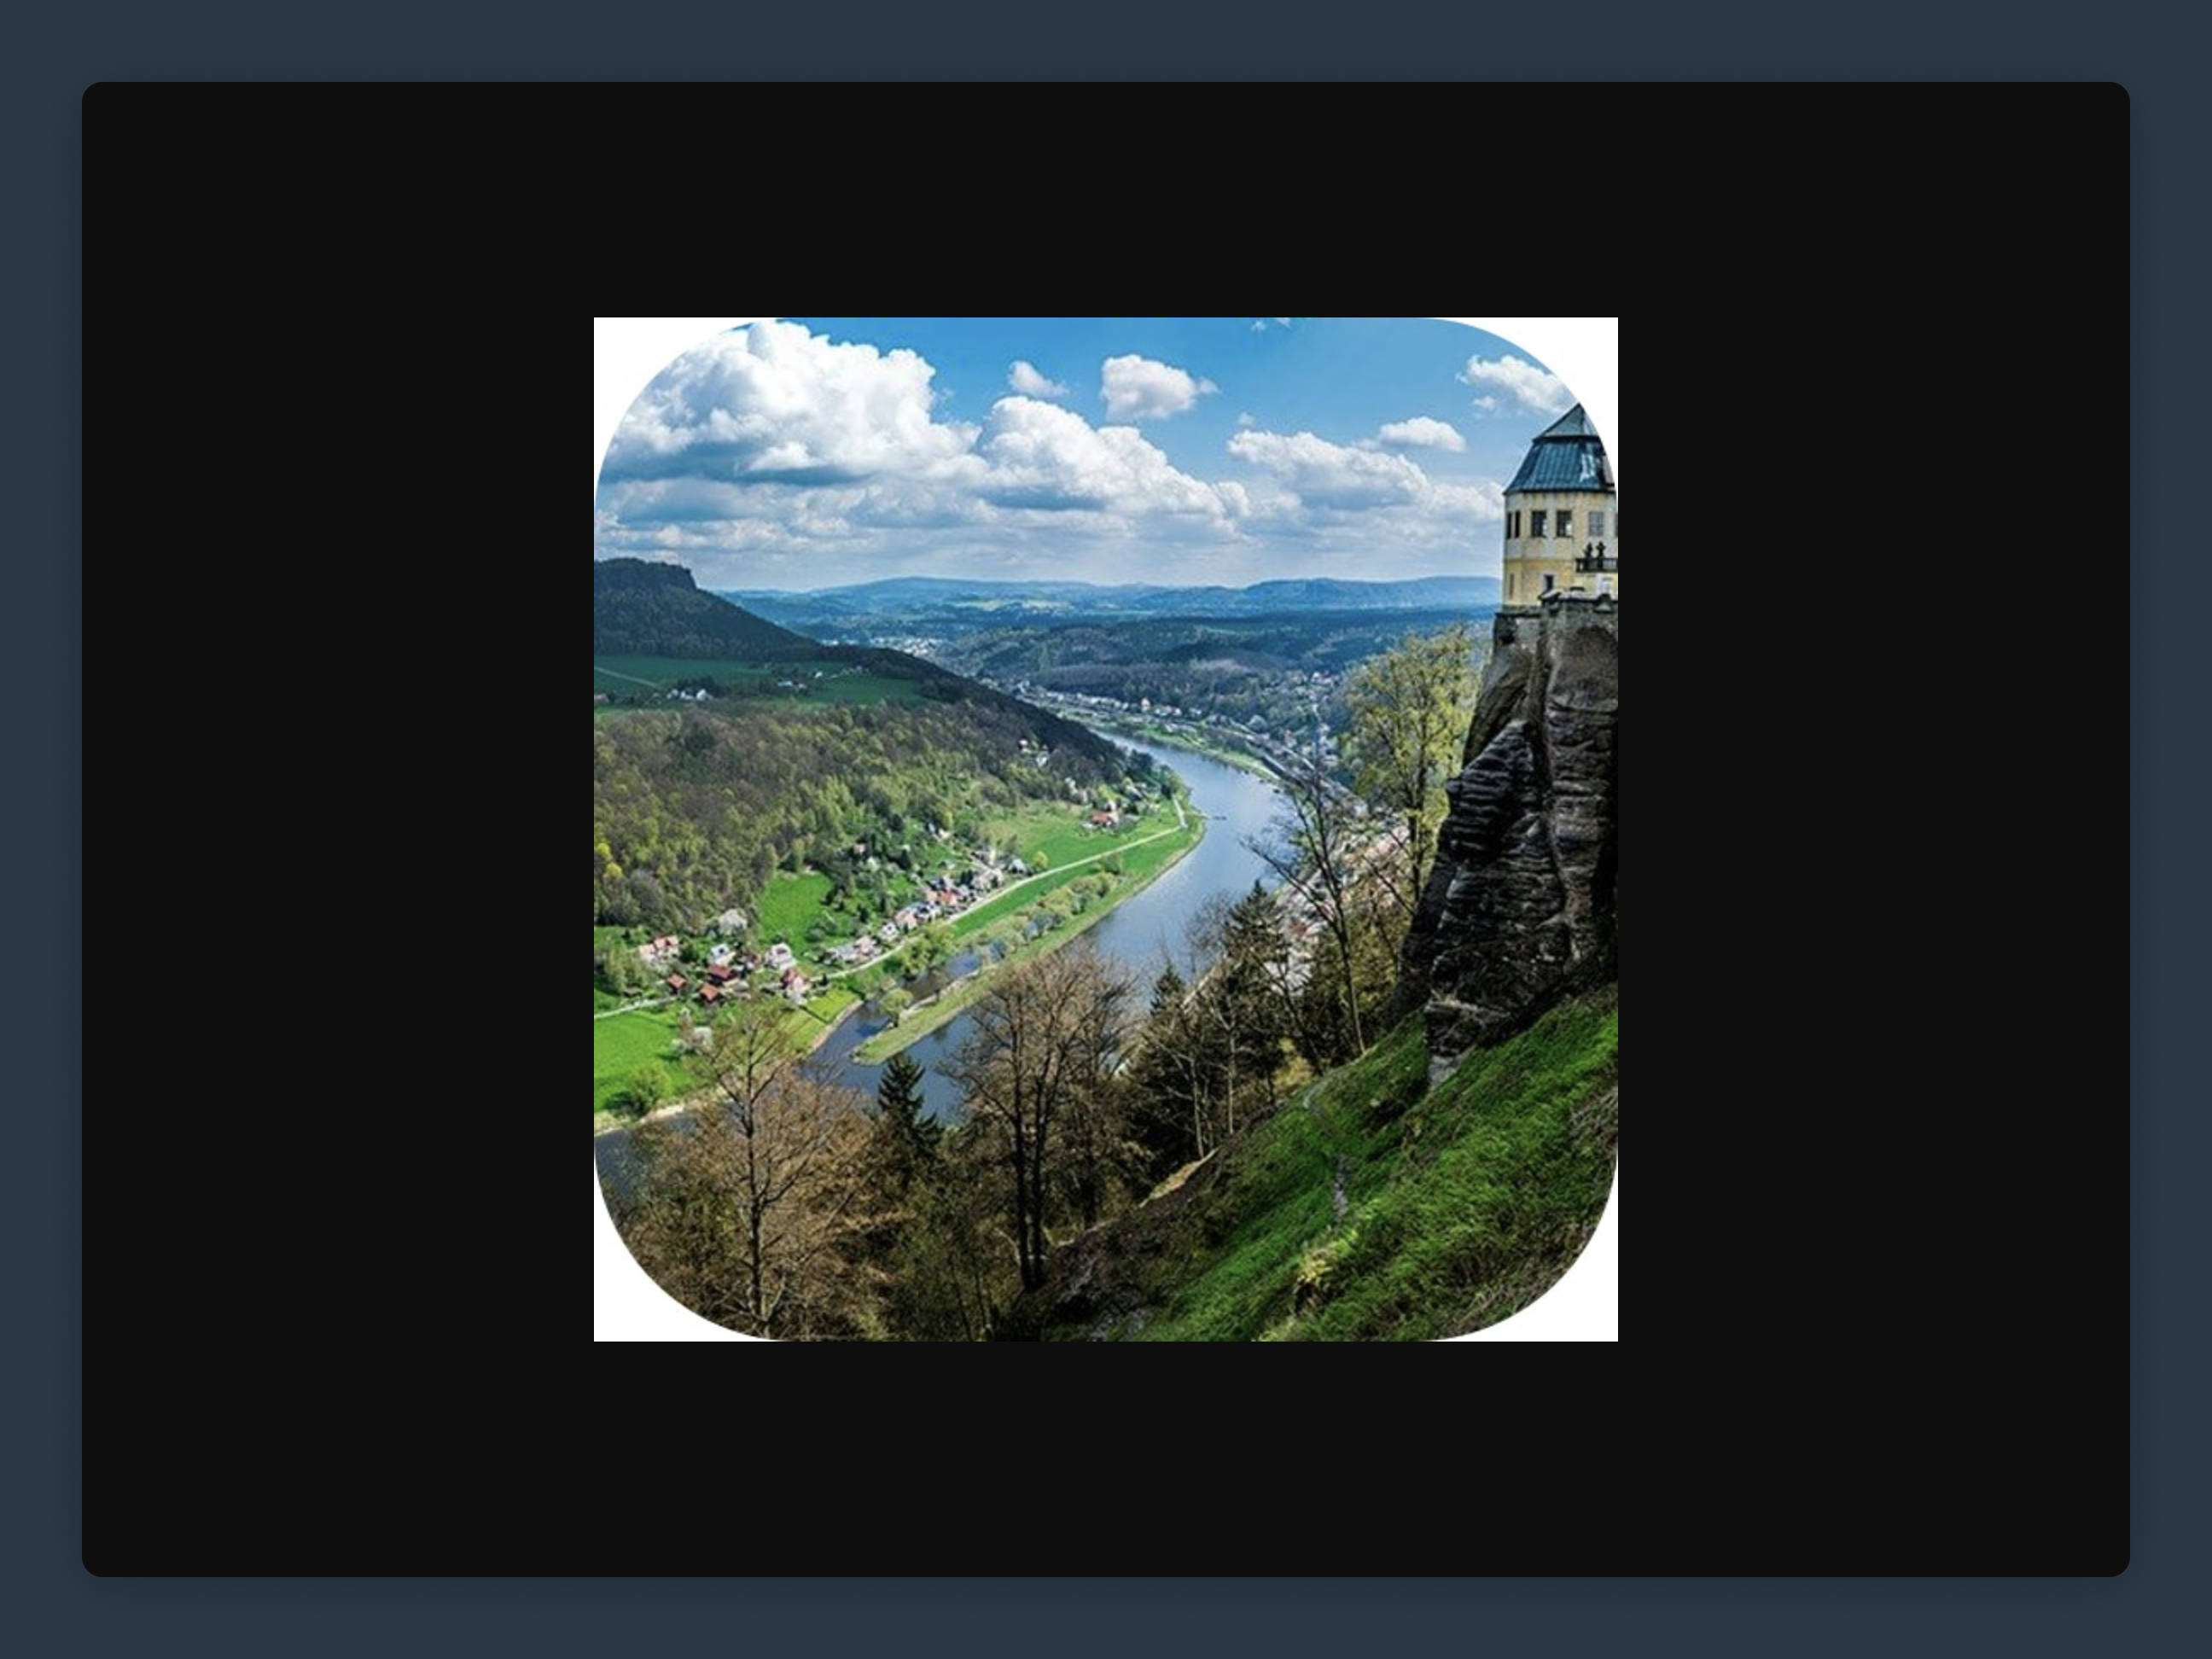
We can also apply a mask to our image by adding a few more URL parameters. For example, we would use the following parameters to apply round the corners:
https://s3-dynamic-image-server.imgix.net/742.jpg?w=600&h=600&fit=crop&mask=corners
We can make many other transformations and tweaks to images using URL parameters. Check out the imgix API reference for the full list of options.
You can either use the imgix URLs directly to embed images on your website, or you can use one of the imgix libraries available for popular programming languages and frameworks.
Gaining visibility into your S3 bucket with imgix Asset Manager
Another advantage to using imgix instead of S3 alone is the imgix Asset Manager. You can navigate to the Asset Manager by clicking on the Assets tab in the imgix Dashboard.
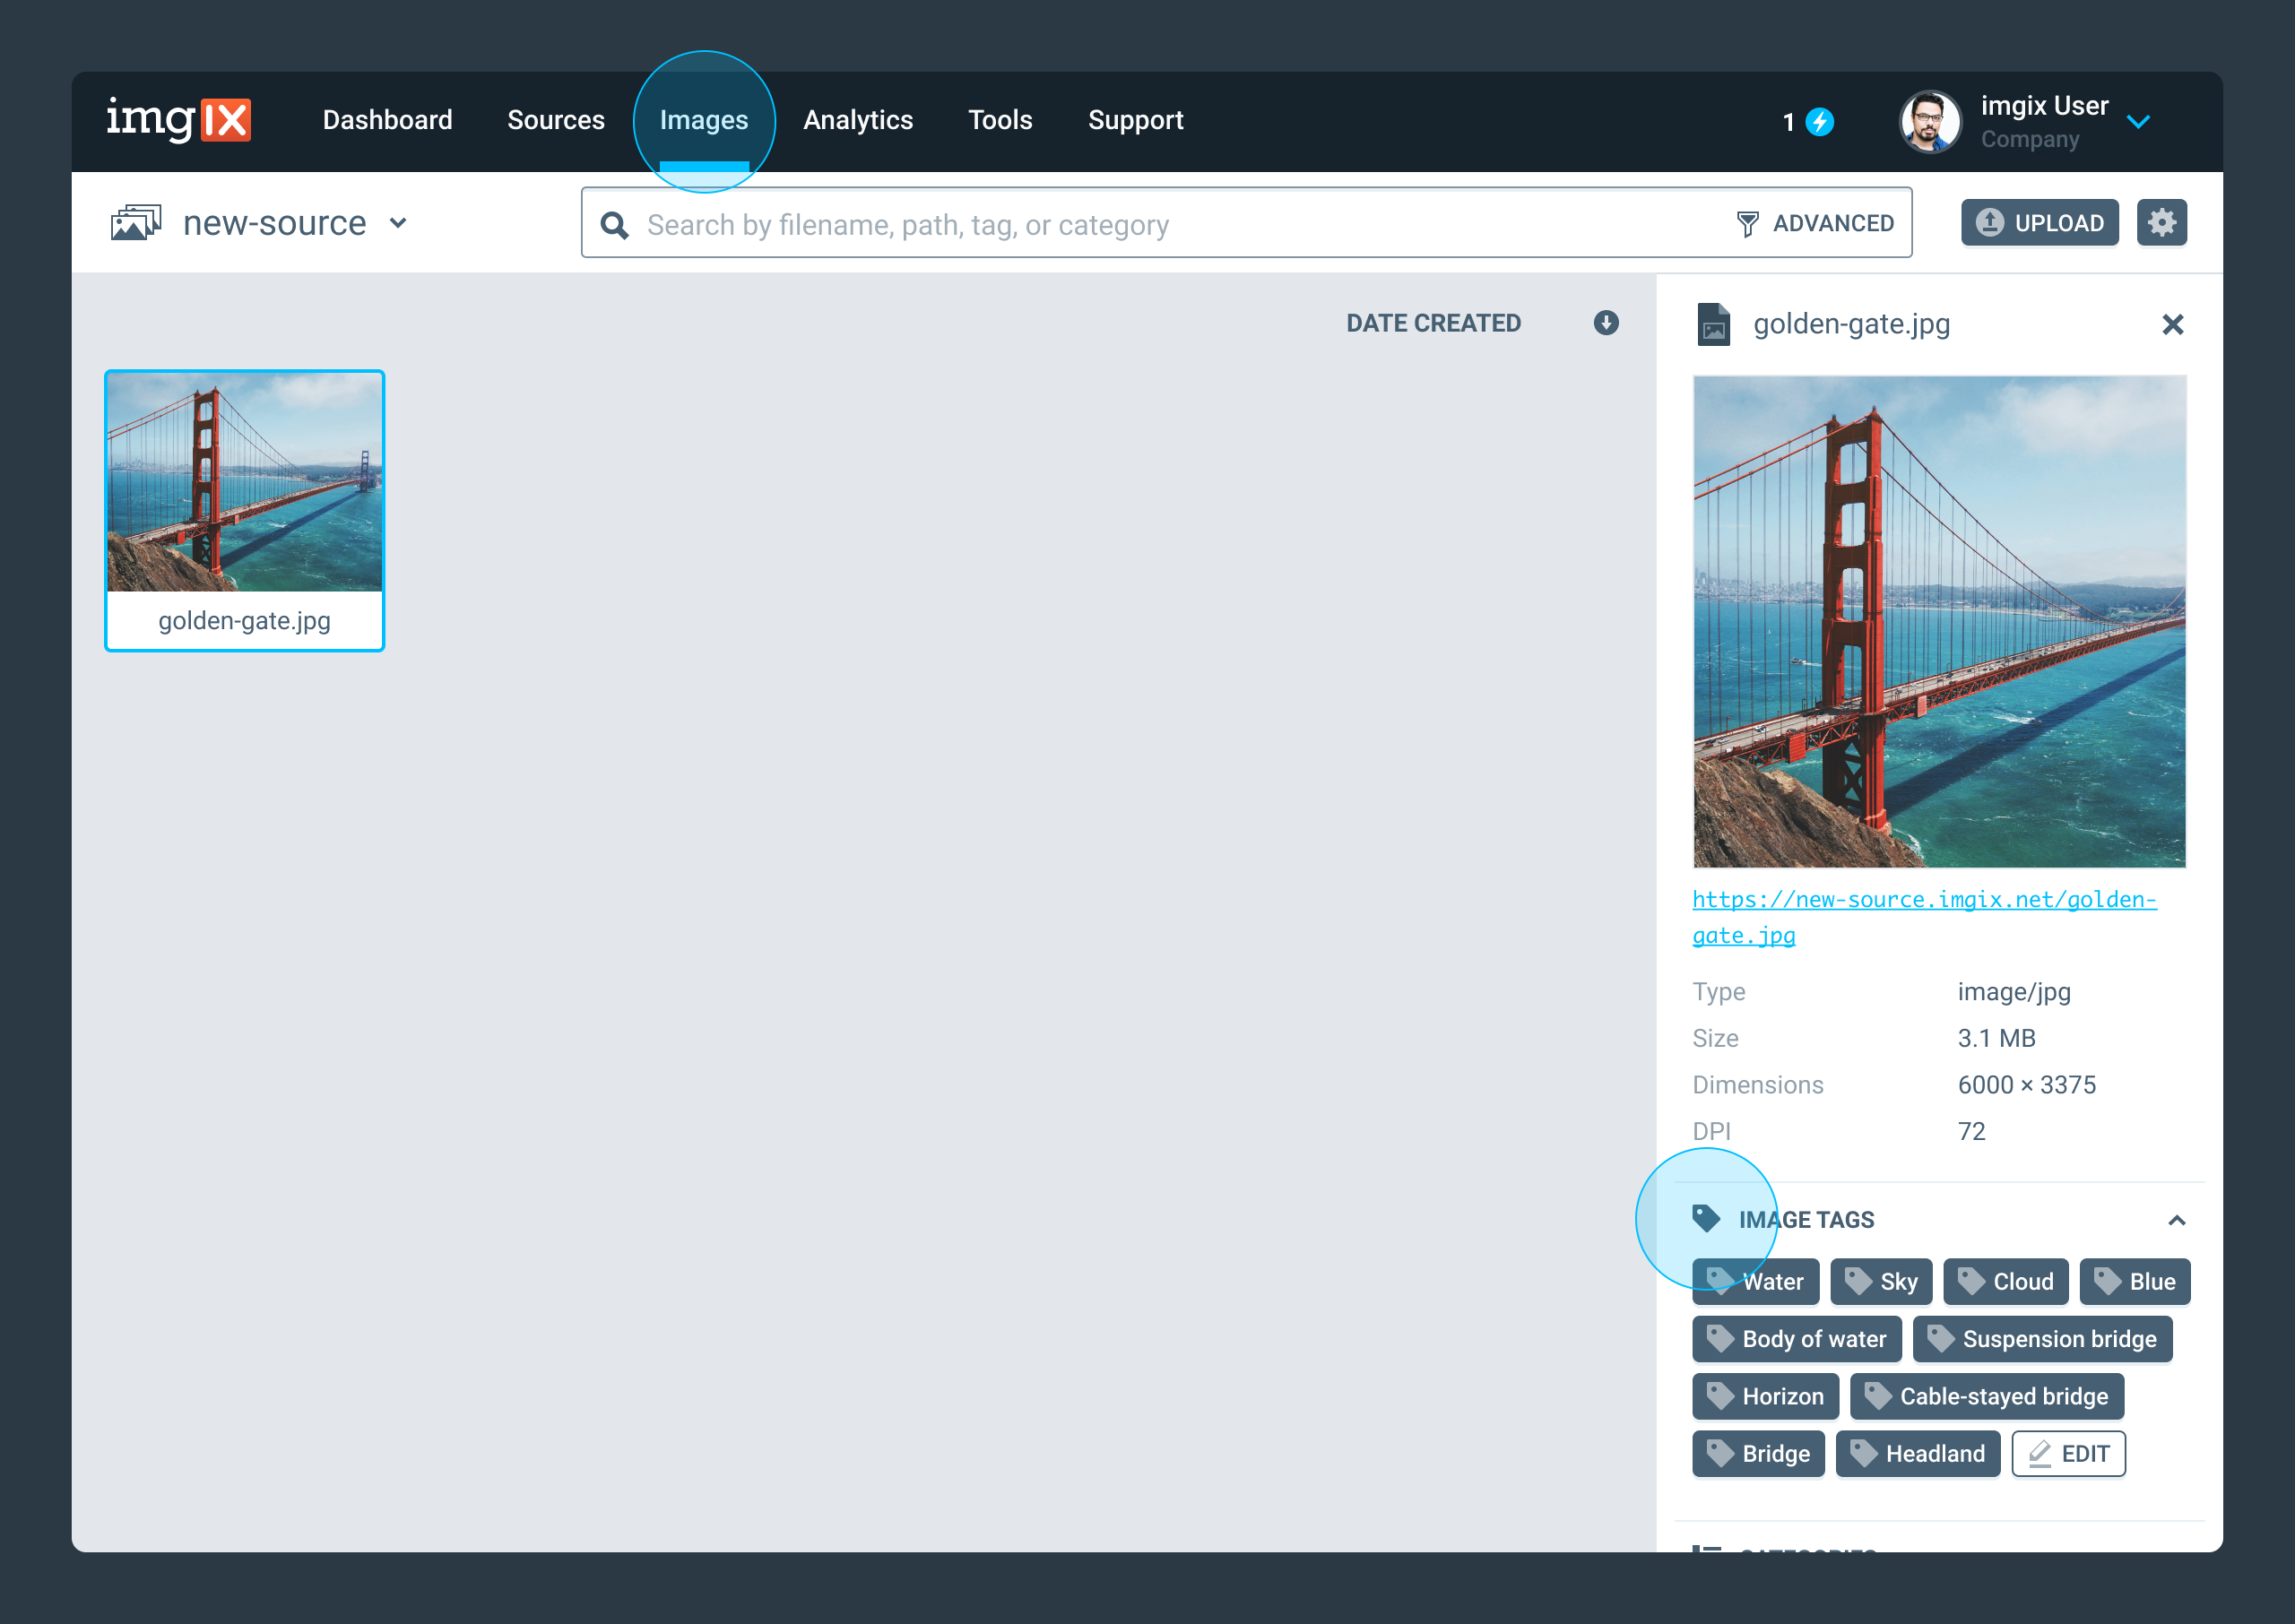
Once on the Assets tab, you’ll have access to detailed information about each image stored in your S3 bucket as well as some key management functions:
- Image tags generated using machine learning: search for images in your bucket by using natural language. This feature is currently only available for Premium Plan customers.
- Custom fields and categories: organize images and add information based on your needs. By clicking on a category or an image tag, you can explore all the other images with the same attribute.
- Upload through Asset Manager: you don't have to leave the Asset Manager UI to upload images directly to your S3 bucket.
Summary
In this article, we shared how to turn your S3 images bucket into a dynamic image server using imgix. We covered the entire setup process from creating read-only S3 credentials and setting up an imgix source to displaying the images on your website.
Other Resources
- Setup Guides: Learn more about what you can do with imgix by visiting our documentation.
- imgix Tutorials We cover responsive web design, image metadata, image cropping and enhancement, and more.