Editing Images in the Asset Manager
Editing images has never been easier in the Asset Manager. No need to fiddle with URLs or Photoshop to modify an image, the Asset Manager allows you to crop, scale and set automatic parameters for your images. After you've edited an image, you can copy the image URL to embed on your web applications, or download the image locally on your computer.
To access Image Editing, open the Asset Manager (opens in a new tab) and click on any image you want to edit, then click the image thumbnail.
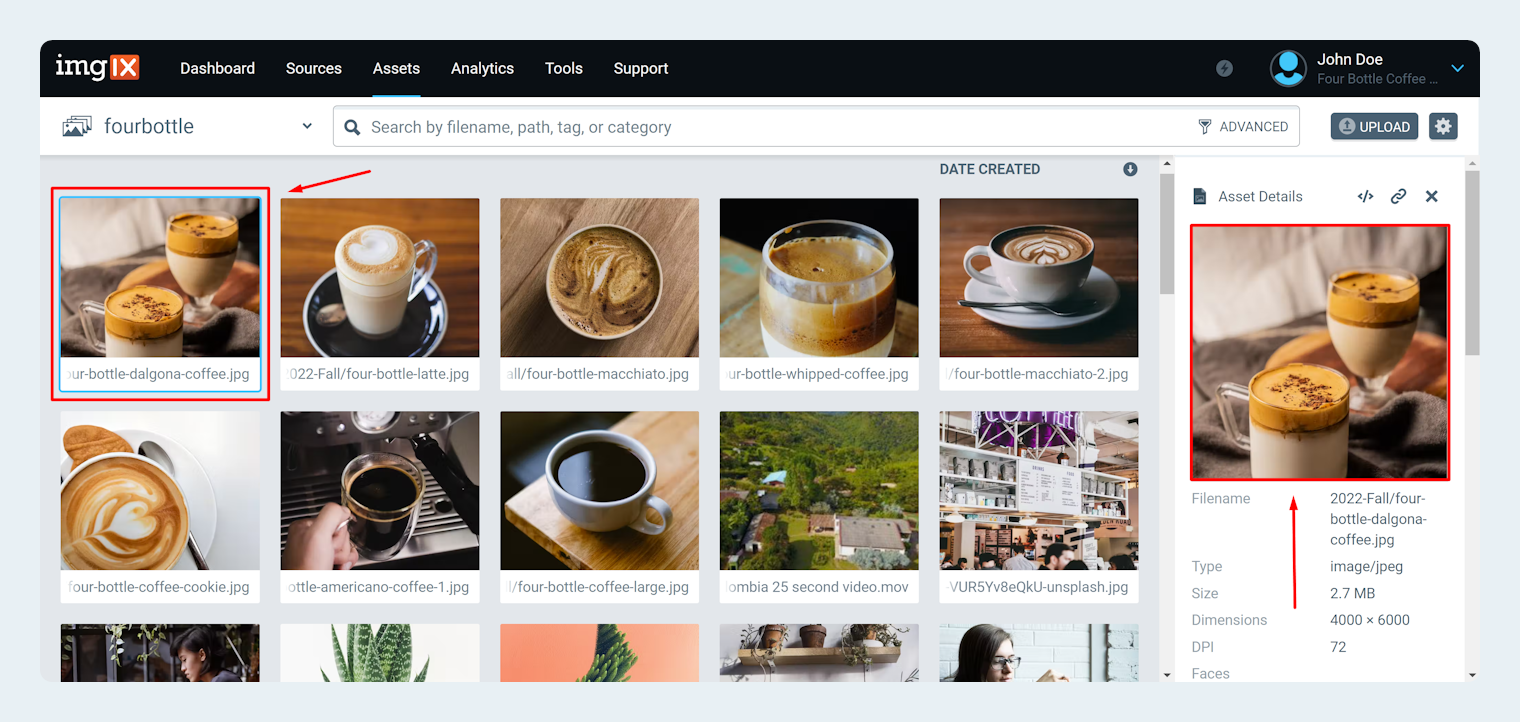
After you click the image thumbnail, you will see the image detail view. Two tabs will appear on the upper right-hand side. Click the Editing tab to open the Image Editor.

The Image Editor

Edits made in the Image Editor do not affect your original image. Instead, they generate URLs that transform the image according to the options you apply in this user interface.
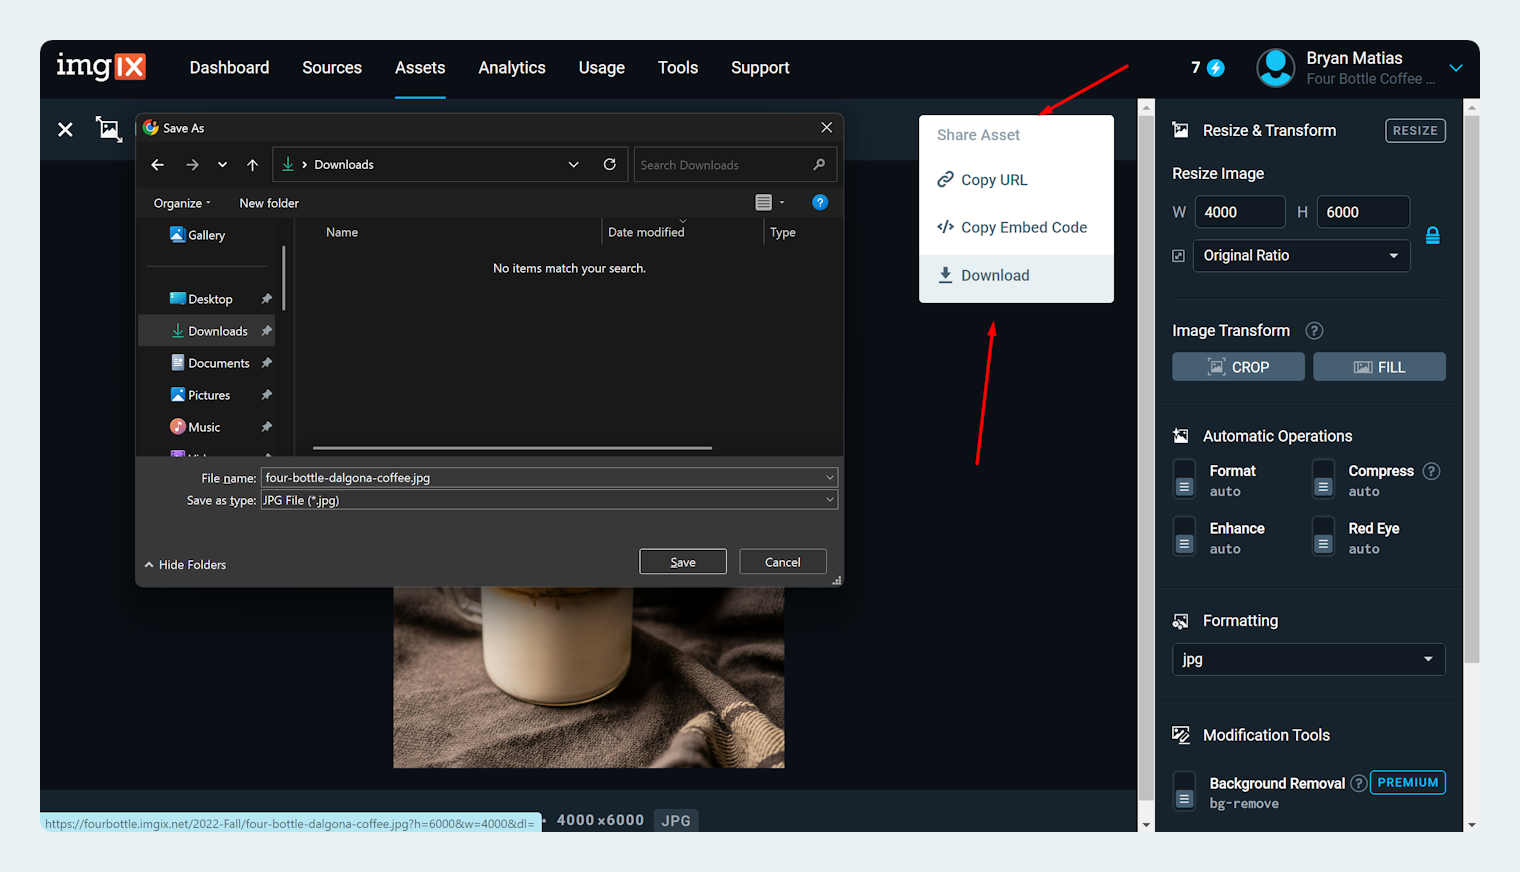
To get the image URL, click Share -> Copy URL. This will copy the URL with parameters to your clipboard. You can then paste this URL into your web application to display the edited image.
https://fourbottle.imgix.net/2022-Fall/four-bottle-dalgona-coffee.jpg?w=4000&h=6000
Alternatively, you can download the image to your computer by clicking Share -> Download Image:
Size & Properties
The Size & Properties section controls the size of the image. Here, you can specify the aspect ratio, width and height of the image.

Automatic Operations
Have imgix automatically adjust your images using one of the automatic options. The following options are available:
- Format: Detects AVIF and WebP browser support to serve the best format for the web.
- Compress: Alters the processing algorithm to apply image compression.
- Enhance: Adjusts the image properties to create a more vibrant image.
- Red Eye: Applies red-eye removal to detected faces.

Cropping Tools
Crop your image using a point and click user interface. This leverages the Focal Point Crop parameter to give you full control over how your image is cropped.
To open up the point and click cropping options, click the Crop button under the Image Transform section. You can then drag the borders of the image to resize the crop, or drag the crop box to move the crop area around the image.
Use your mouse wheel to zoom or set the crop size manually in the right-hand input boxes.

Once you've finished cropping your image, click Apply to save your changes as you continue editing.
Fill Tools
The Fill tool is an alternative to cropping that allows you to fill the background of your image with a blur. This is useful when you want to maintain the aspect ratio of your image but need to fill the background with a color or blur.
If you are on a Premium Plan (opens in a new tab), you can also use Generative Fill to fill the background with generative AI.