Getting Started with the Demo Source
The Imgix demo source allows new users to test the product’s main image rendering parameters before connecting their first storage source (i.e., Amazon S3 bucket, Google Cloud Storage, etc.).
Accessing the Demo Source
Once you create an account, you can access the demo source by clicking the “Assets” tab in the Imgix dashboard or by clicking it here.

Exploring Preloaded Image Assets
Within the demo source, you’ll find a collection of preloaded image assets ready for transformation using Imgix rendering parameters. You can edit these images in two ways:
- Through the Image Editor interface
- By modifying the image URL directly
Using the Image Editor interface
Using the Image Editor interface, you can easily modify and enhance images directly within the platform
Entering Image Editor Mode
- Double-click on a photo.
- Click on the “Editing” tab on the right-hand panel that pops out.

The editing tab will have a few of Imgix’s main parameters that you can apply directly to the image.
Applying Imgix Parameters via Image Editor
Utilize Imgix parameters in the image editor to customize and enhance your images effortlessly.
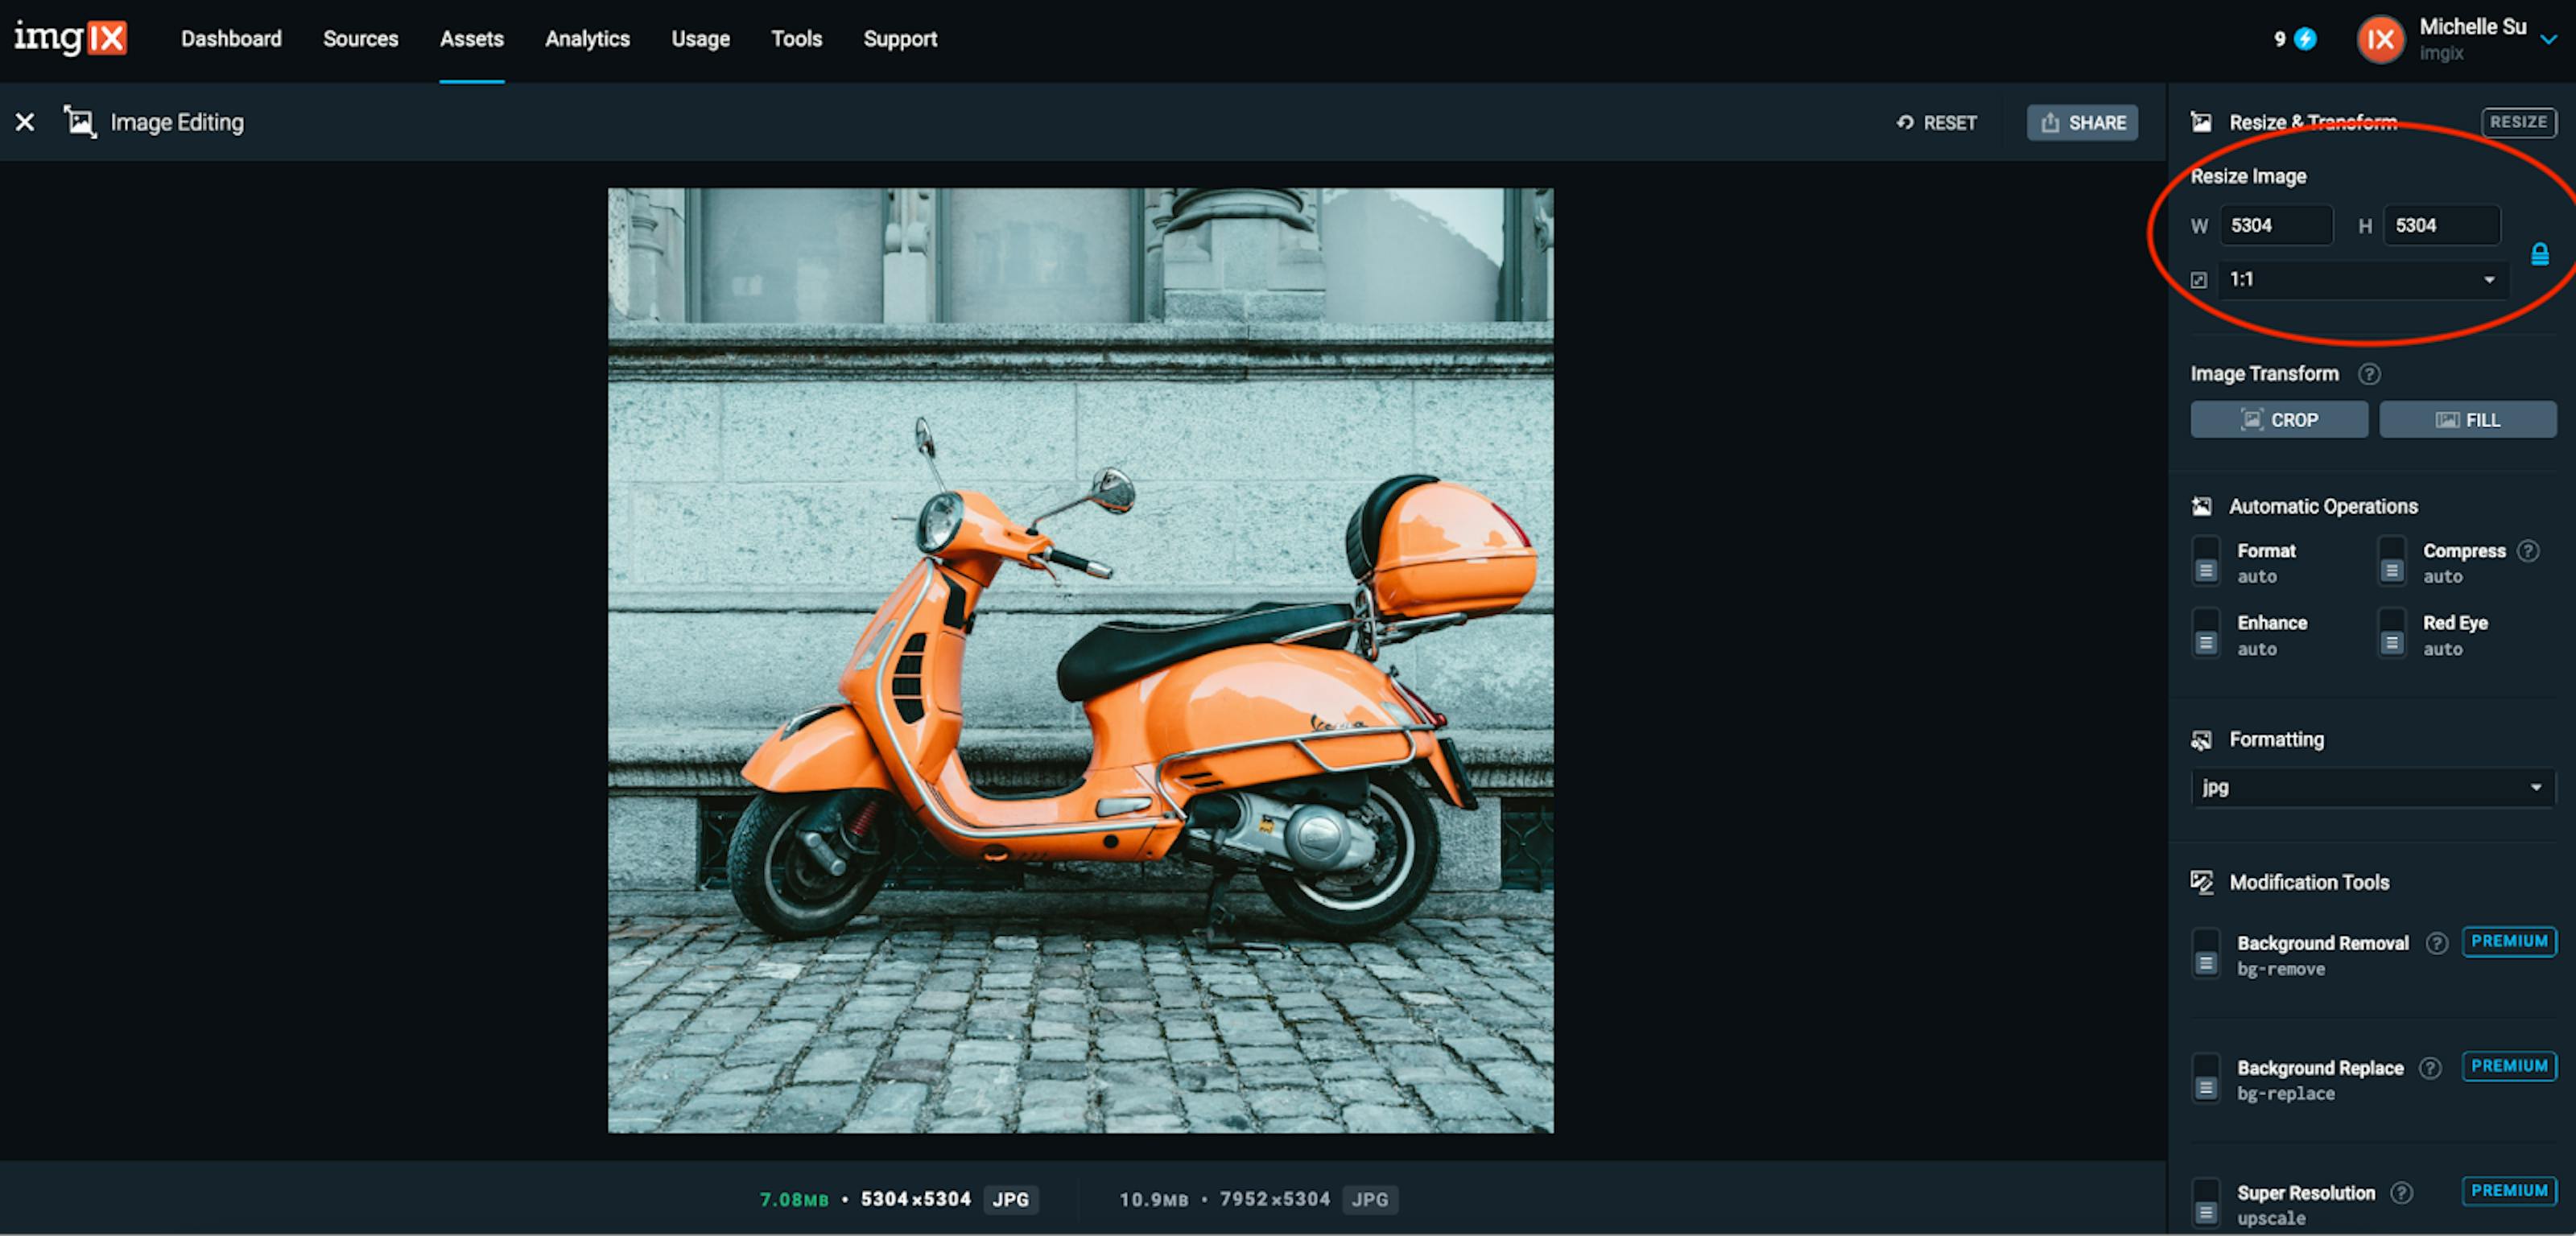
Editing the image’s size by changing the aspect ratio
Original photo

Changing the aspect ratio to a 1:1 photo
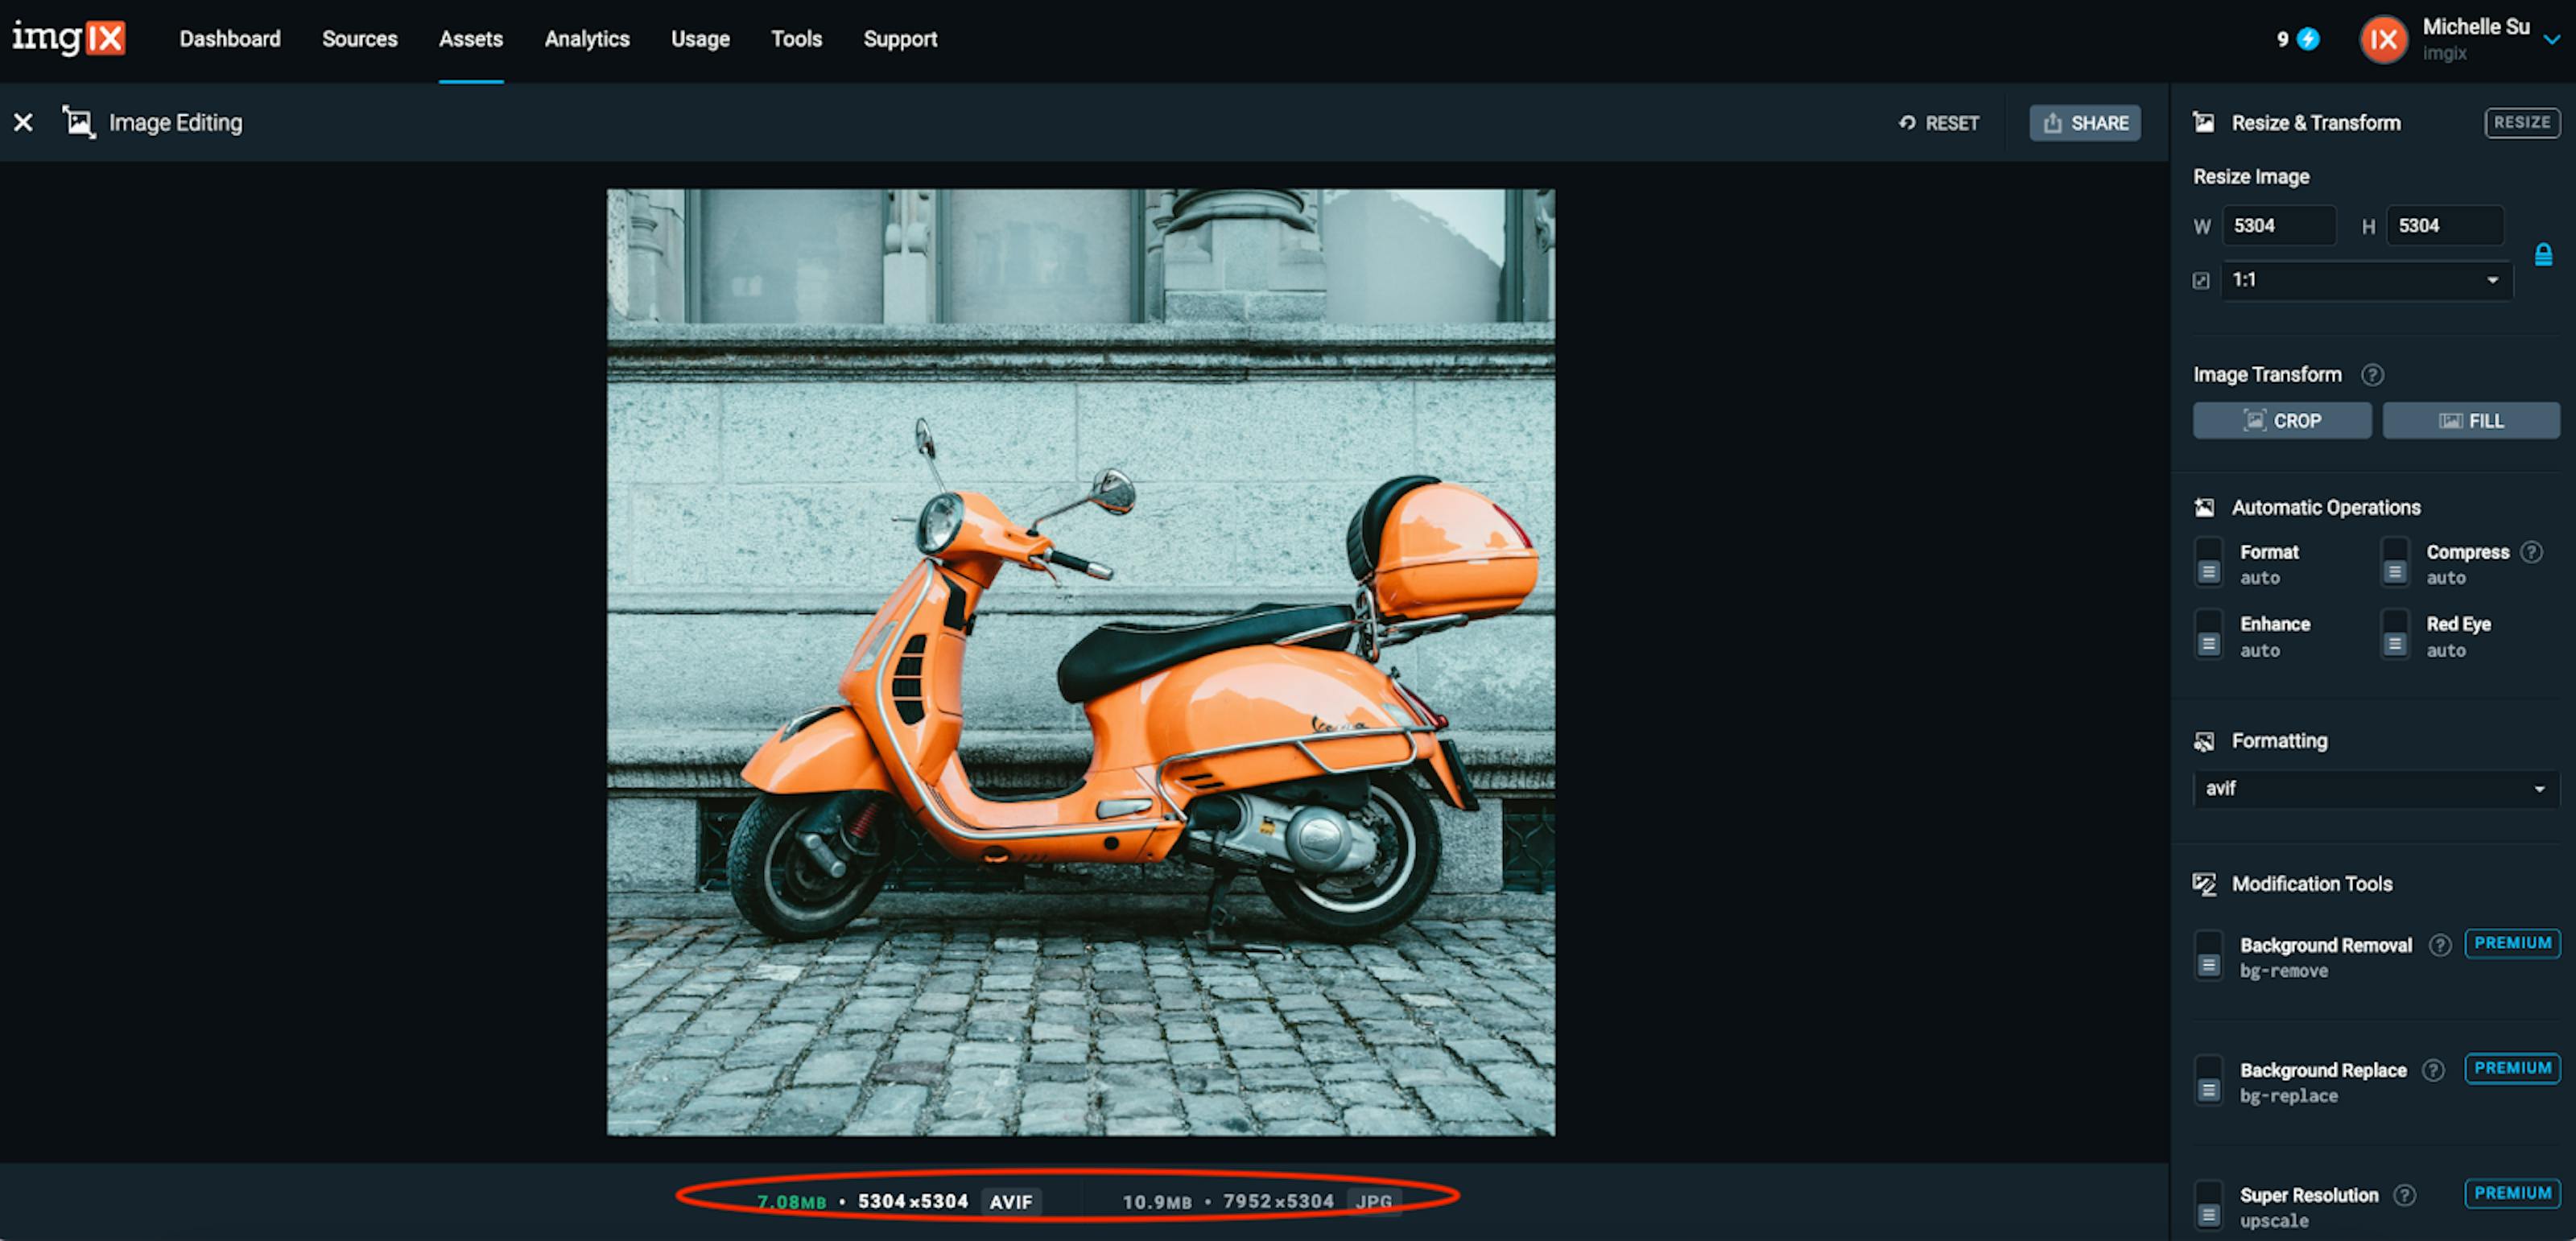
Changing the File Format
Select the file format type you’d like to use from the fm (format) parameter from the dropdown menu. You can see how each file type affects your image file size by looking at the file type and size information below the image.
Applying ‘auto’ Parameters
auto=format: Changes your image format into the most efficient file type.auto=compress: Utilizes best-effort techniques to minimize the image size.auto=enhance: Adjusts the distribution of highlights, midtones, and shadows across the red, green, and blue (RGB) channels, resulting in a more vibrant image.auto=redeye: Detects and removes red-eye from any faces in the image.
Cropping the Image Focal Point
The focal point crop function allows you to pick a point of interest when cropping an image by indicating horizontal (fp-x), vertical (fp-y), and zoom (fp-z) values.
Example: Crop to 1:1 aspect ratio while keeping the entire puppy in the frame:
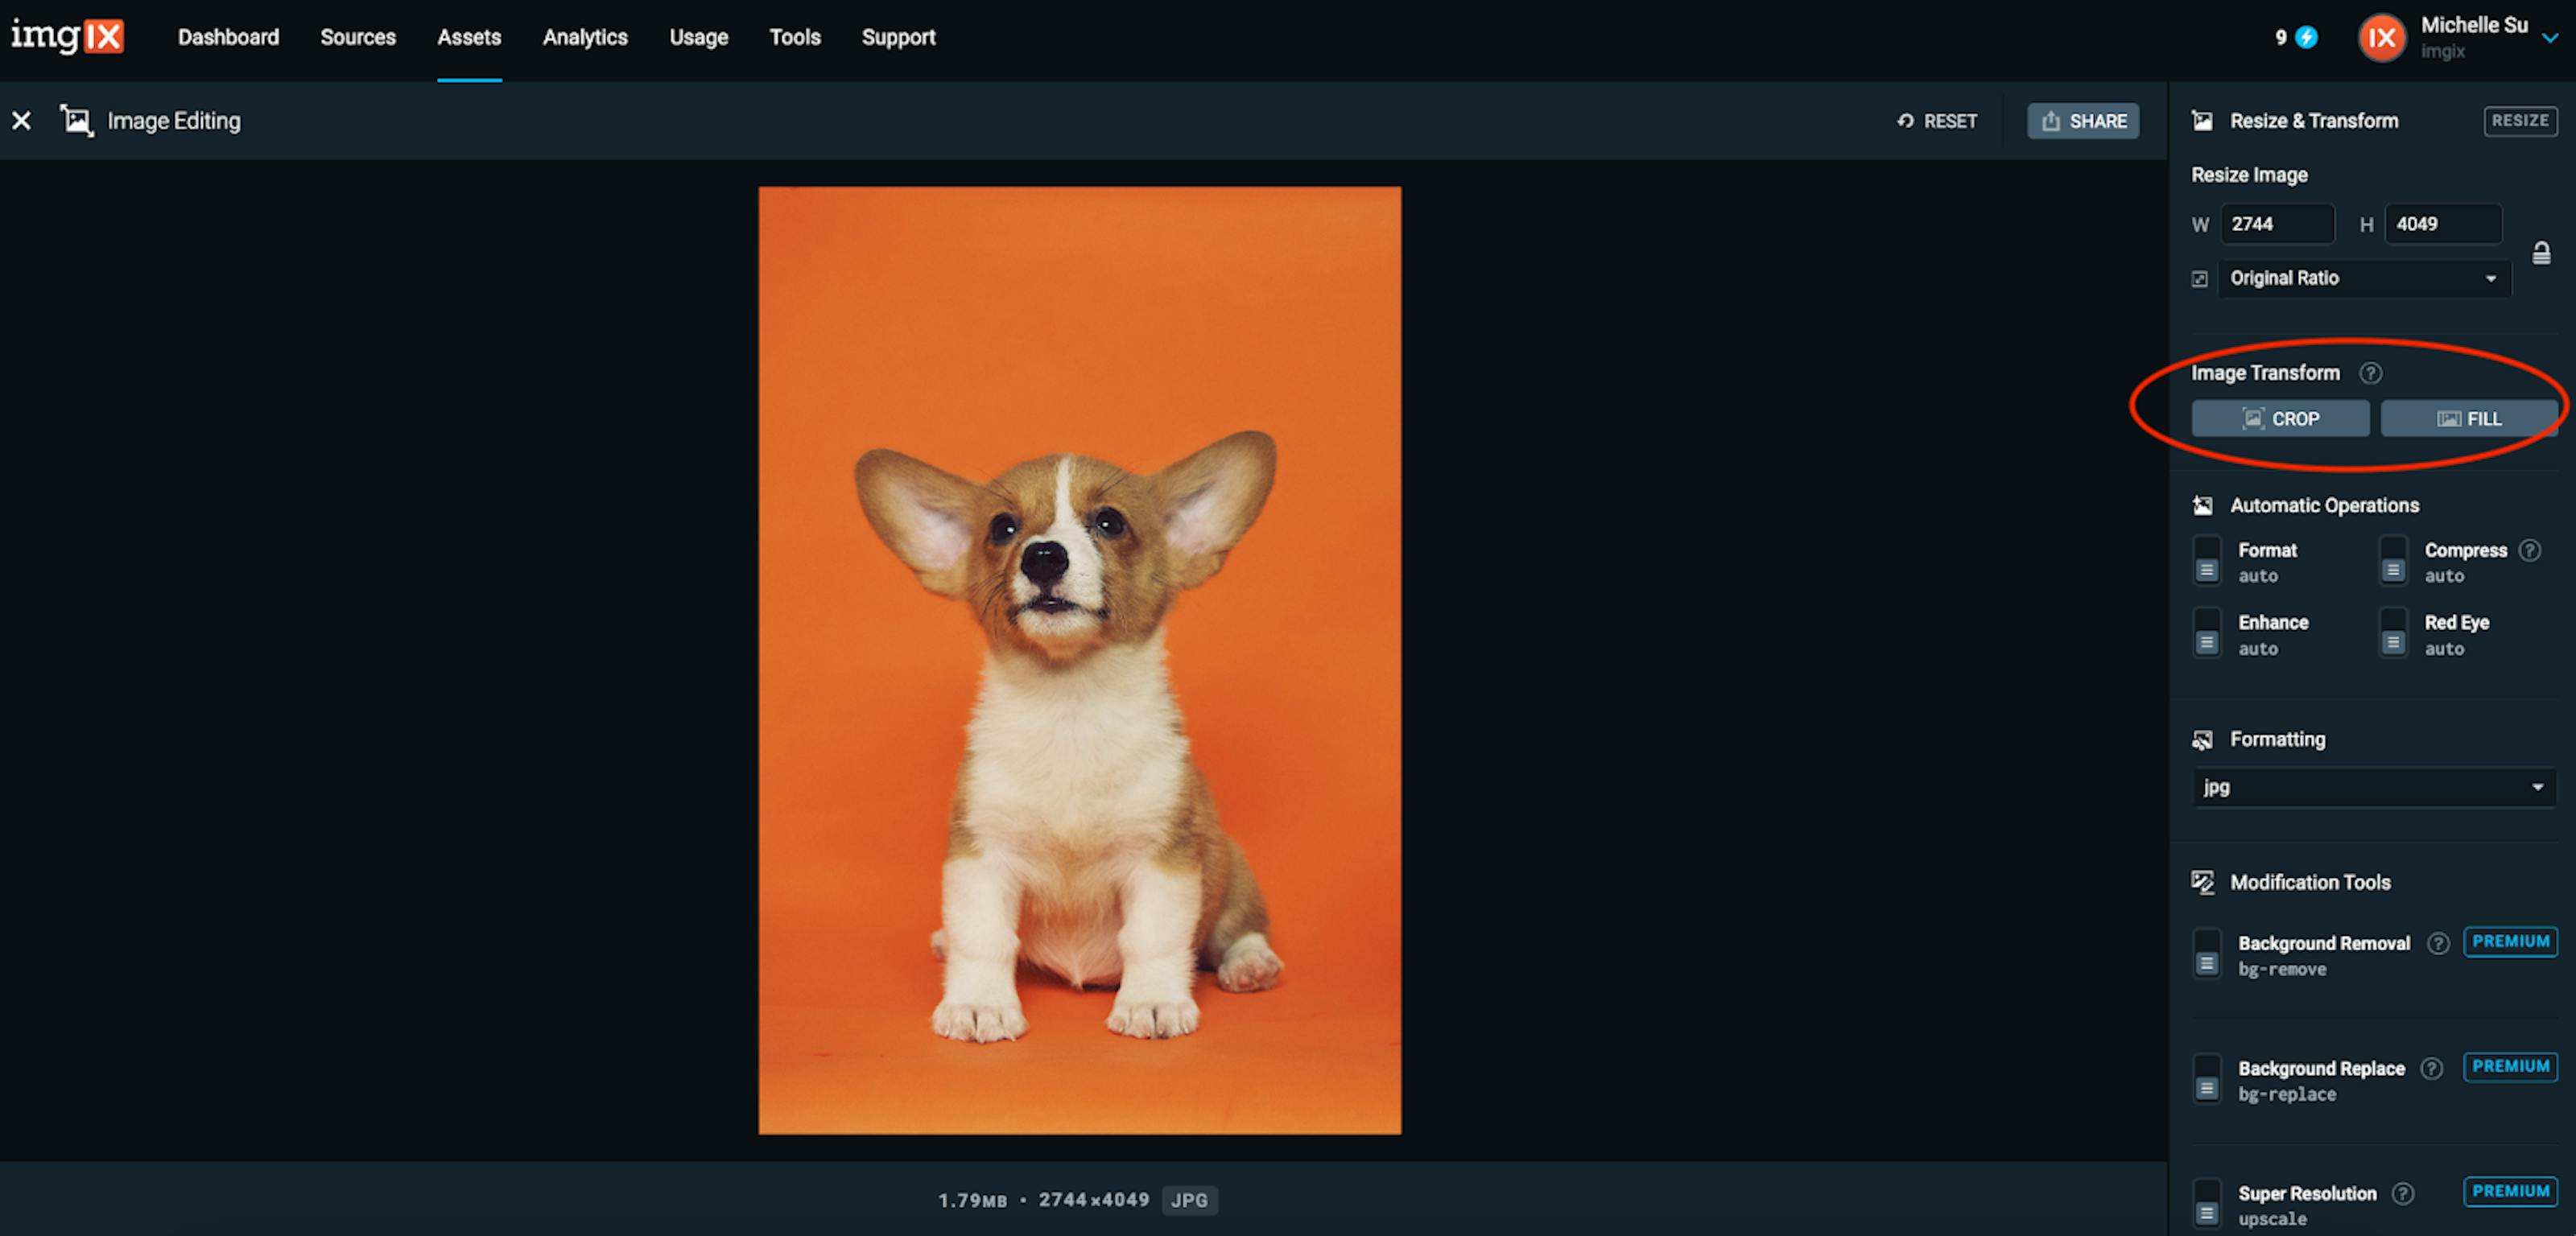
Then select the 1:1 aspect ratio in the “Resize Image” section.

Using AI Features
Using AI features such as generative fill, background removal, and super resolution, our platform enhances your images with ease and precision.
Generative Fill
Expand the canvas size and fill blank space with AI-generated imagery. Example: Use the prompt “puddle” to add a puddle to the image:

Then in the “Crop & Fill” section, select “Fill Mode” in the dropdown menu. You should see that the expanded canvas is blurred out.
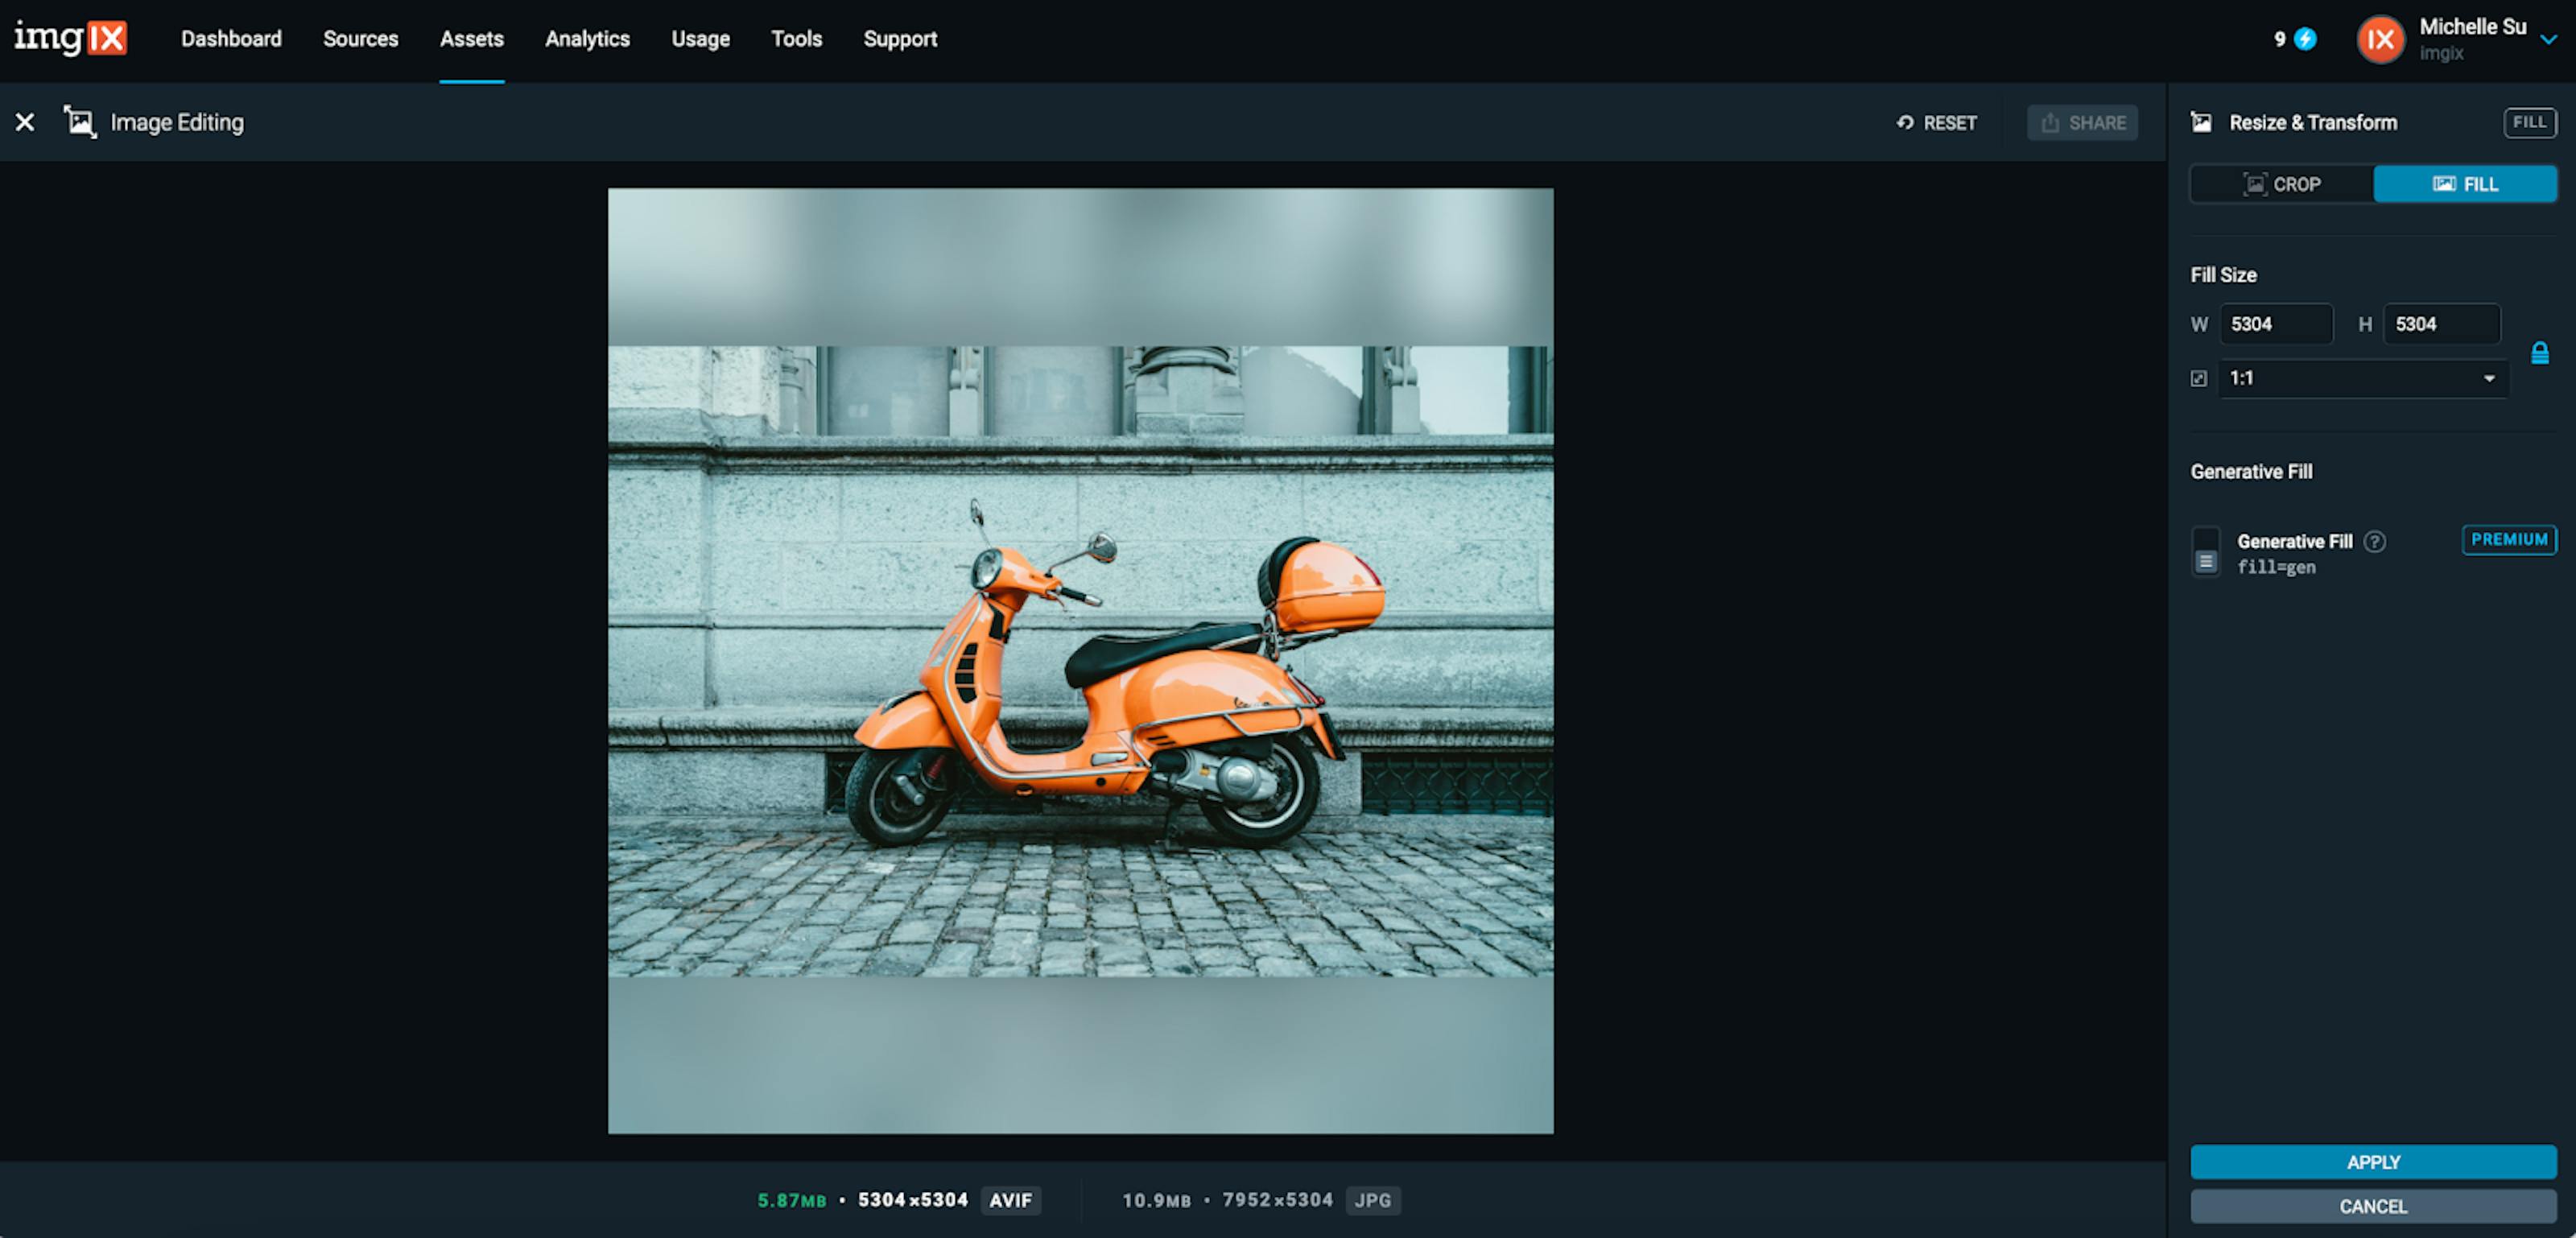
Then toggle on the Generative Fill feature. The expanded canvas area will be filled in with pixels that make sense with this photo.

Use text prompts, like “puddle,” to add specific elements to the image, noting it may take a few seconds to generate.

Background Removal
Remove the backdrop with a click.
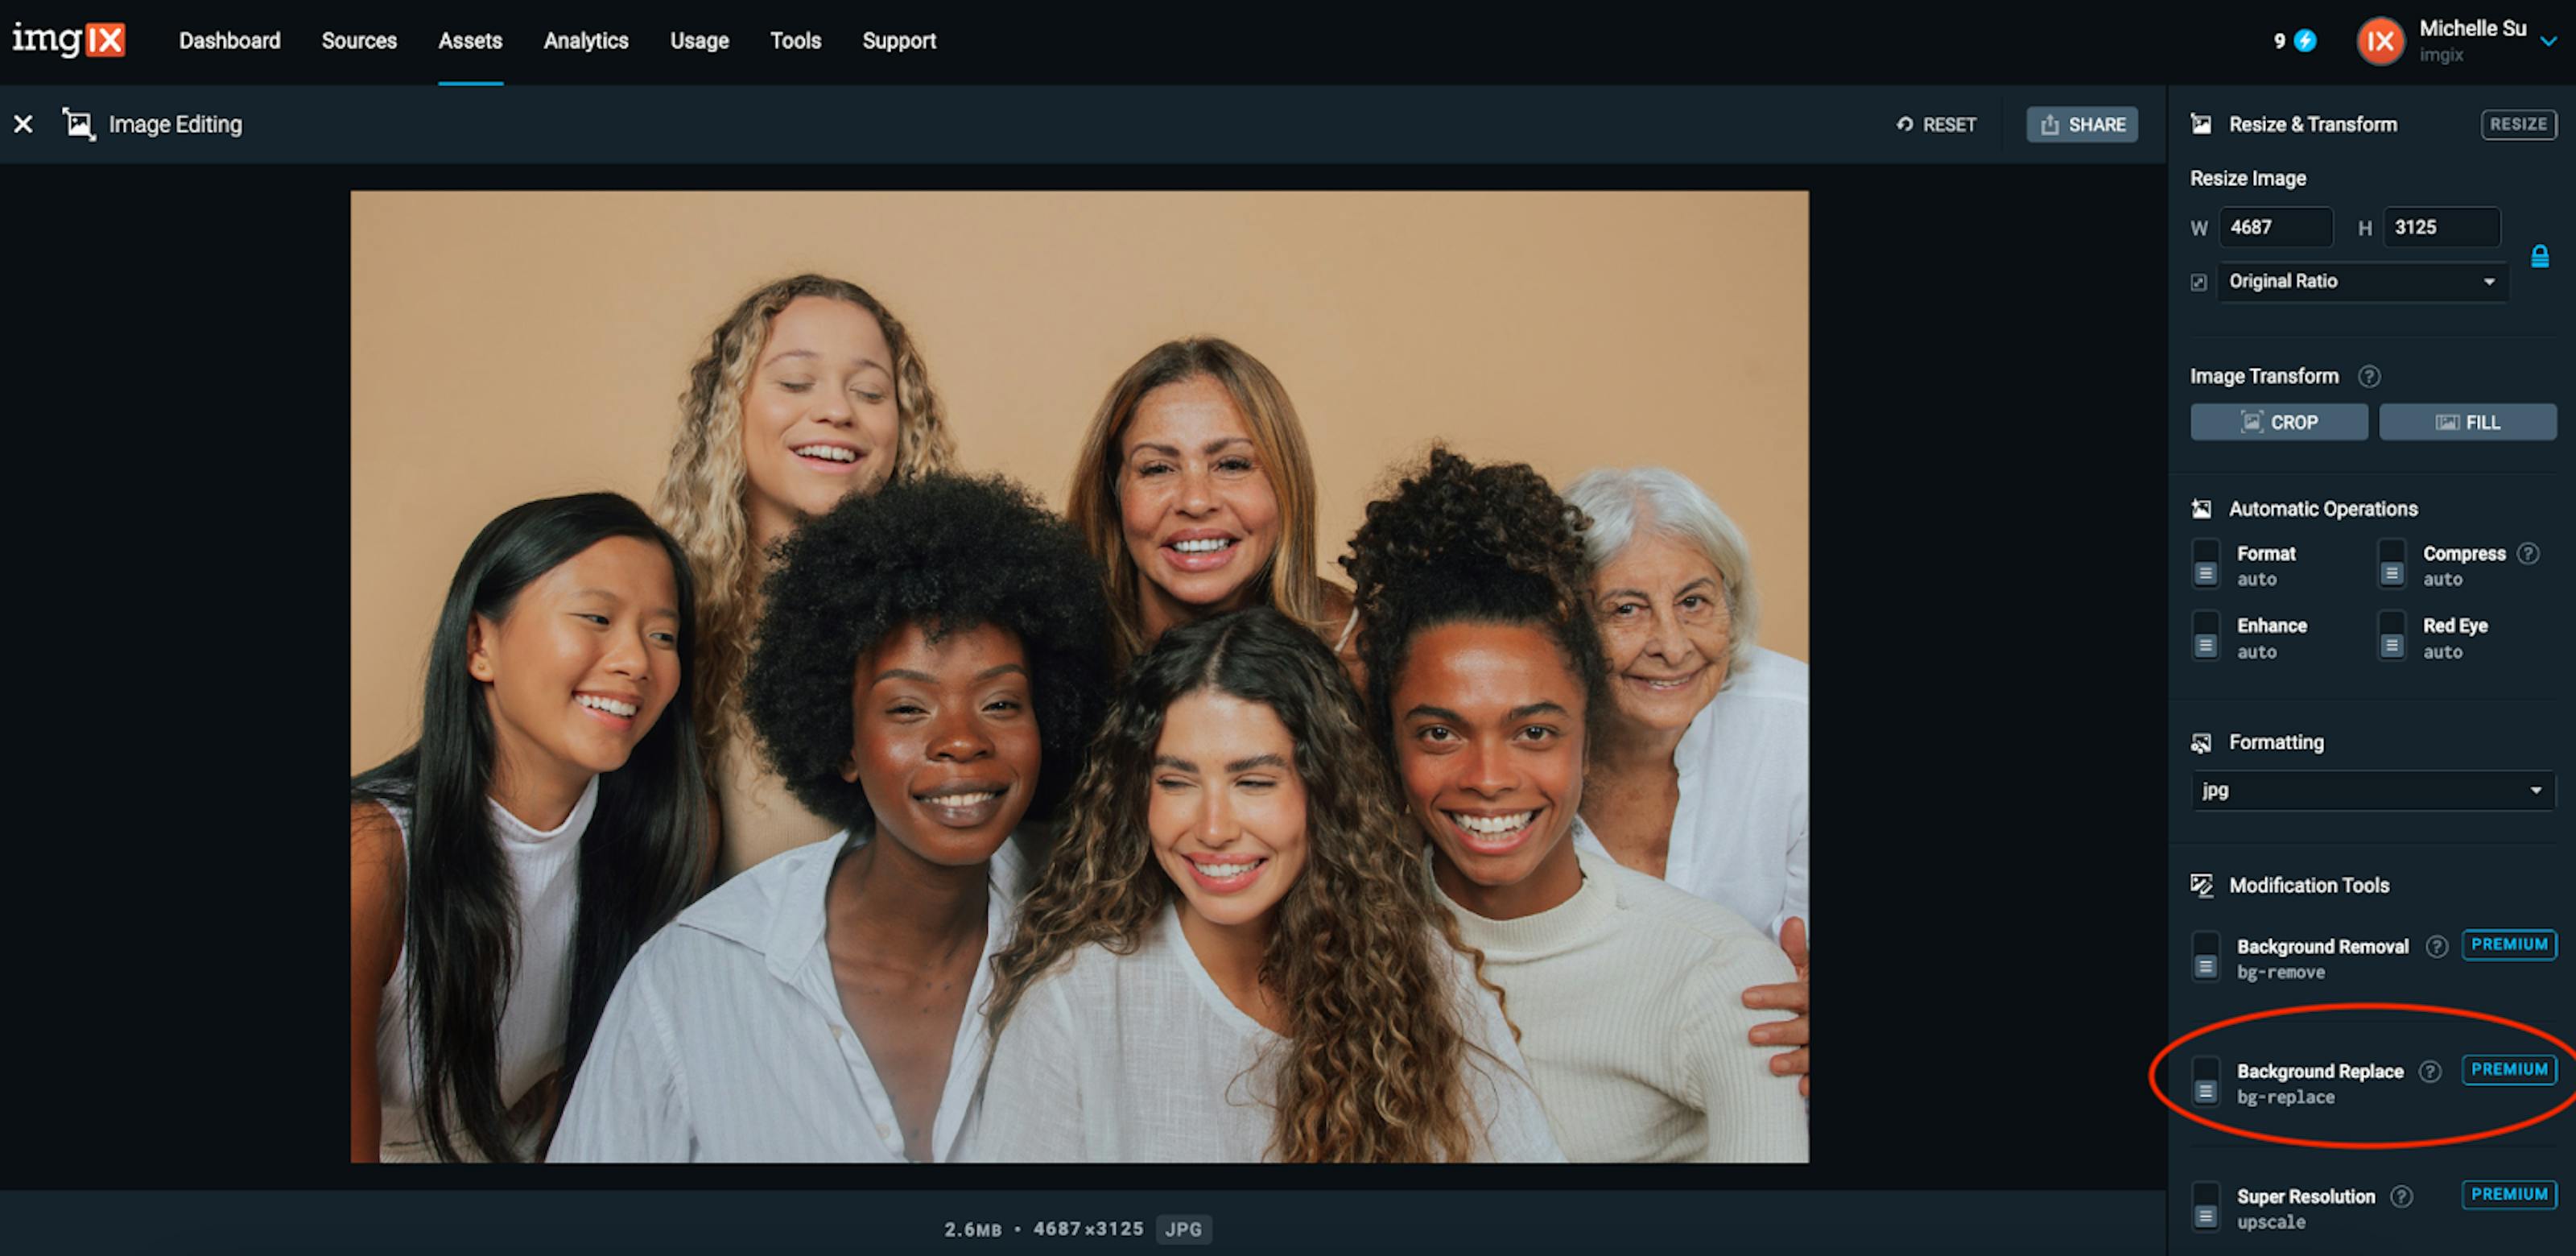

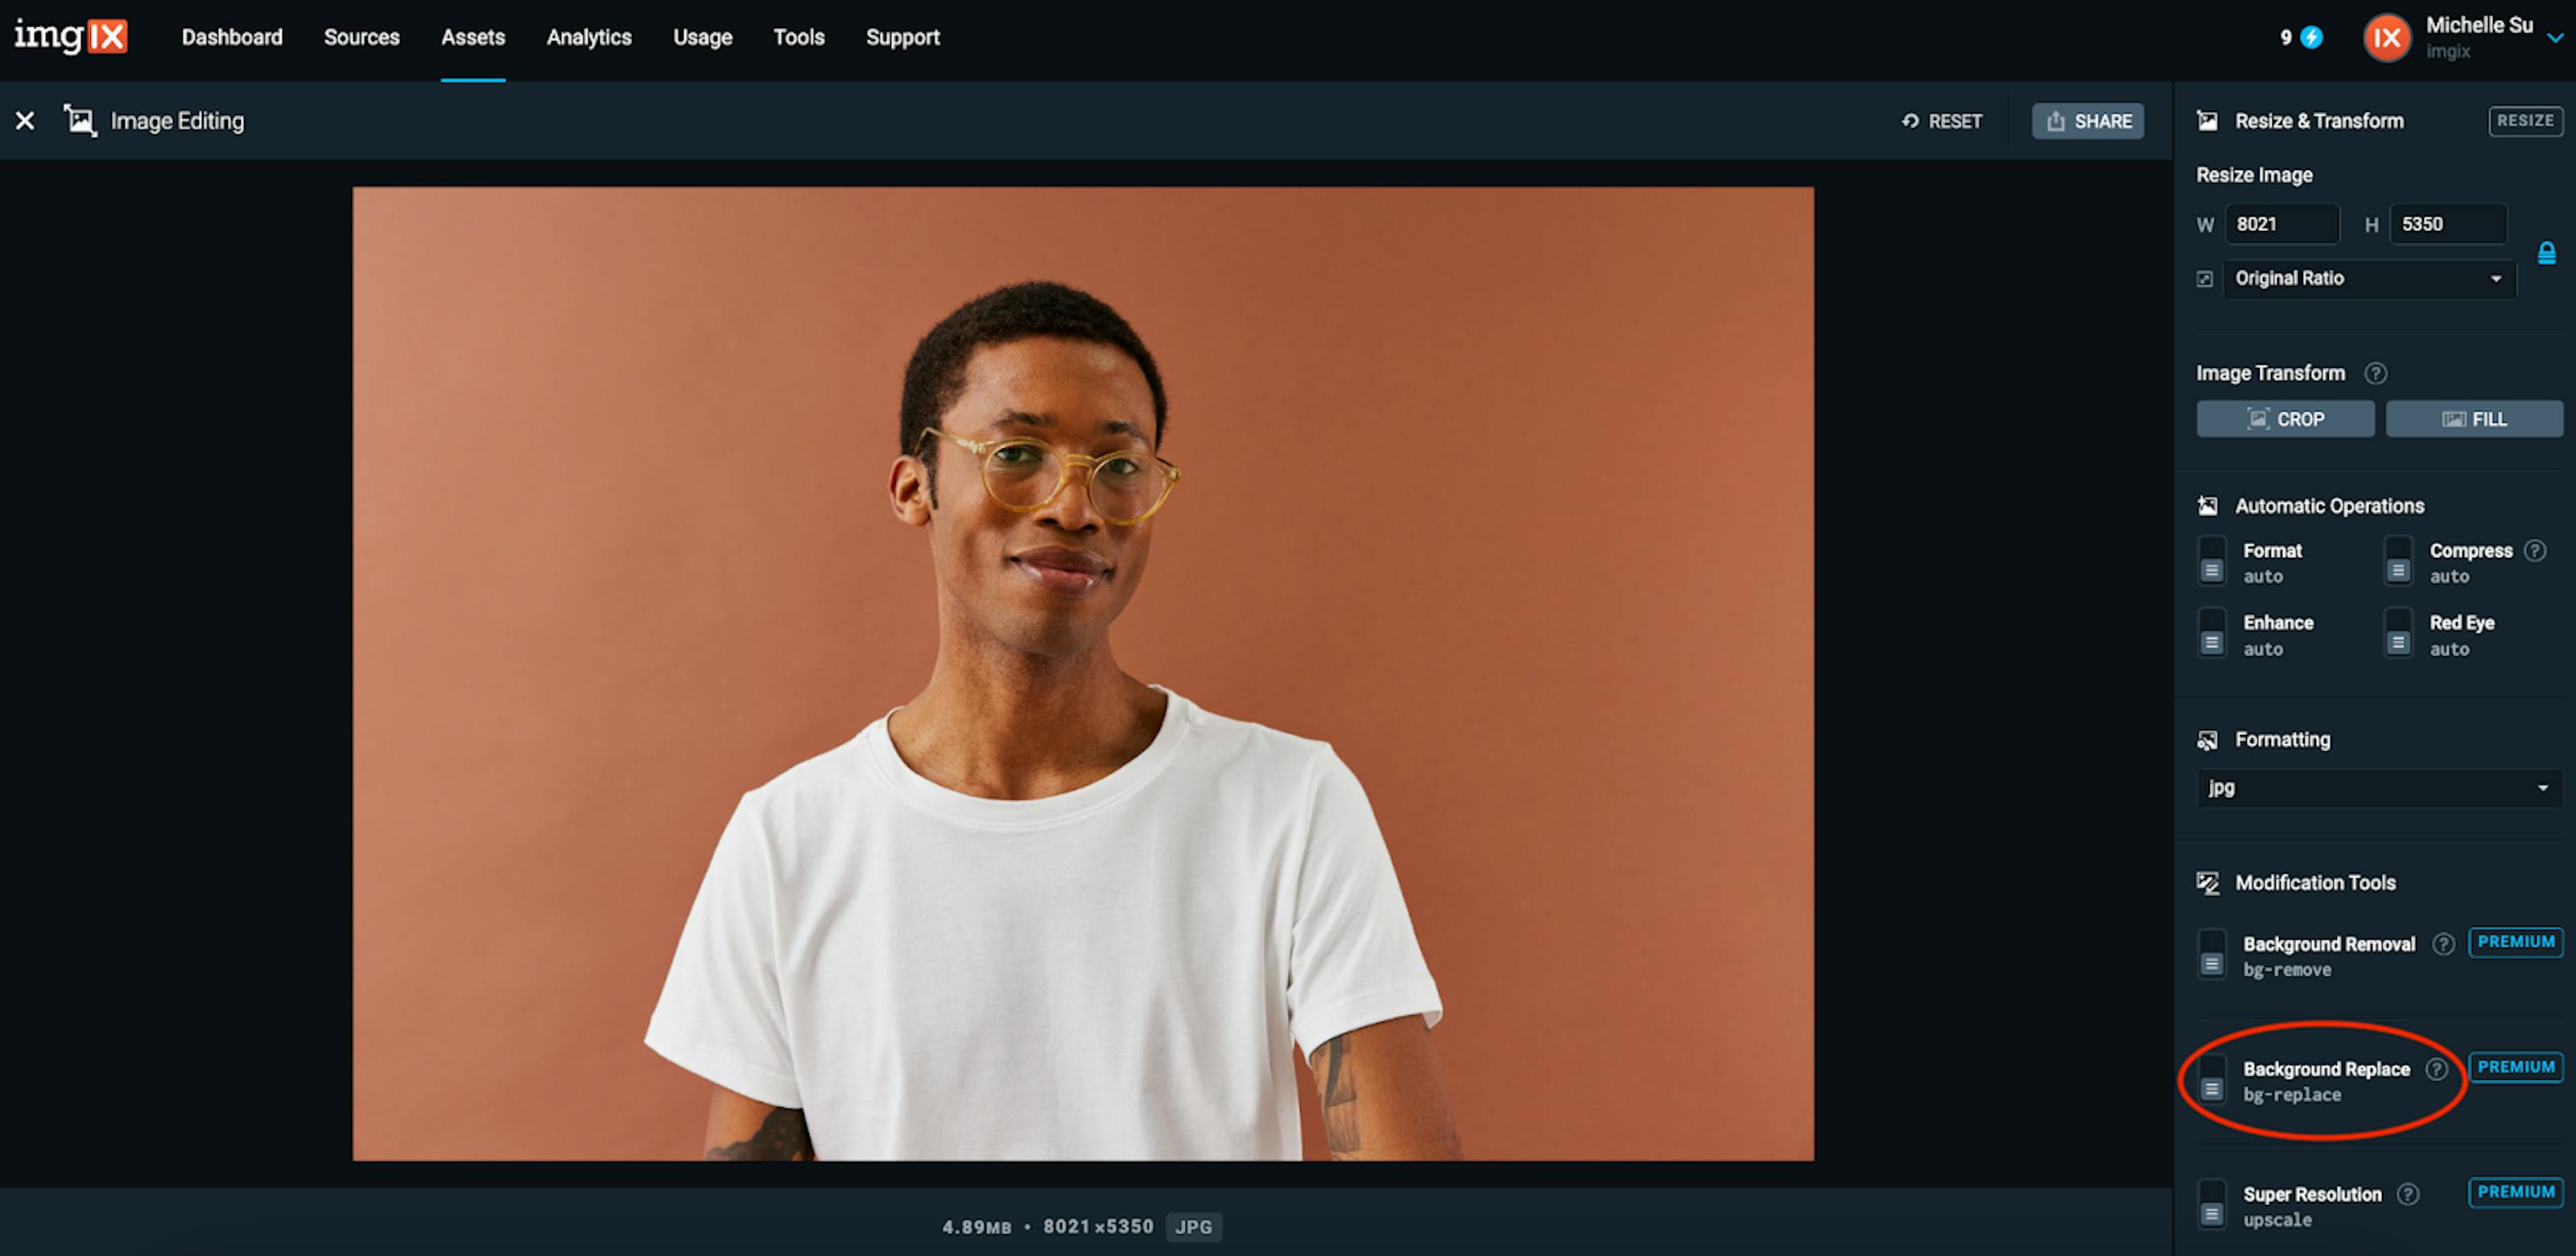
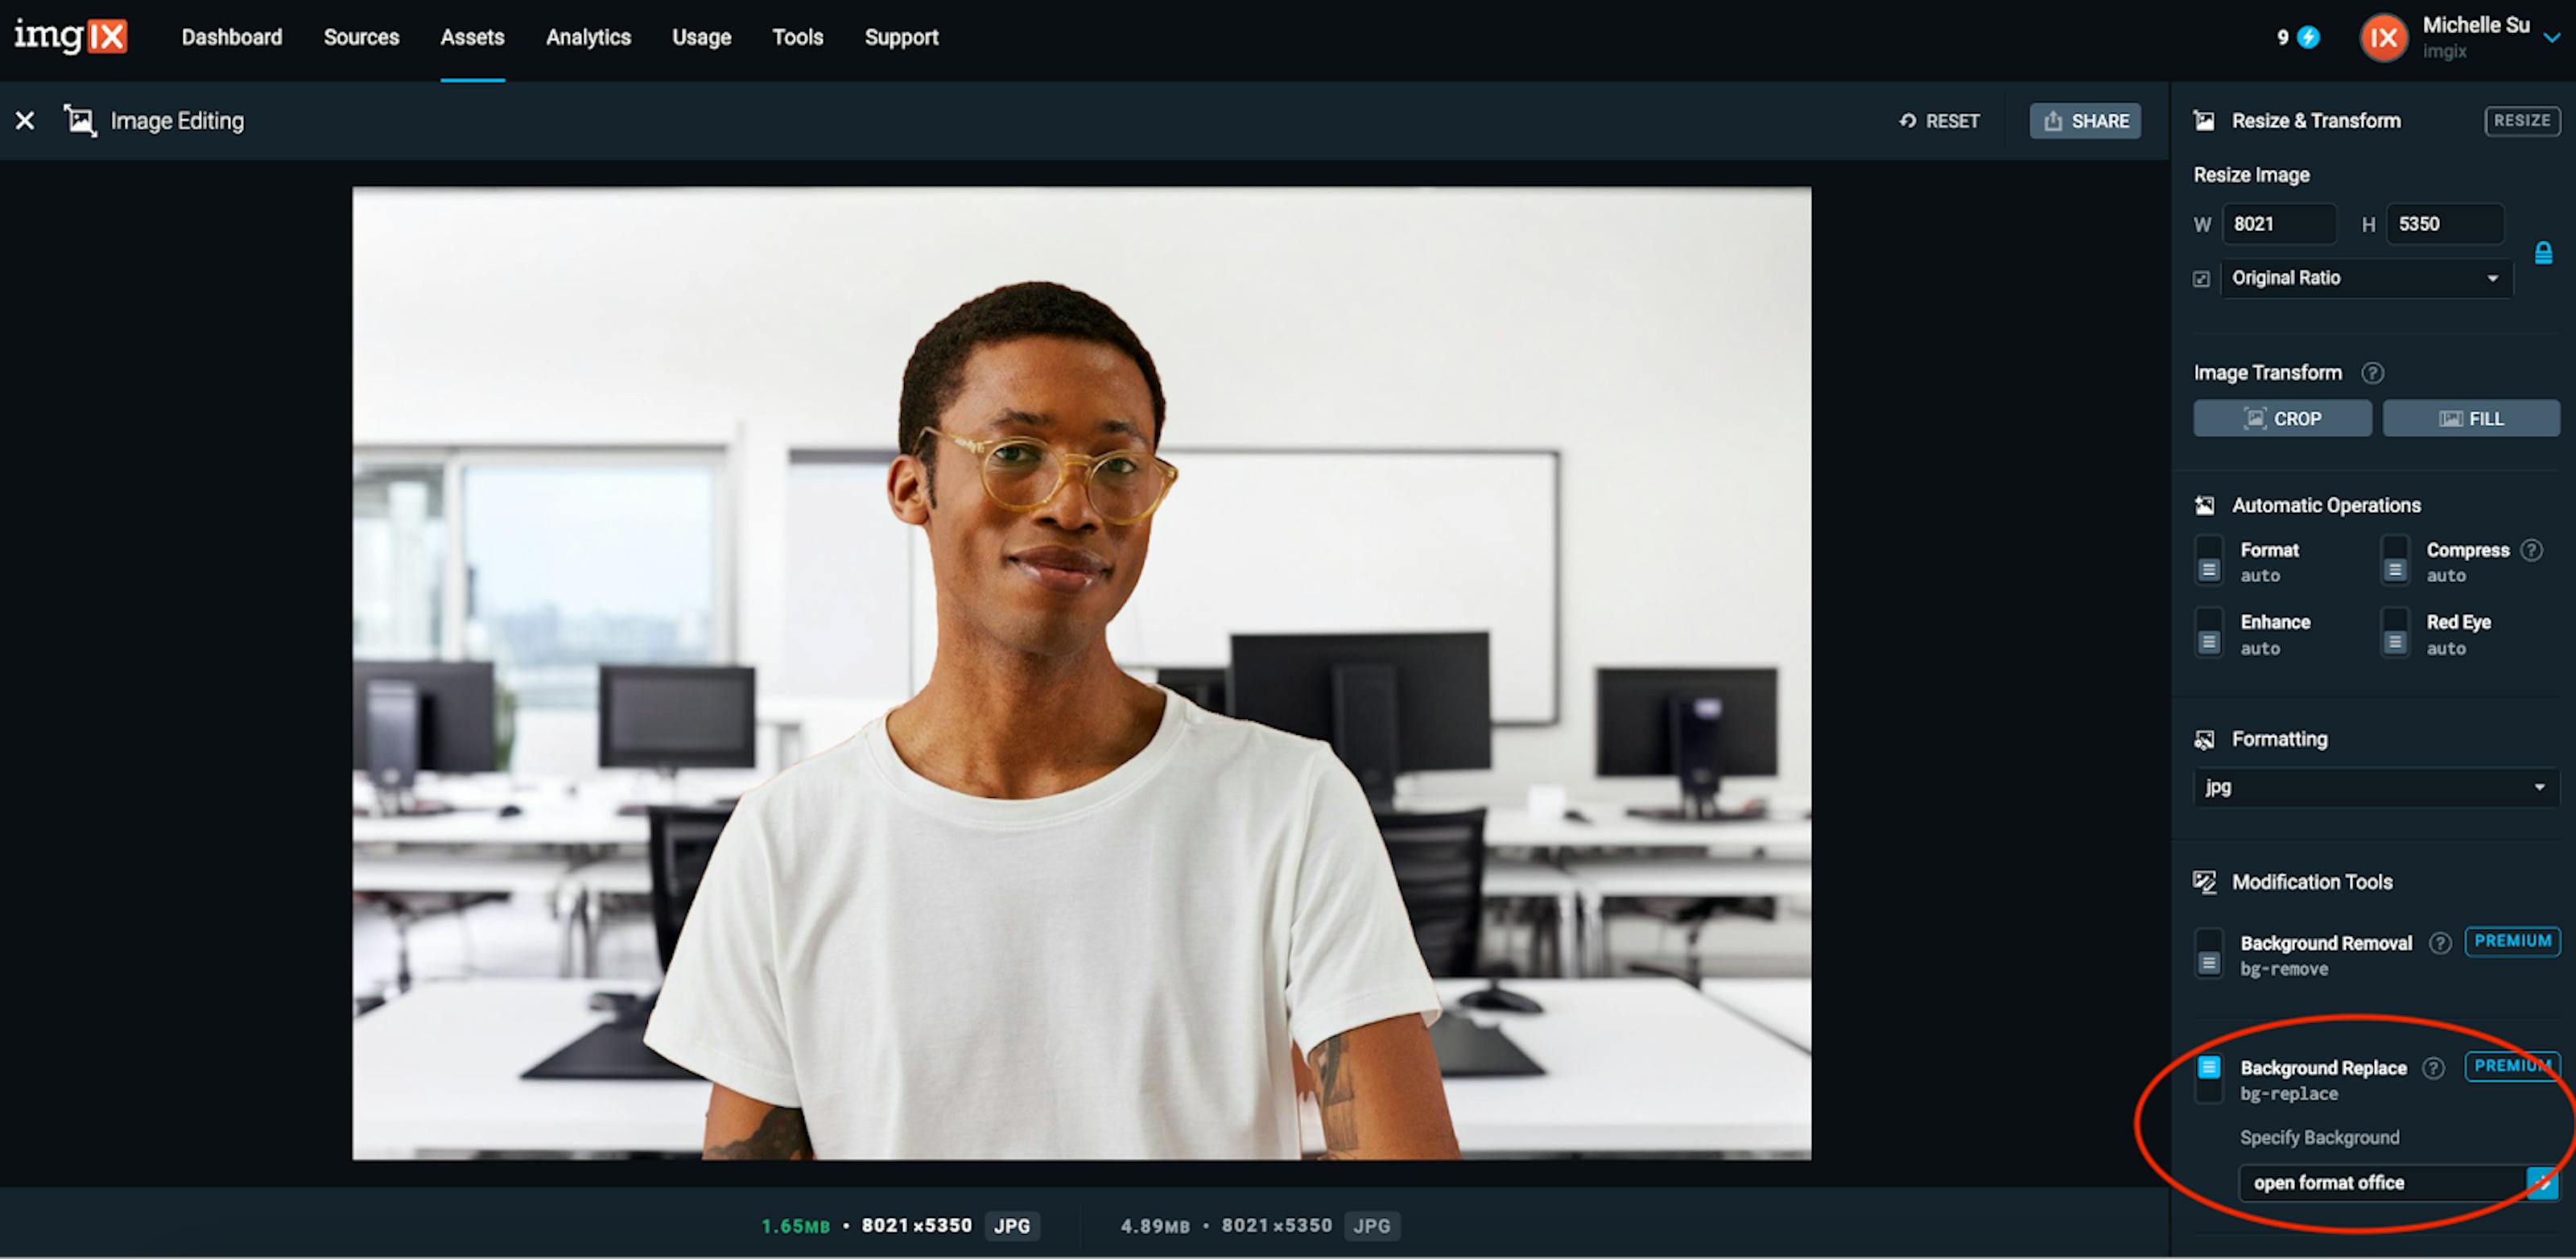
Background Replacement
Background replacement is a generative AI feature that intelligently removes and replaces the backdrop of your image with text prompts.
Simply toggle on the “Background Replace” feature and type in a prompt.
Super Resolution
Super resolution is an AI solution that upscales images under 0.25MB up to 4x of their original size while retaining image quality. Upscaling is achieved by using generative AI to improve the details of the image as we increase the image’s resolution.
Note: The super resolution feature won’t work as intended in the demo since the sample images provided are already high resolution. For upscaling examples, please review our super resolution documentation or contact your Account Manager for a demo.
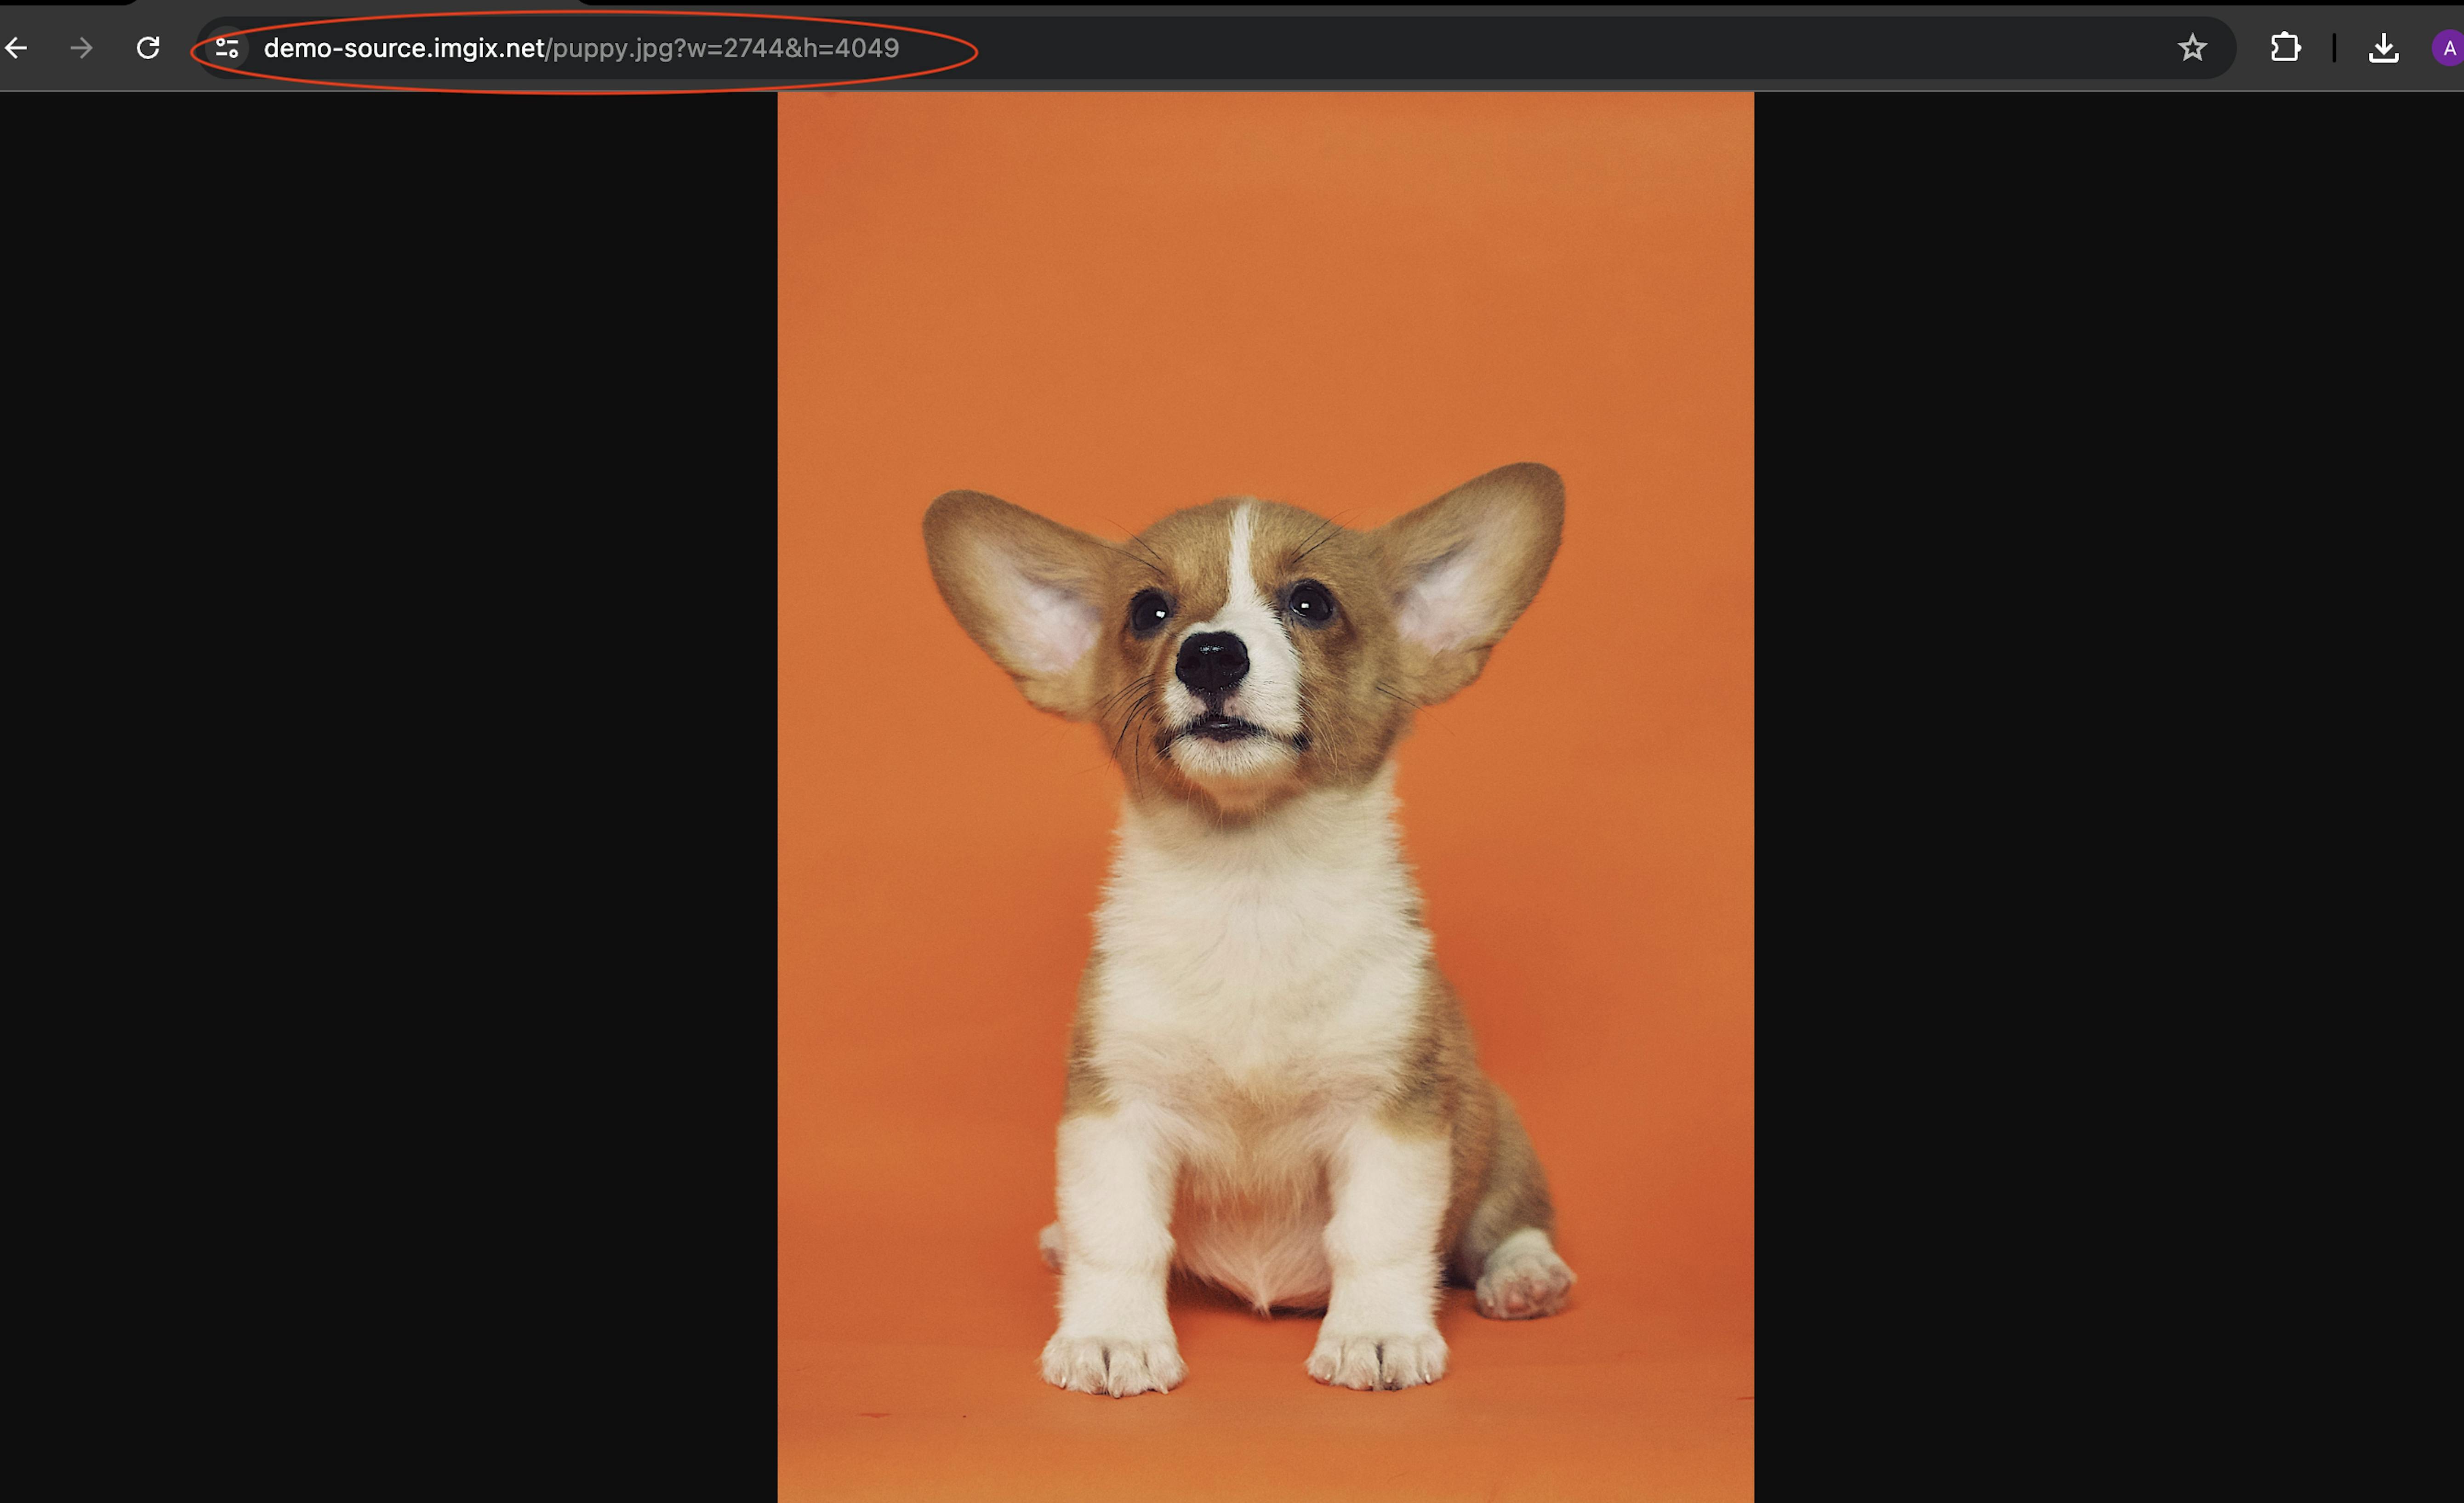
Editing the Image through the Image URL
With Imgix, you have access to over 150 rendering parameters that you can apply to your images. You can try these other parameters out by appending them to the image URL
Accessing the Image URL
Open an image in the Image Editor, then click on “Share” and “Copy URL”.

Transforming Images with URL Parameters
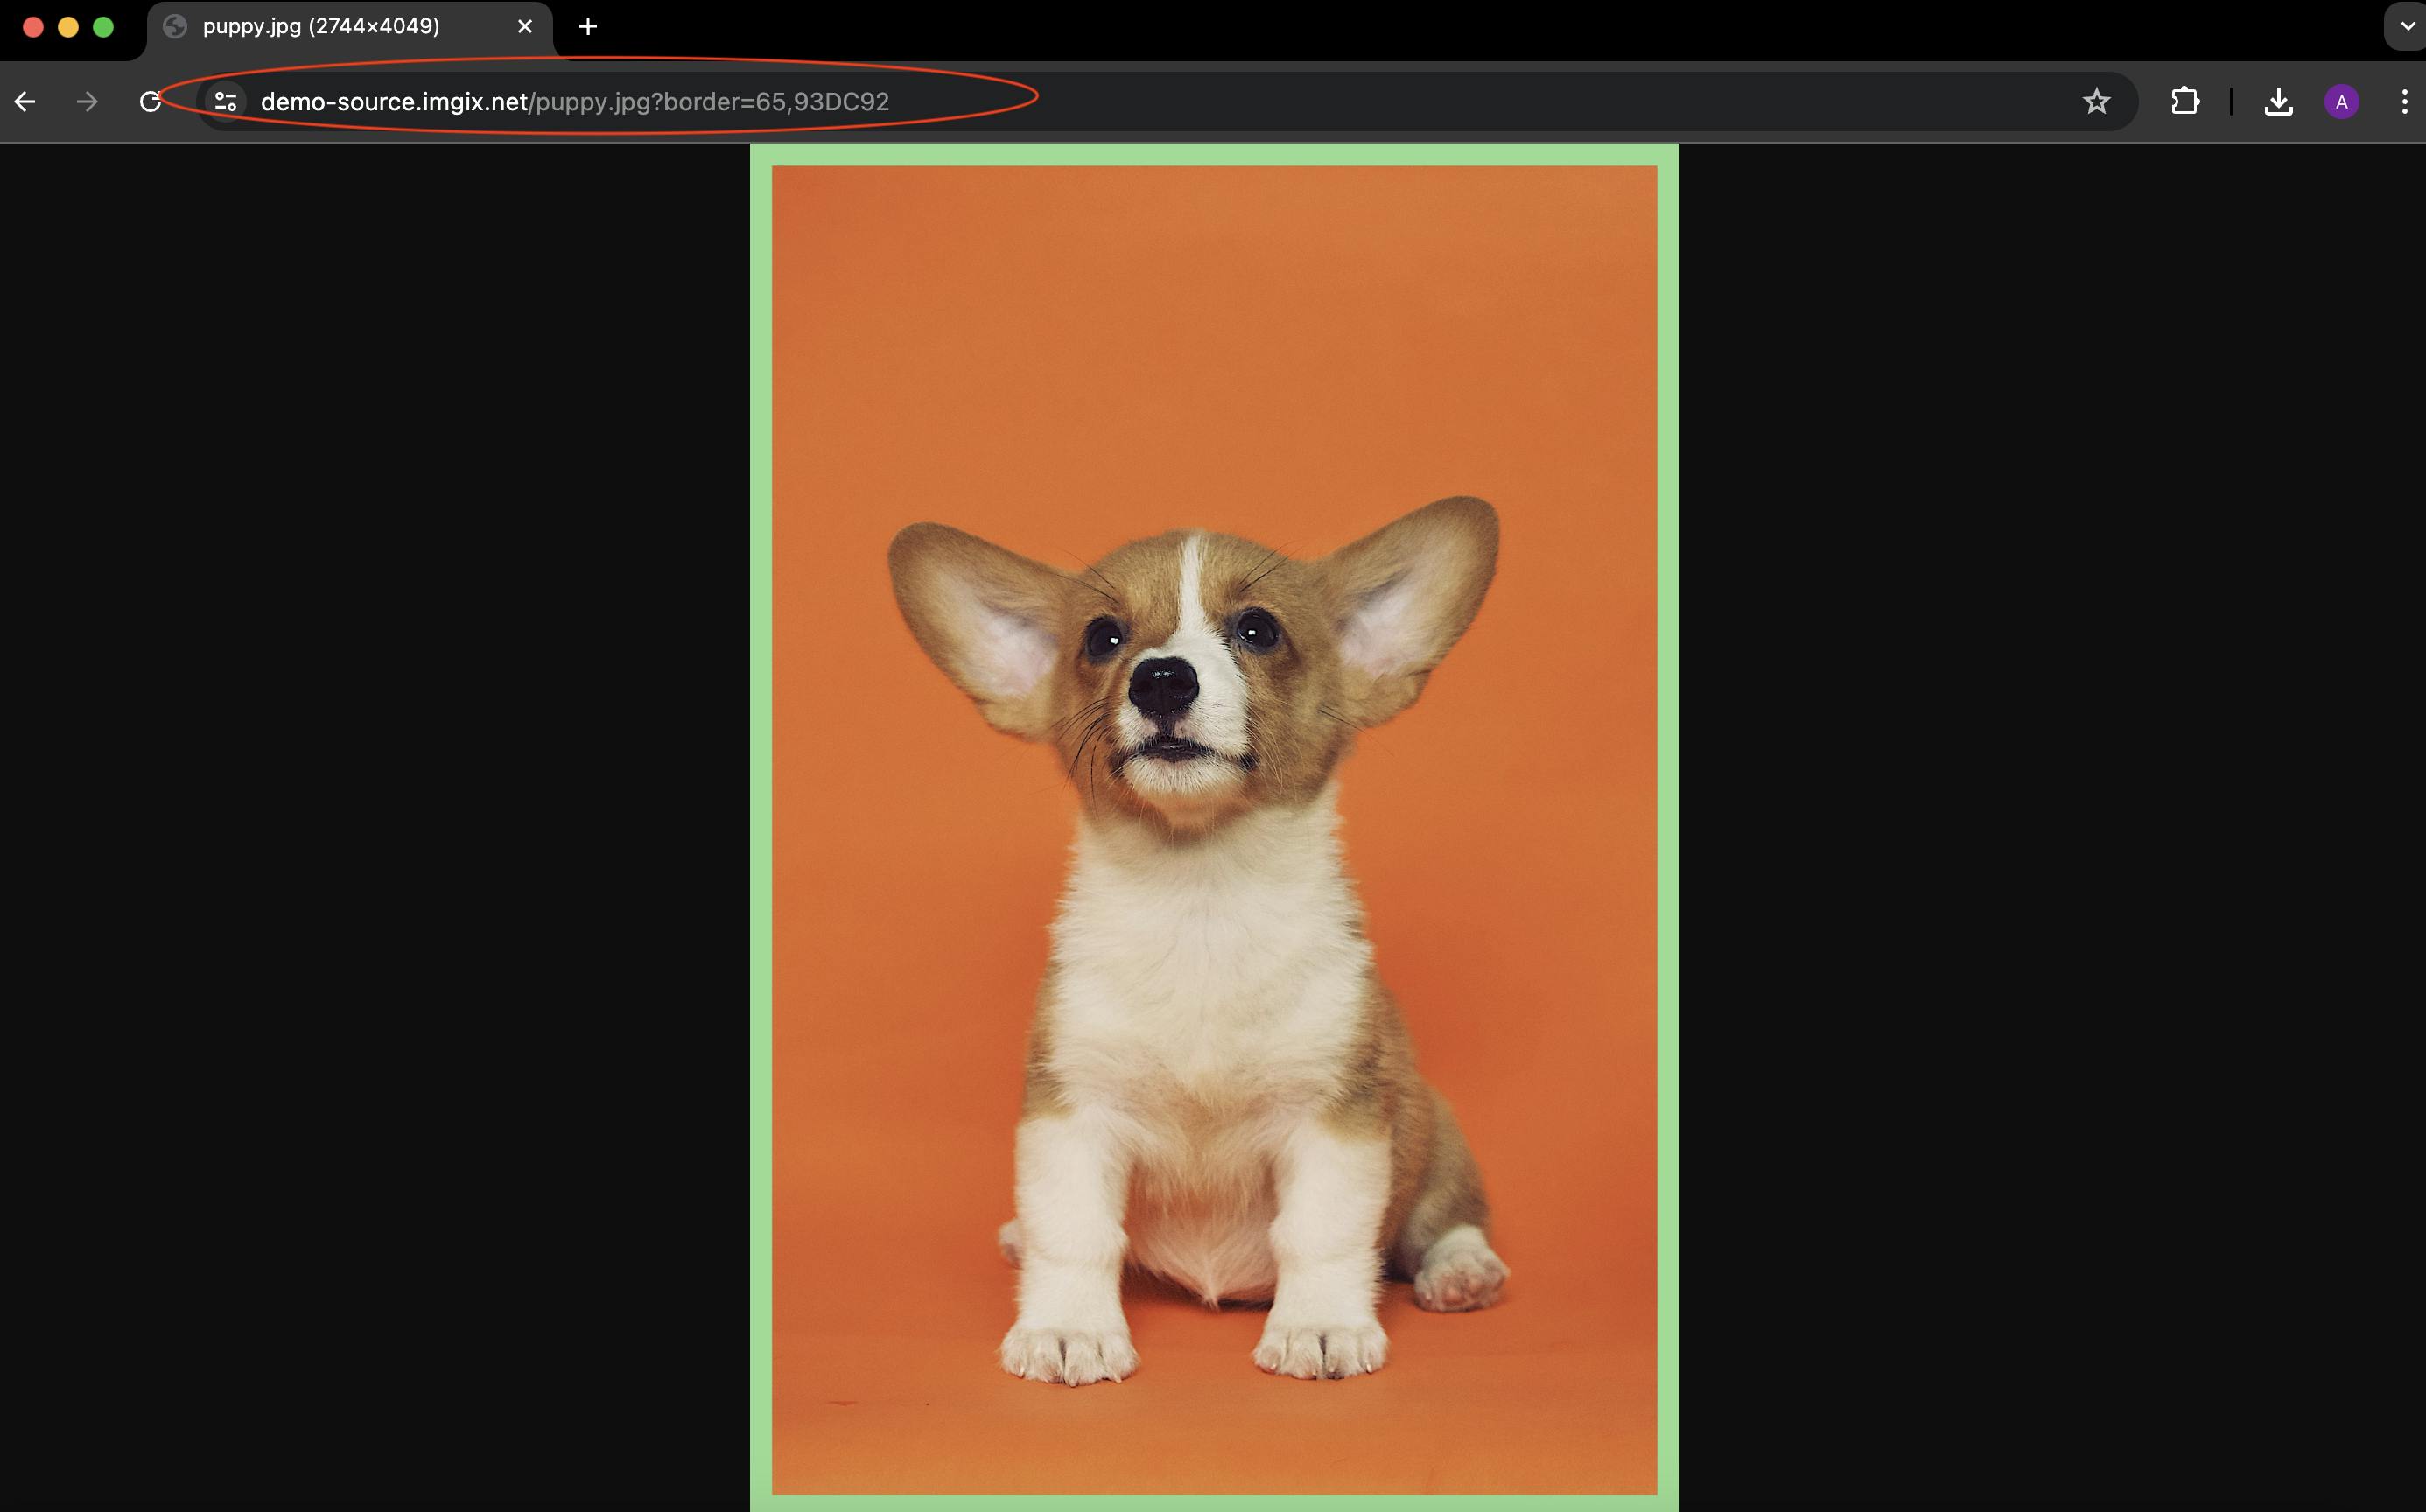
Paste the URL in a new browser tab and start applying parameters to the image URL
Example: Adding a border with a radius weight of 65 and a lime green color:
Example: Adding multiple parameters, such as a background replace parameter bg-replace=floral wallpaper in addition to the lime green border.

To learn more about how you can get started with Imgix using your own visual media assets, check out our Quick Start Guide.