Adding a Google Cloud Storage Source
A Google Cloud Storage Source connects to an existing Google Cloud Storage bucket. Imgix connects using the credentials you supply, so assets don’t have to be public. Visit the Interoperability tab for your Google Cloud Storage project and create an access key/secret pair to use with Imgix.
Setting Cache-Control Headers for Google Cloud Storage
Google Cloud Storage applies Cache-Control: no-store, no-cache, max-age=0, must-revalidate headers in the absence of a Cache-Control header on your asset files, disabling any possibility of caching. Because of this, we recommend using the default Cache TTL Behavior mode in Advanced Source Settings for all new Google Cloud Storage Sources to “Enforce Minimum”, which applies max-age= 60 days, public to all files whether they have a header or not. This is to ensure that caching works on all files.
Setting Up Your Google Cloud Storage Source
-
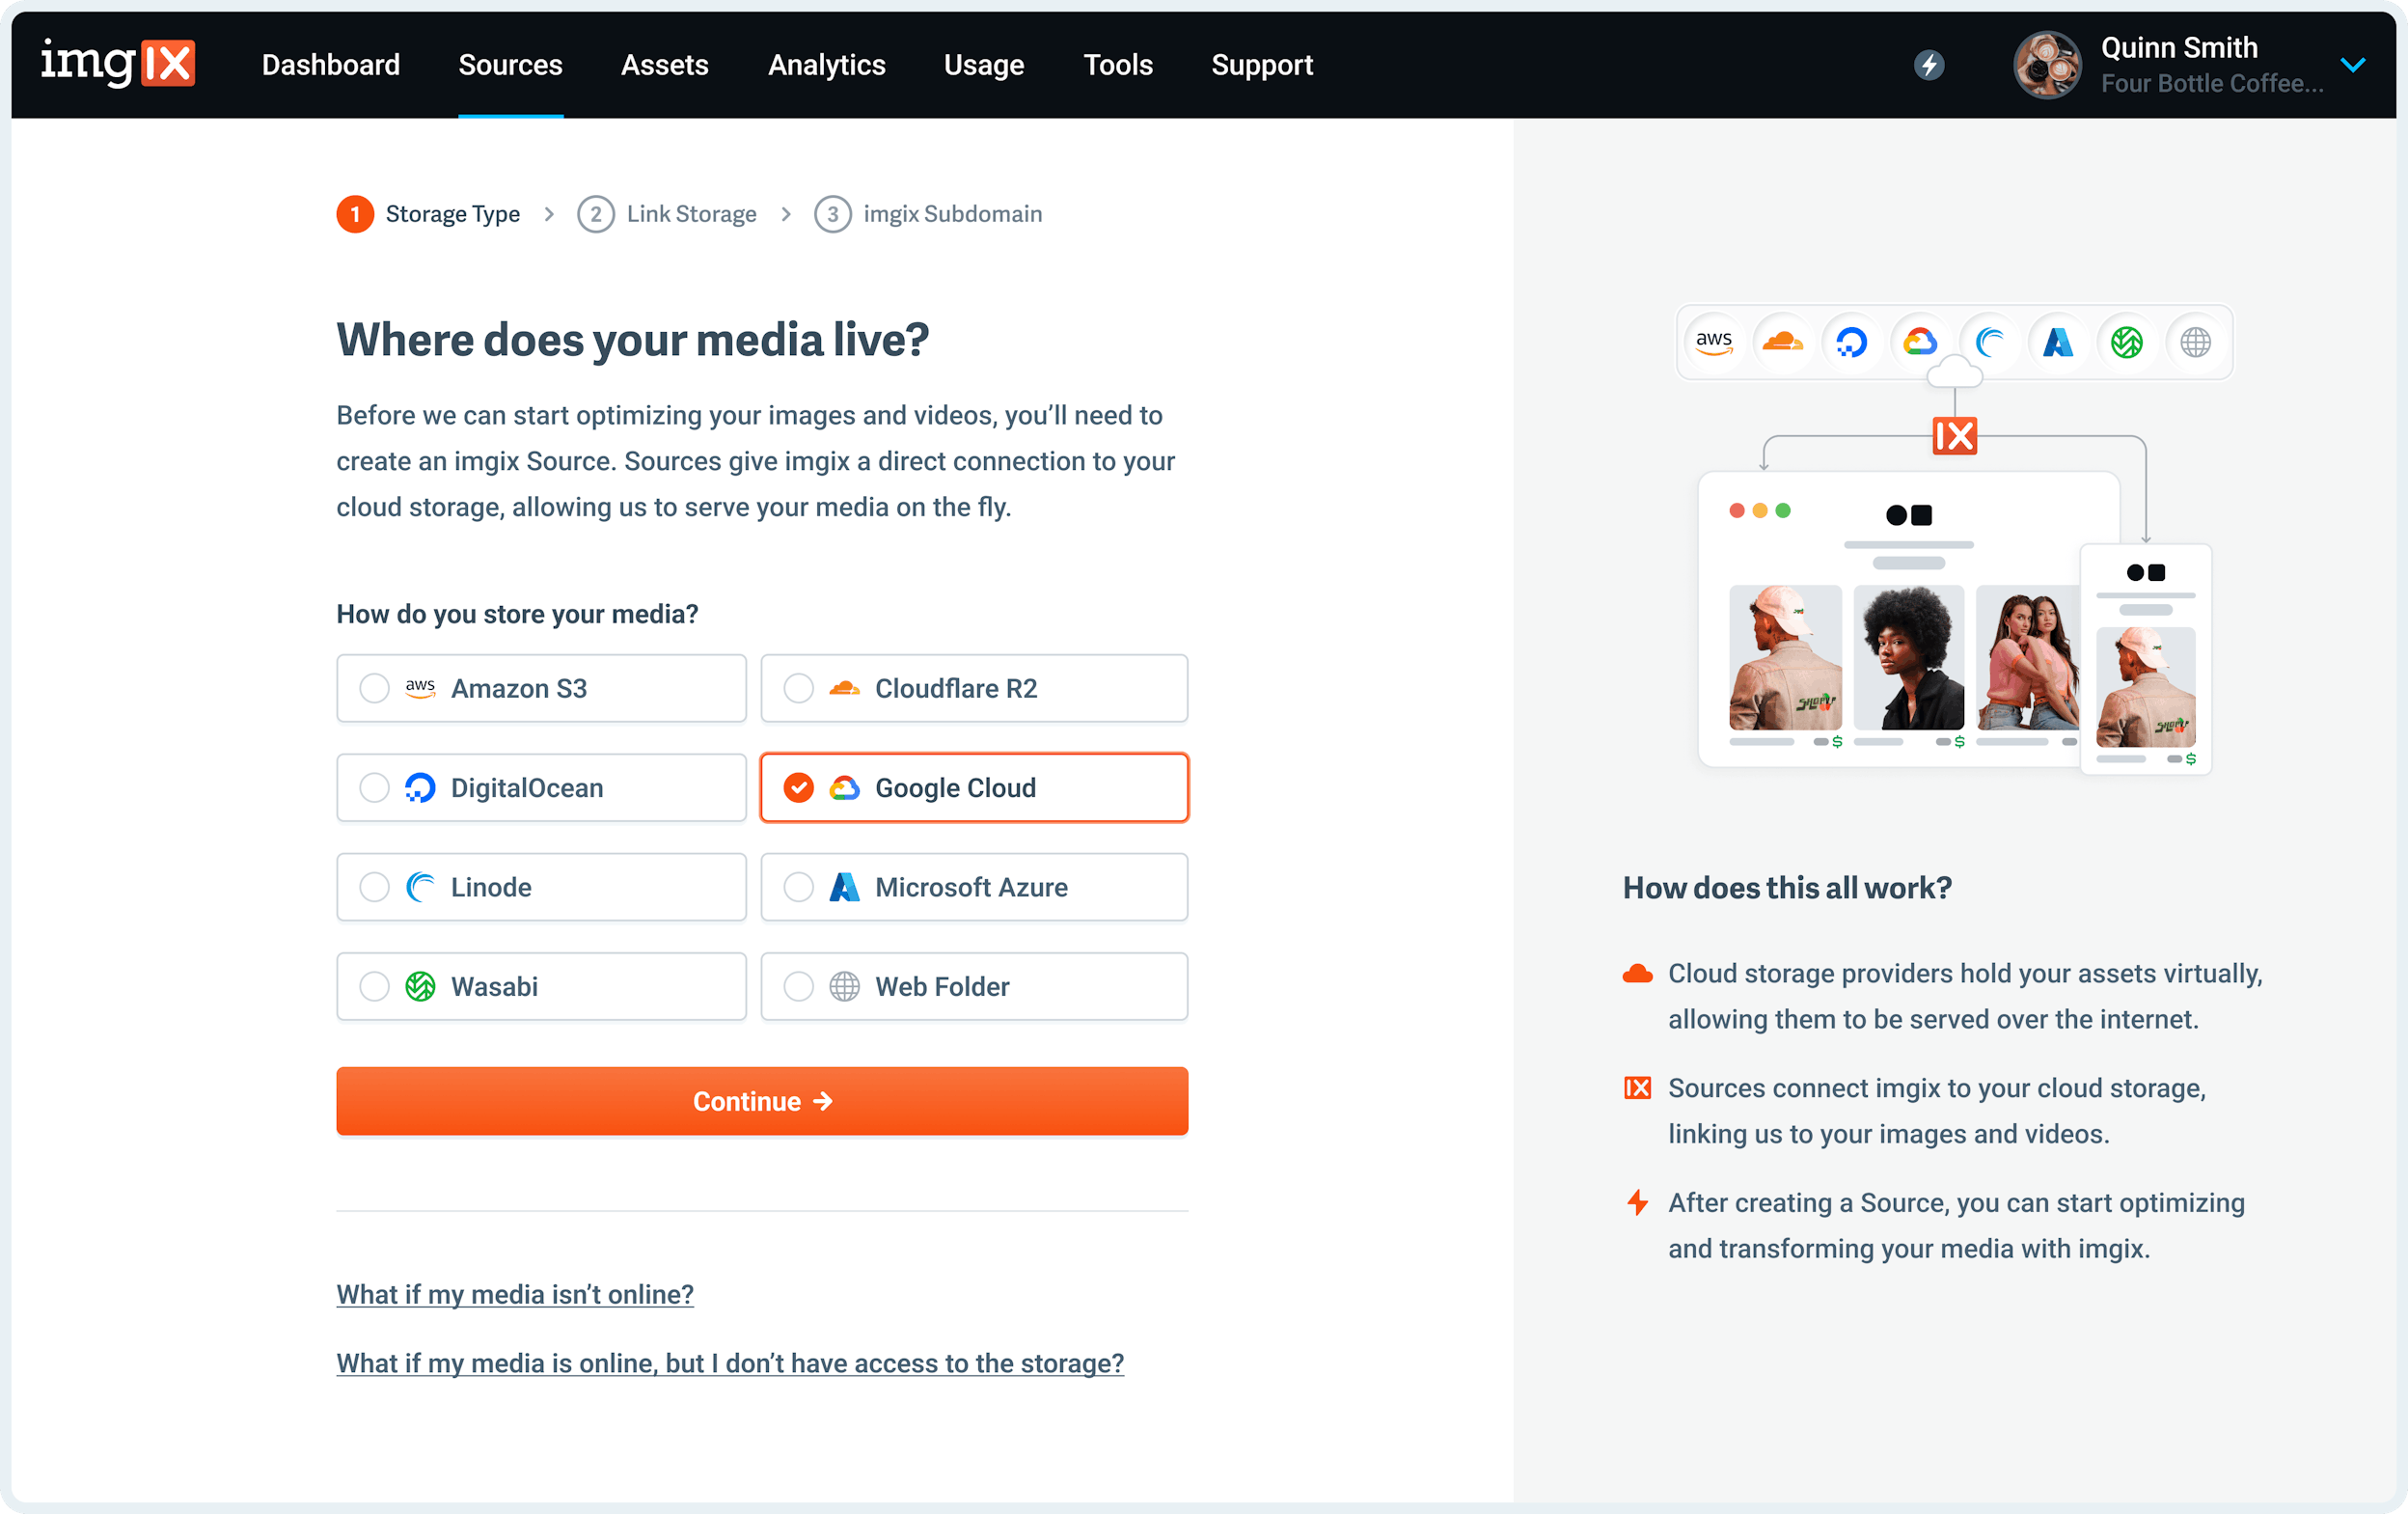
Go to the Sources page in the Imgix dashboard and click the New Source button.
-
Select Google Cloud from the How do you store your media? radio options.

-
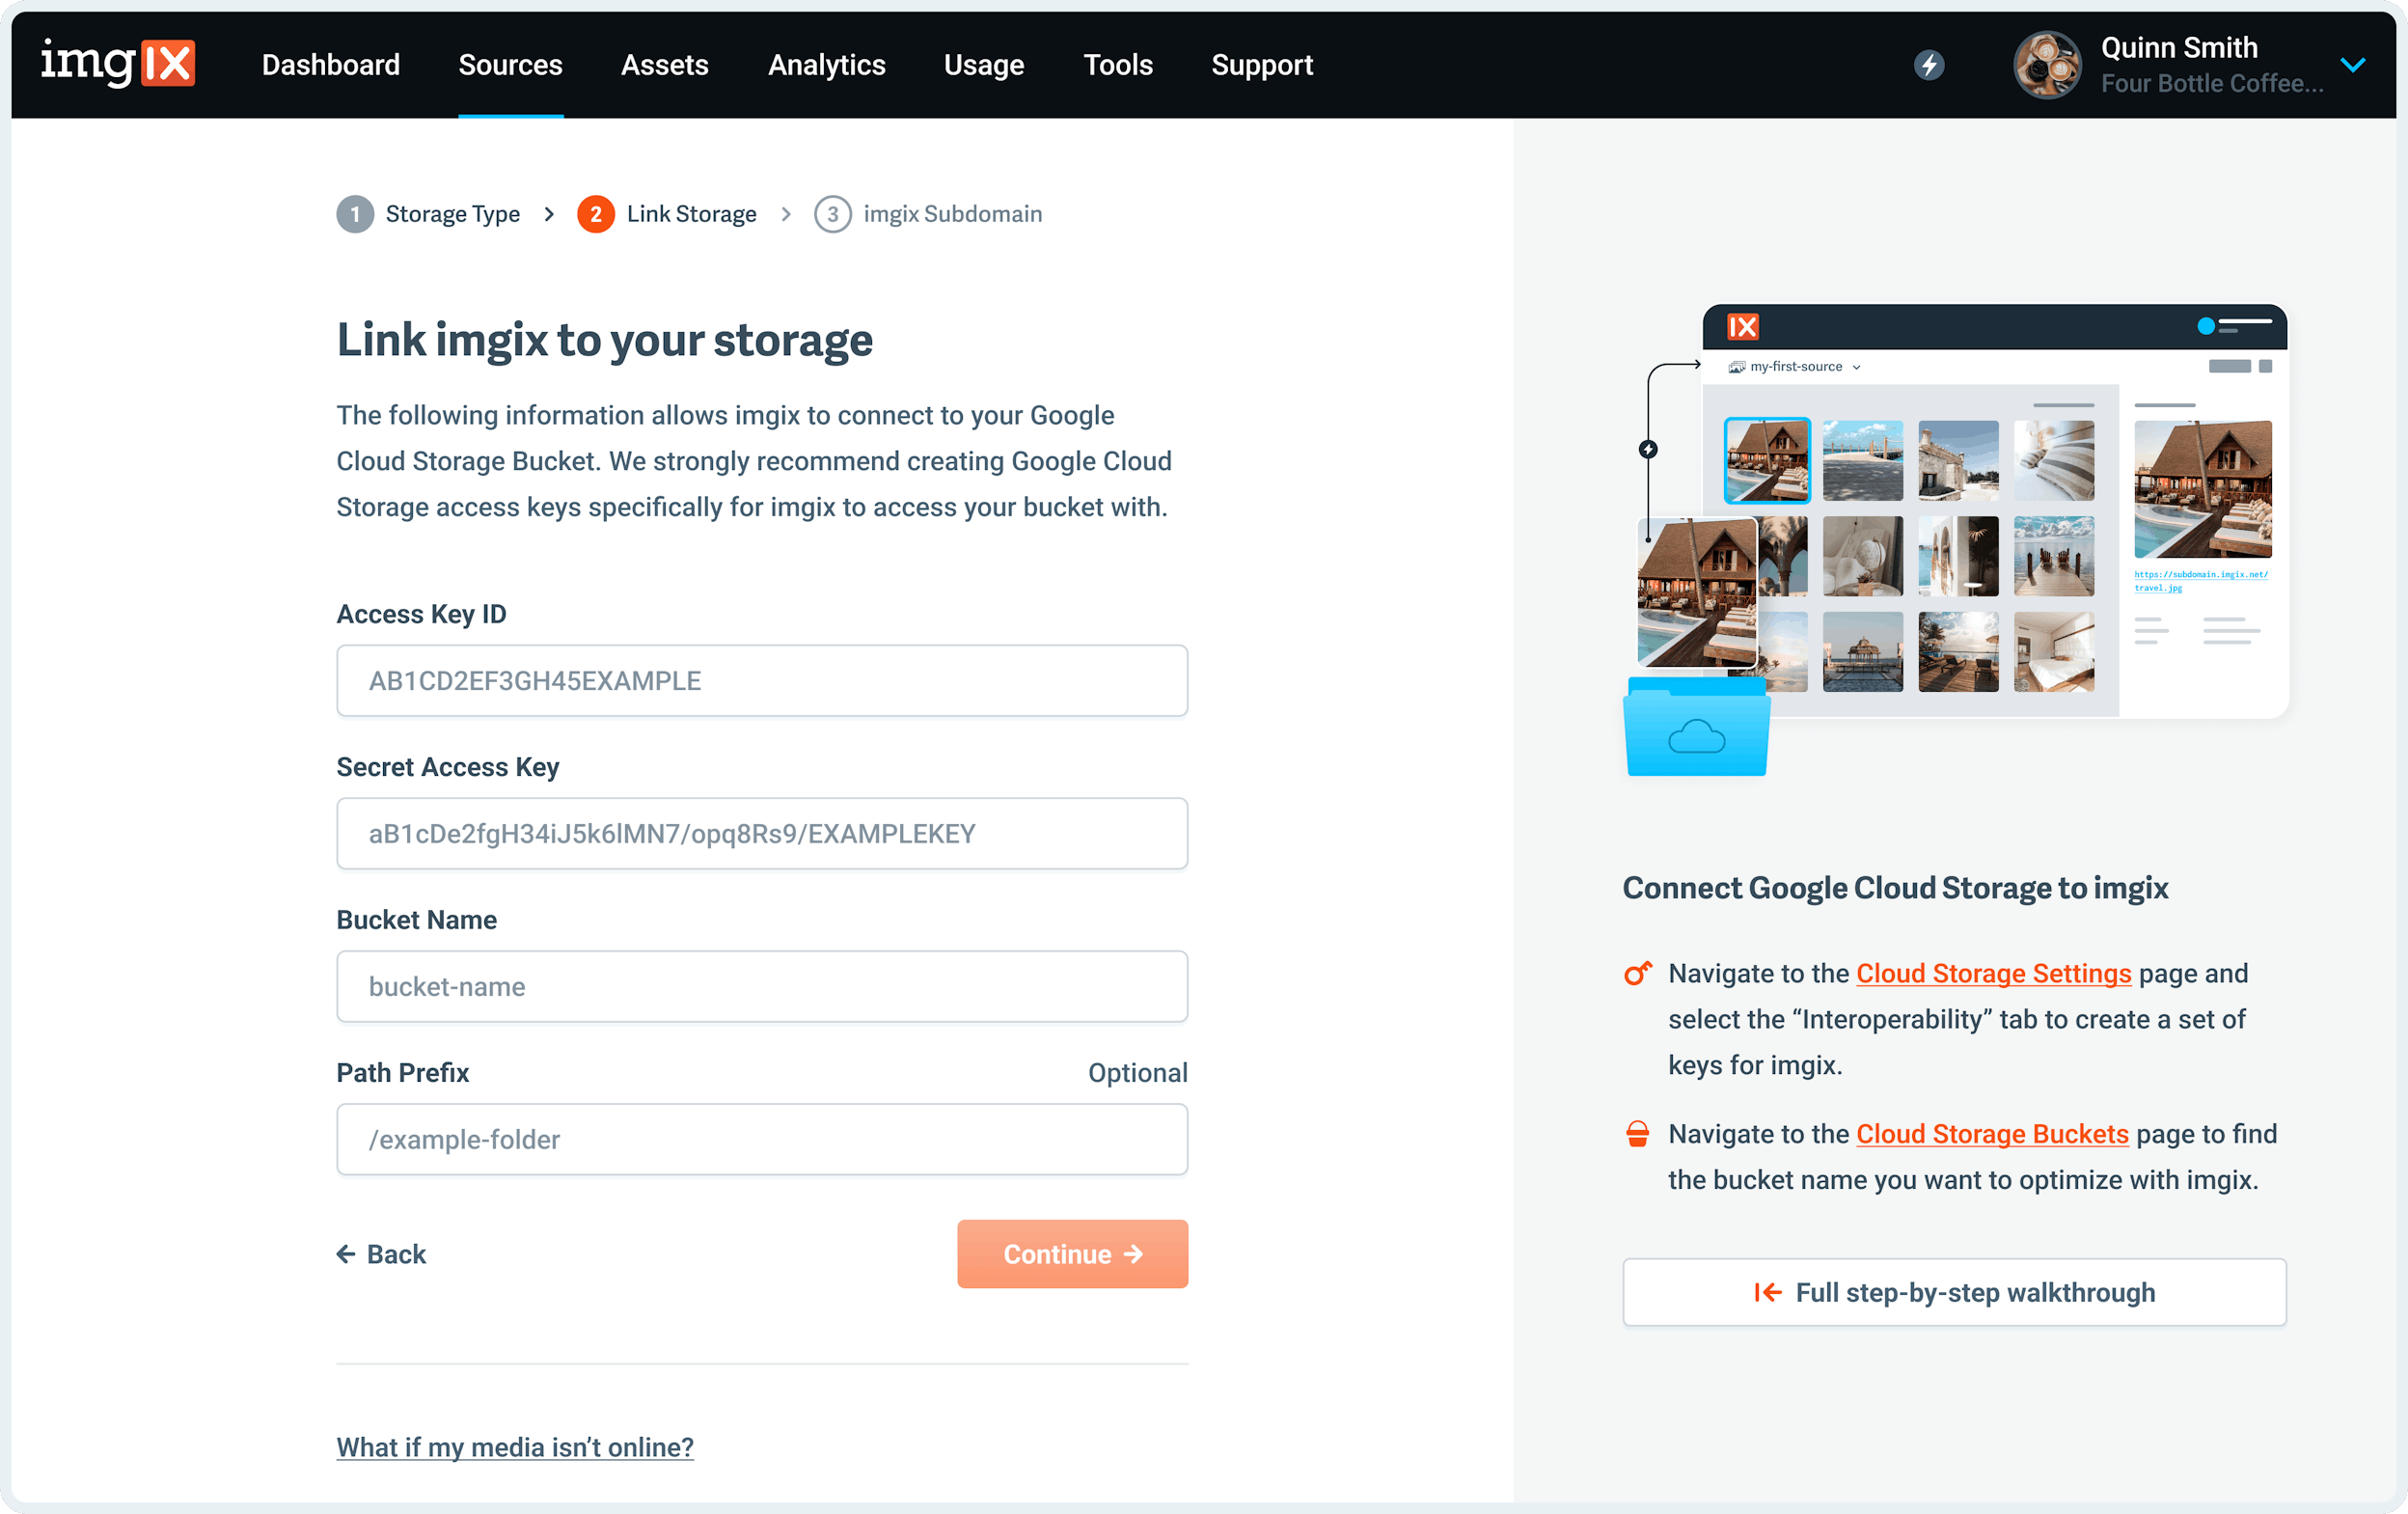
Fill in the details of your Google Cloud Storage Source.

Note: We strongly recommend creating a set of access keys specifically for Imgix to access your bucket with. Keep in mind that Imgix only requires Read and List permissions to begin serving your assets. For more information on how to generate your Access Key and Secret Access Key or where to find your Bucket Name see the Google Cloud Storage Guide documentation.
- Access Key: The Interoperable access key of the
deployment_credentialsfor your project. - Secret Key: The secret key of the
deployment_credentialsyou want Imgix to connect with. - Bucket Name: The name of the bucket within the project where your assets are stored.
- Path Prefix (optional): The subfolder prefix you want to resolve to (if it exists). The prefix is prepended to the asset path before resolving the asset in Google Cloud Storage. By default the asset path is
/.
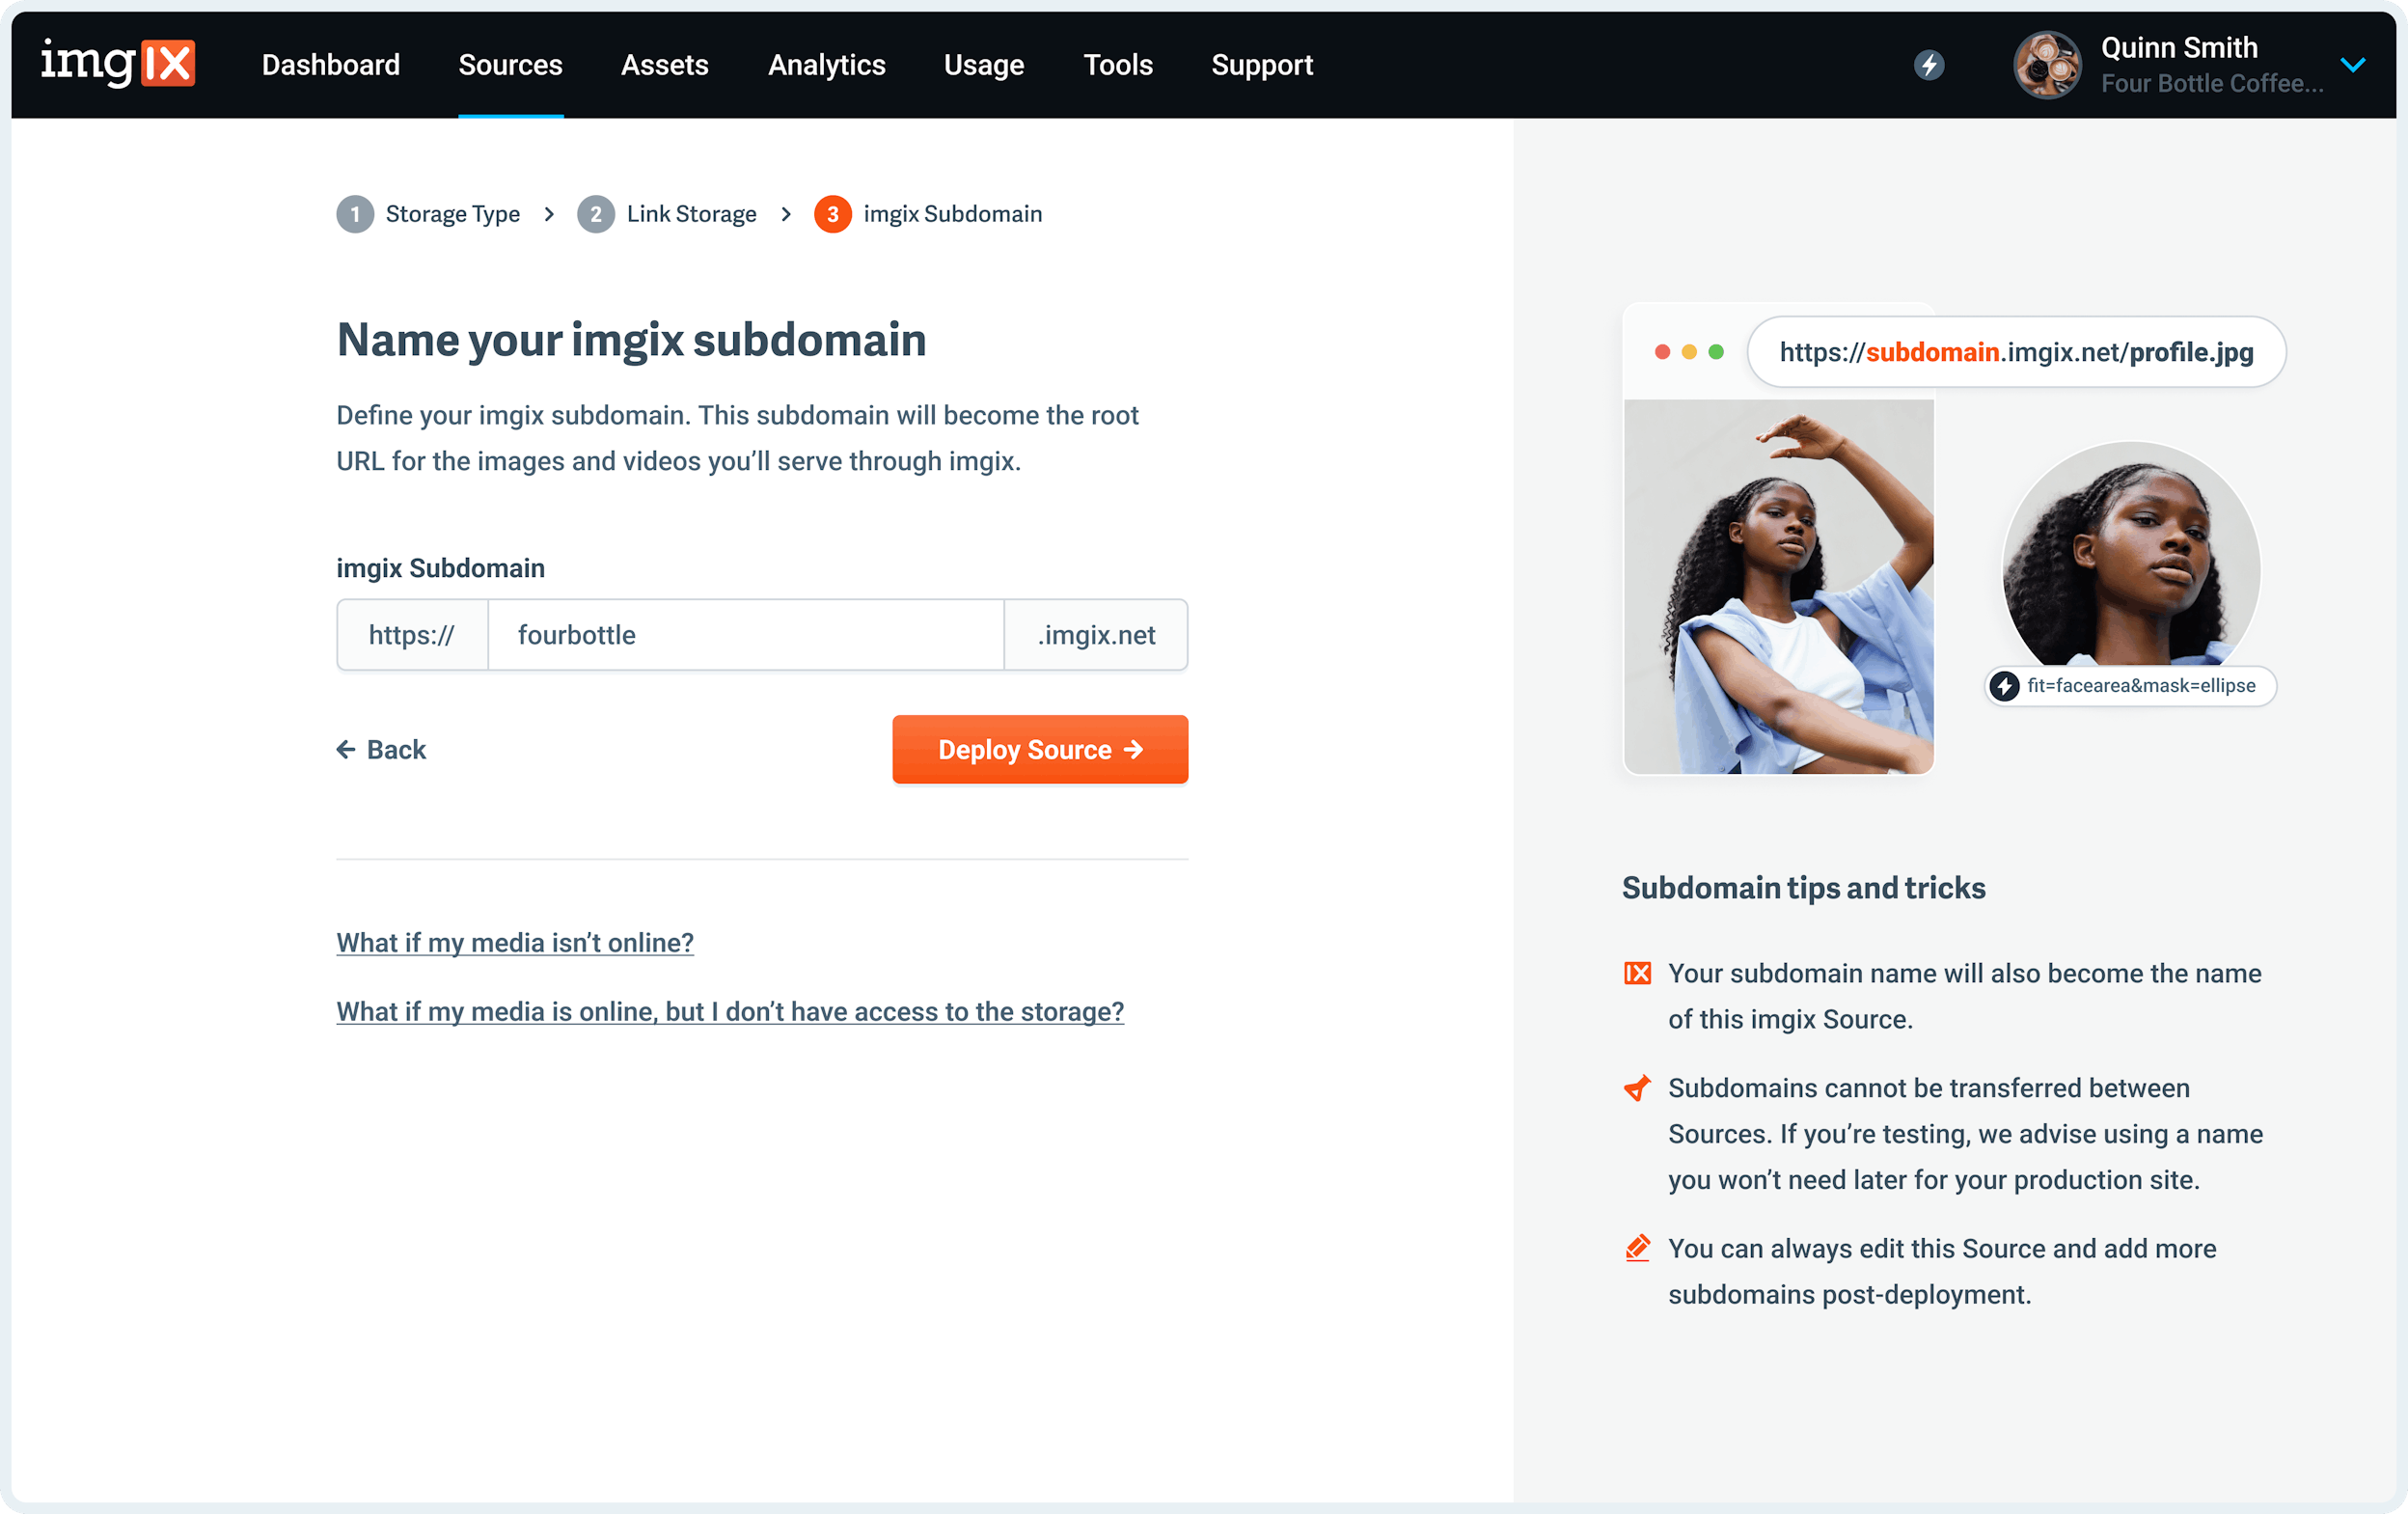
- Name the Subdomain you’d like to use as the base URL for your assets.

Note: The subdomain name you choose is unique to your Source and can’t be re-used. If you’re setting up a Source with a lot of customization (particularly a Custom Domain), choose the name you plan to use going forward.
- Click the Deploy Source button on Step #3 to queue your Source for deployment.

Google Cloud Storage Guide
We strongly recommend creating a set of access keys specifically for Imgix to access your bucket with.
GCS bucket location
At this time, we recommend us-central-1 as the bucket location to reduce your egress costs and performance when Imgix fetches assets from your bucket. This recommendation is subject to change in the future.
Advanced Settings
See the Advanced Source Settings for information about setting up custom domains, defaults, and cache TTL options.
Uploading
You must follow additional steps to configure your Source to upload assets directly to Google Cloud Storage. See the Uploading to Google Cloud Storage documentation for more information.