Uploading
Asset Manager allows you to upload directly to your cloud storage–backed Source. Uploading to Web Folder or Web Proxy Sources is not supported.
Depending on your storage type, uploading has different limitations and requirements. See the table below:
| Source Type | Upload Support | File Size Limit | Requires CORS Configuration |
|---|---|---|---|
| Amazon S3 | YES | 5GB | YES |
| Google Cloud Storage | YES | 5GB | YES |
| Microsoft Azure | YES | 30MB | NO |
| DigitalOcean | YES | 5GB | YES |
| Cloudflare R2 | YES | 4.99GB | YES |
| Wasabi | YES | 5GB | NO |
| Linode | YES | 5GB | NO |
| Web Folder | NO | N/A | N/A |
| Web Proxy | NO | N/A | N/A |
Before you begin uploading assets to a Source, you must complete the Upload Setup for each Source you wish to upload to.
Why Is Uploading Setup Required?
When you set up your Source for rendering, Imgix only requires read and list permissions—the minimum permissions required to render images. Write permissions are required for uploading, and we recommend using separate credentials to ensure your rendering is not impacted.
Uploading Images
Once your upload setup is complete, you can begin uploading by clicking the Upload button in the upper right corner of Asset Manager or by dragging and dropping files into the List View.

Here you can specify an optional destination path for all of the images in the current upload. This is useful if you would like to upload your images into a specific subdirectory.
Asset Manager will not overwrite anything already in your bucket. If you already have a file named bridge.jpg in your bucket and you try to upload another file named bridge.jpg to the same place in the bucket, the upload will fail.
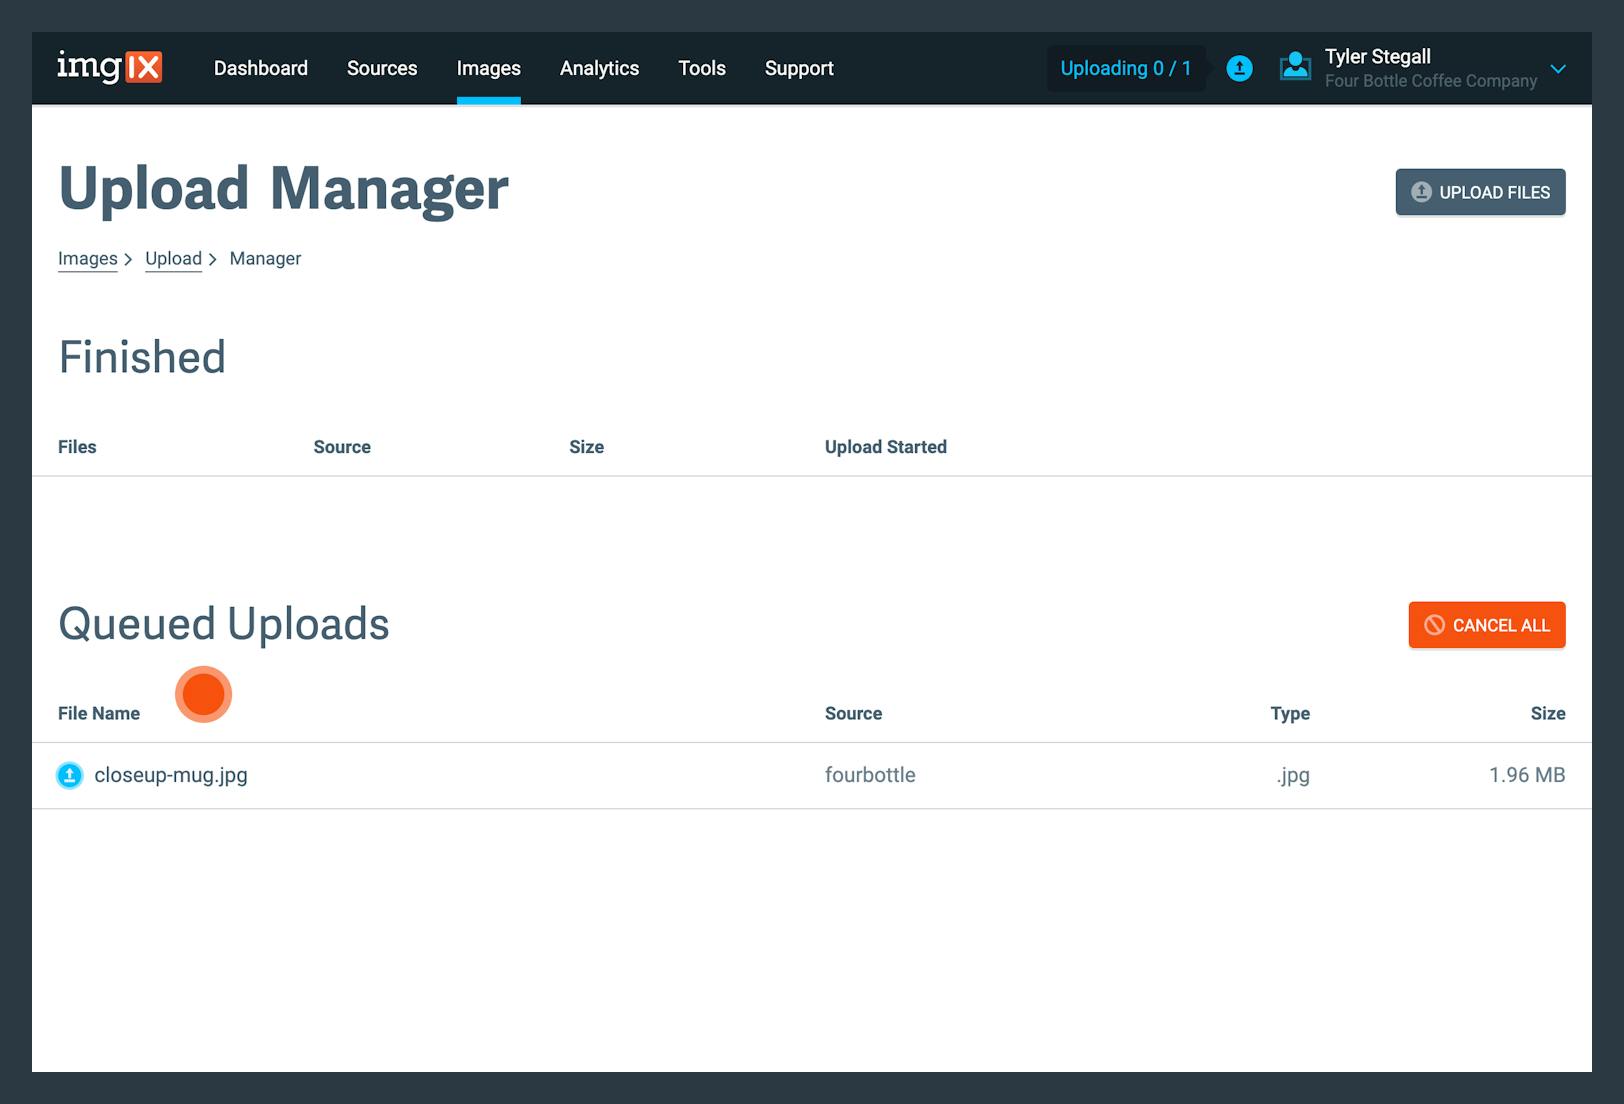
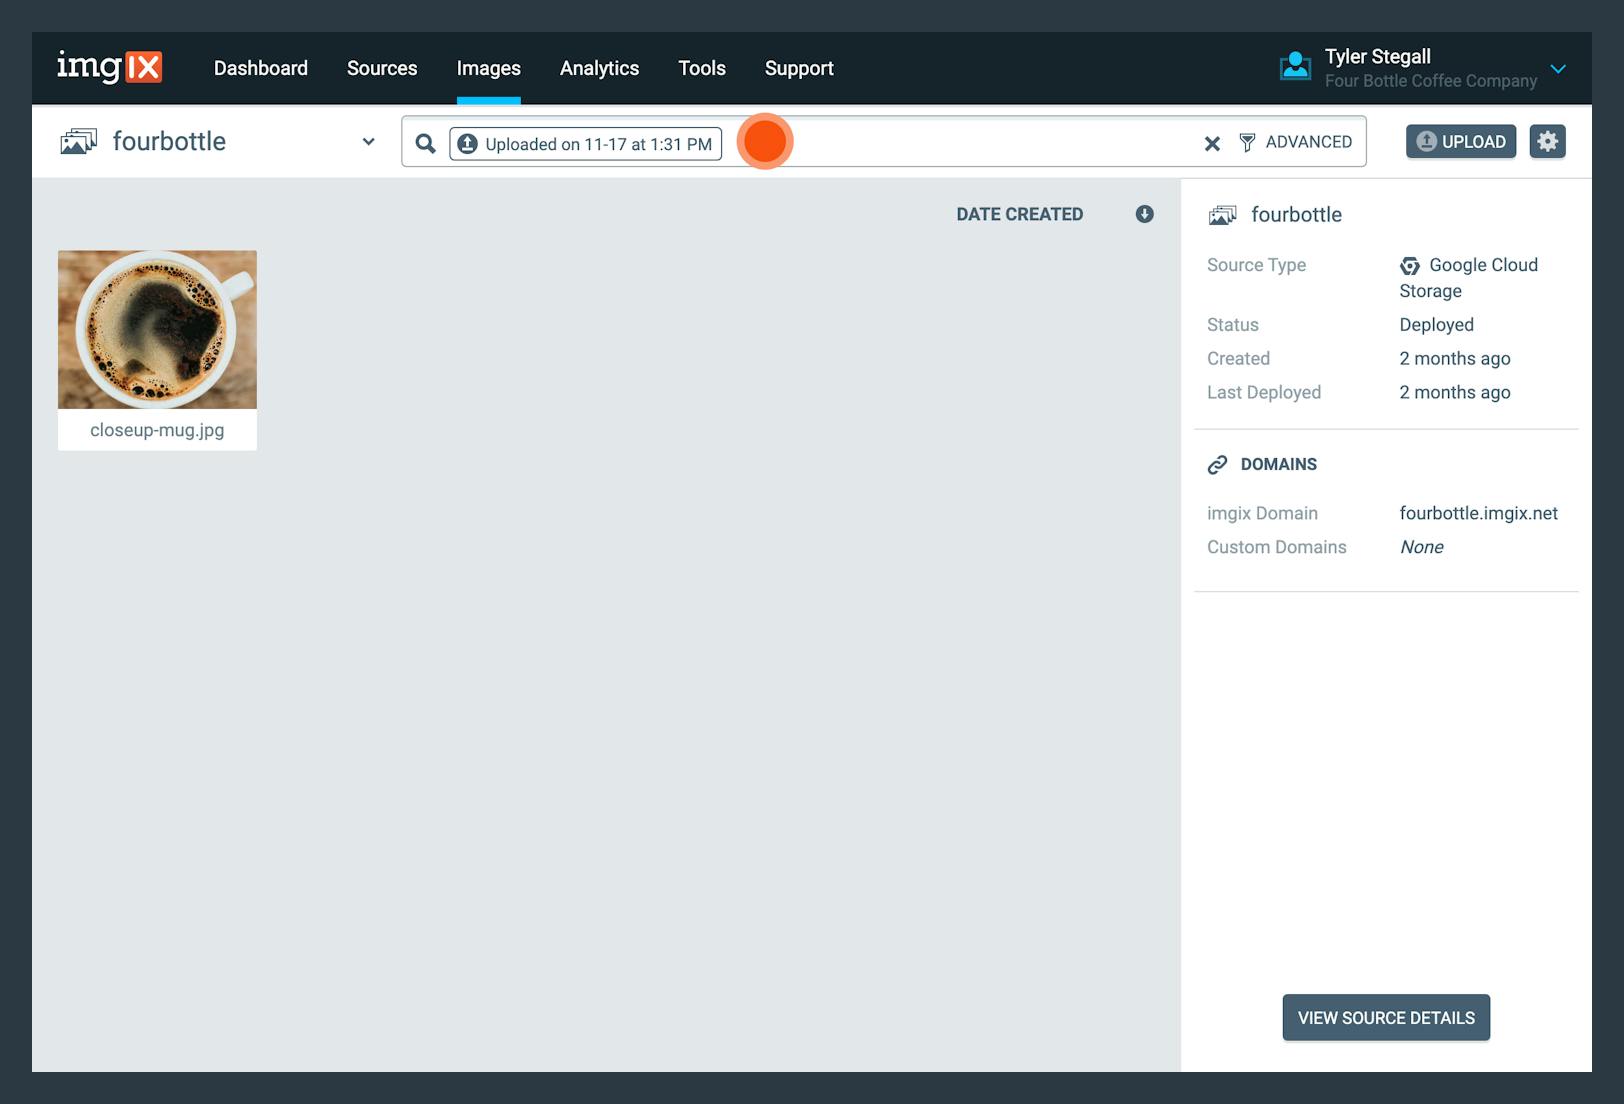
After clicking “Upload” you will be taken to the Upload Manager view, which shows the progress of your uploads. Upon completion, click the “View” button to be taken back to Asset Manager to view your newly uploaded files.

Newly uploaded images are immediately available in Asset Manager and can be searched for and modified just like any other image.
The Asset Manager supports uploading any content-types.
Note: For assets larger than 50MB, we recommend using the upload session flow available for Amazon S3 and Google Cloud Storage sources.
Troubleshooting
405 CORS error when uploading
If you encounter a 405 error when uploading an image, it means that your CORS configuration is not correct. You can fix this issue by setting up CORS. Depending on your Source, you can find instructions on how to set up CORS here:
Assets take too long to show
The Asset Manager works best with S3, GCS and Azure Sources. If your Source is a Web Folder, assets take much longer to appear. If possible, we recommend switching over to a different Source to improve asset discovery times.
You can also use the Refresh API endpoint to immediately pull an asset into the Asset Manager.
Asset are not updating
Assets that have been deleted or updated at the Origin will take some time to be updated in the Asset Manager.
Use Refresh API endpoint if you need to immediately update an asset.