User Management
You can manage user access to your Imgix account by assigning roles and permissions and enforcing login methods across your organization. This is useful for companies with multiple teams or departments needing different levels of access to Imgix features and data.
Adding Additional Users
If your company requires different levels of access based on roles (e.g., engineering and accounts payable), you can set that up for as many people as necessary. User accounts can have as many permissions as you wish. Imgix supports the following permissions:
- Account Admin: All permissions, including adding and modifying users.
- Analytics: Access to asset analytics is filterable by Source.
- Billing: Edit billing information, view and pay invoices. (Note: This permission does not allow a user to upgrade or downgrade the account’s subscription plan.)
- Sources: Create, view, edit, and deploy Imgix Sources.
- Purge: Remove deleted or out-of-date assets from Imgix caches.
- Asset Manager Browse: View all content in the Asset Manager.
- Asset Manager Edit: Edit and upload assets inside the Asset Manager. (Note: This permission implicitly includes Asset Manager Browse.)
To add a user:
- Go to the Users section of your account.
- Click the “Add User” button and enter a full name and email address.
- Select permissions for this user, then hit “Create User.”

Once you submit the form, the user will receive an email with a link to set up their login information. The link will expire in 24 hours.
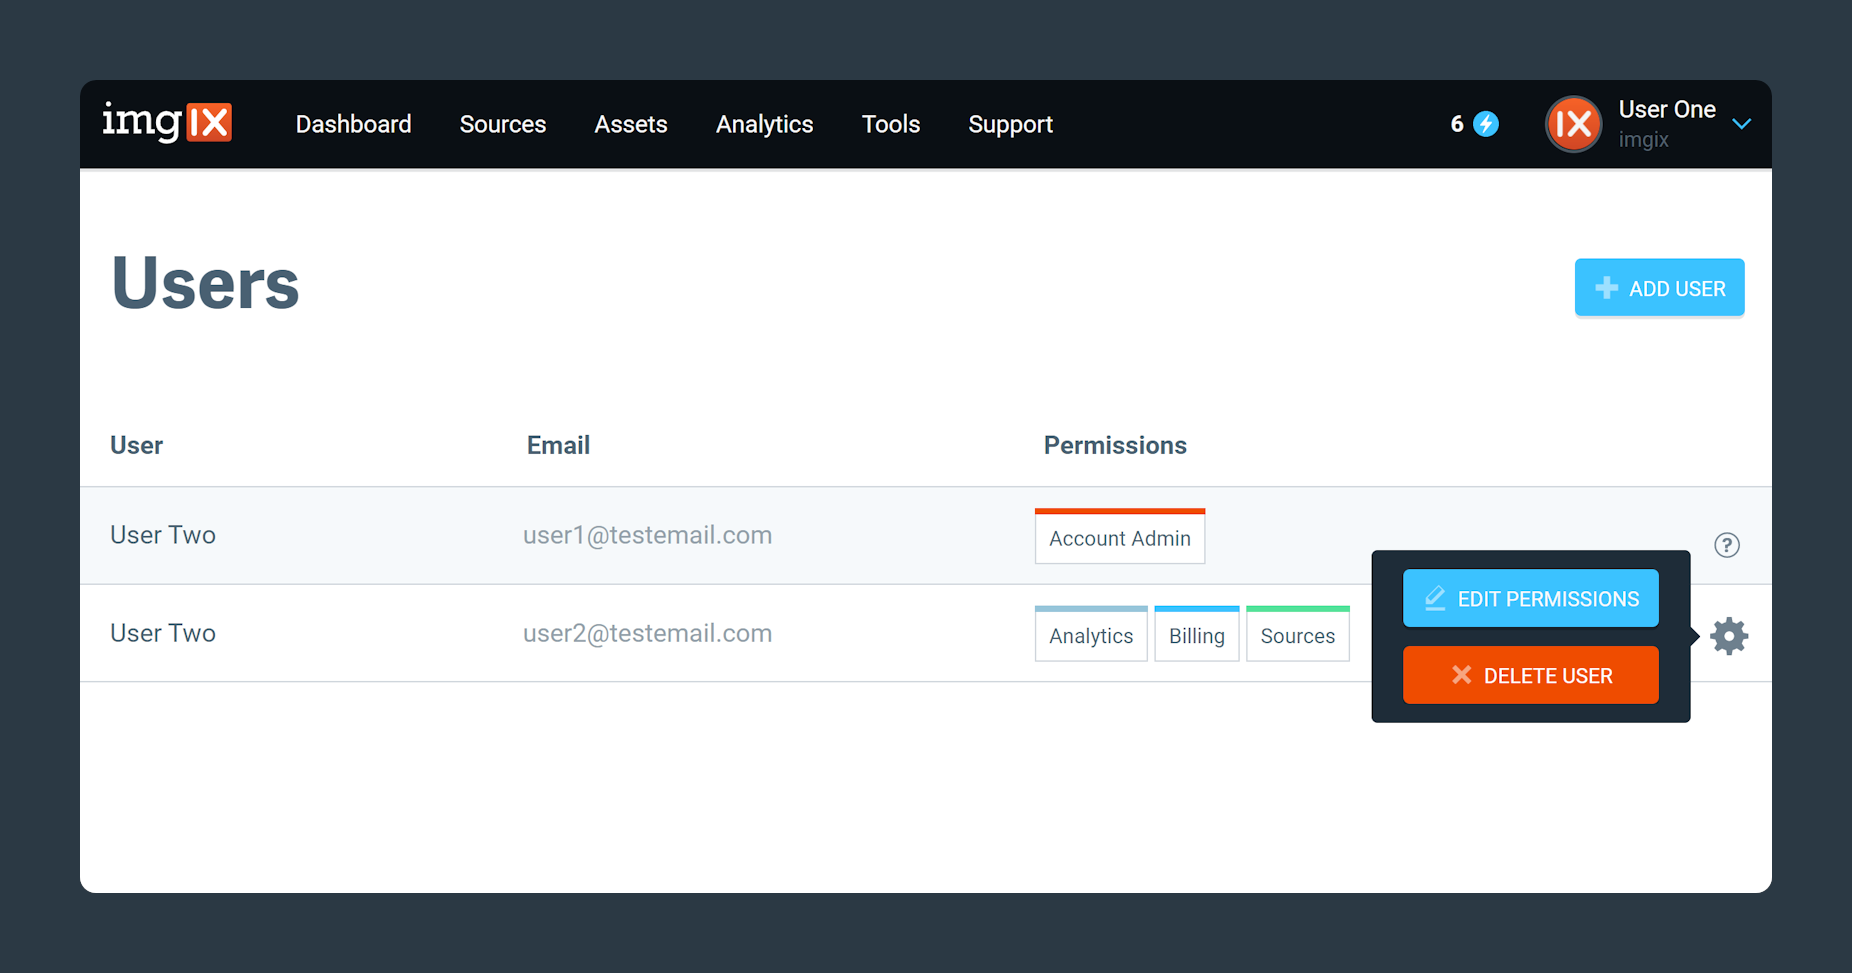
To modify or remove existing users, navigate to your user dashboard and click the settings gear to the right of the user name. From there, you can either Edit Permissions or Delete. It is only possible to modify users other than yourself. You also must have the Account Admin permission enabled for your user account.
Issues with Adding Users
If you cannot add a user, they likely already have an Imgix account. To fix this issue, have your user follow these instructions:
- Open the Imgix sign-in page
- Enter the email address of the user you are trying to add
- Click the Forgot Password?
- Ask the user to check their email for a password reset link
- Ask the user to set a new password and log in to Imgix
- Once they are logged in, have them delete their account
- Once they have deleted their account, you can add them as a new user
If you still have issues, please contact support.
Enforcing Login Methods
You can enforce the login method for your organization by going to your account settings. From there, your organization’s login methods can be configured under the Owner Options section. The following options are available:
- Password
- Google Sign-In
Troubleshooting Login Issues
Access Blocked error
If you get an error that says Access Blocked: Authorization Error when trying to log in with Google, your organization has not allowed access to the Imgix app. This is a setting in the Google Admin Console that needs to be changed by your organization’s administrator. The instructions are in Google’s documentation.
The Imgix App ID that your administrator needs to add:
760579537647-74msmisel79bo6p5g4m9m71305mftpe6.apps.googleusercontent.comGoogle Admin steps:
- Go to Google Admin Console → Security → Access and data control → API Controls.
- Under App access control, click Manage Third-Party App Access.
- Click Configure new app → OAuth App Name or Client ID.
- Search using your Auth0 Google OAuth Client ID (you can find this in your Auth0 dashboard under Connections → Social → Google).
- Select the app and mark it as Trusted.