Quick Start Guide
Getting set up with Imgix is easy—just tell us where your assets live, choose an Imgix subdomain, and you can start serving assets through our Rendering API in minutes.
The quick-start instructions are below. For Source specific instructions, head to the Creating Sources guide. If you have a more complex integration, advanced details such as cache TTL, default parameters and custom domains can all be adjusted post-Source-deployment in the Advanced Source Settings. For recommendations about setting up your assets before integrating with Imgix, see the Setting Up Asset Storage guide.
For information about analytics and adding users or payment methods, see Account Setup & Analytics.
Create an Imgix Account
First, sign up for your own Imgix Account. Start for free.
Create an Imgix Account10 Minutes to Serving with Imgix
Once you’ve signed up or signed in to your Imgix account, you’ll land on the dashboard, which is the hub for all operations and stats for your account. Here’s the simplified process for creating your first Source and serving your first assets.
Create a Source
Before you can begin optimizing your images and videos with Imgix, you will need to create a Source. Sources grant Imgix a direct connection to your media. To get started, tell us where you store your assets.
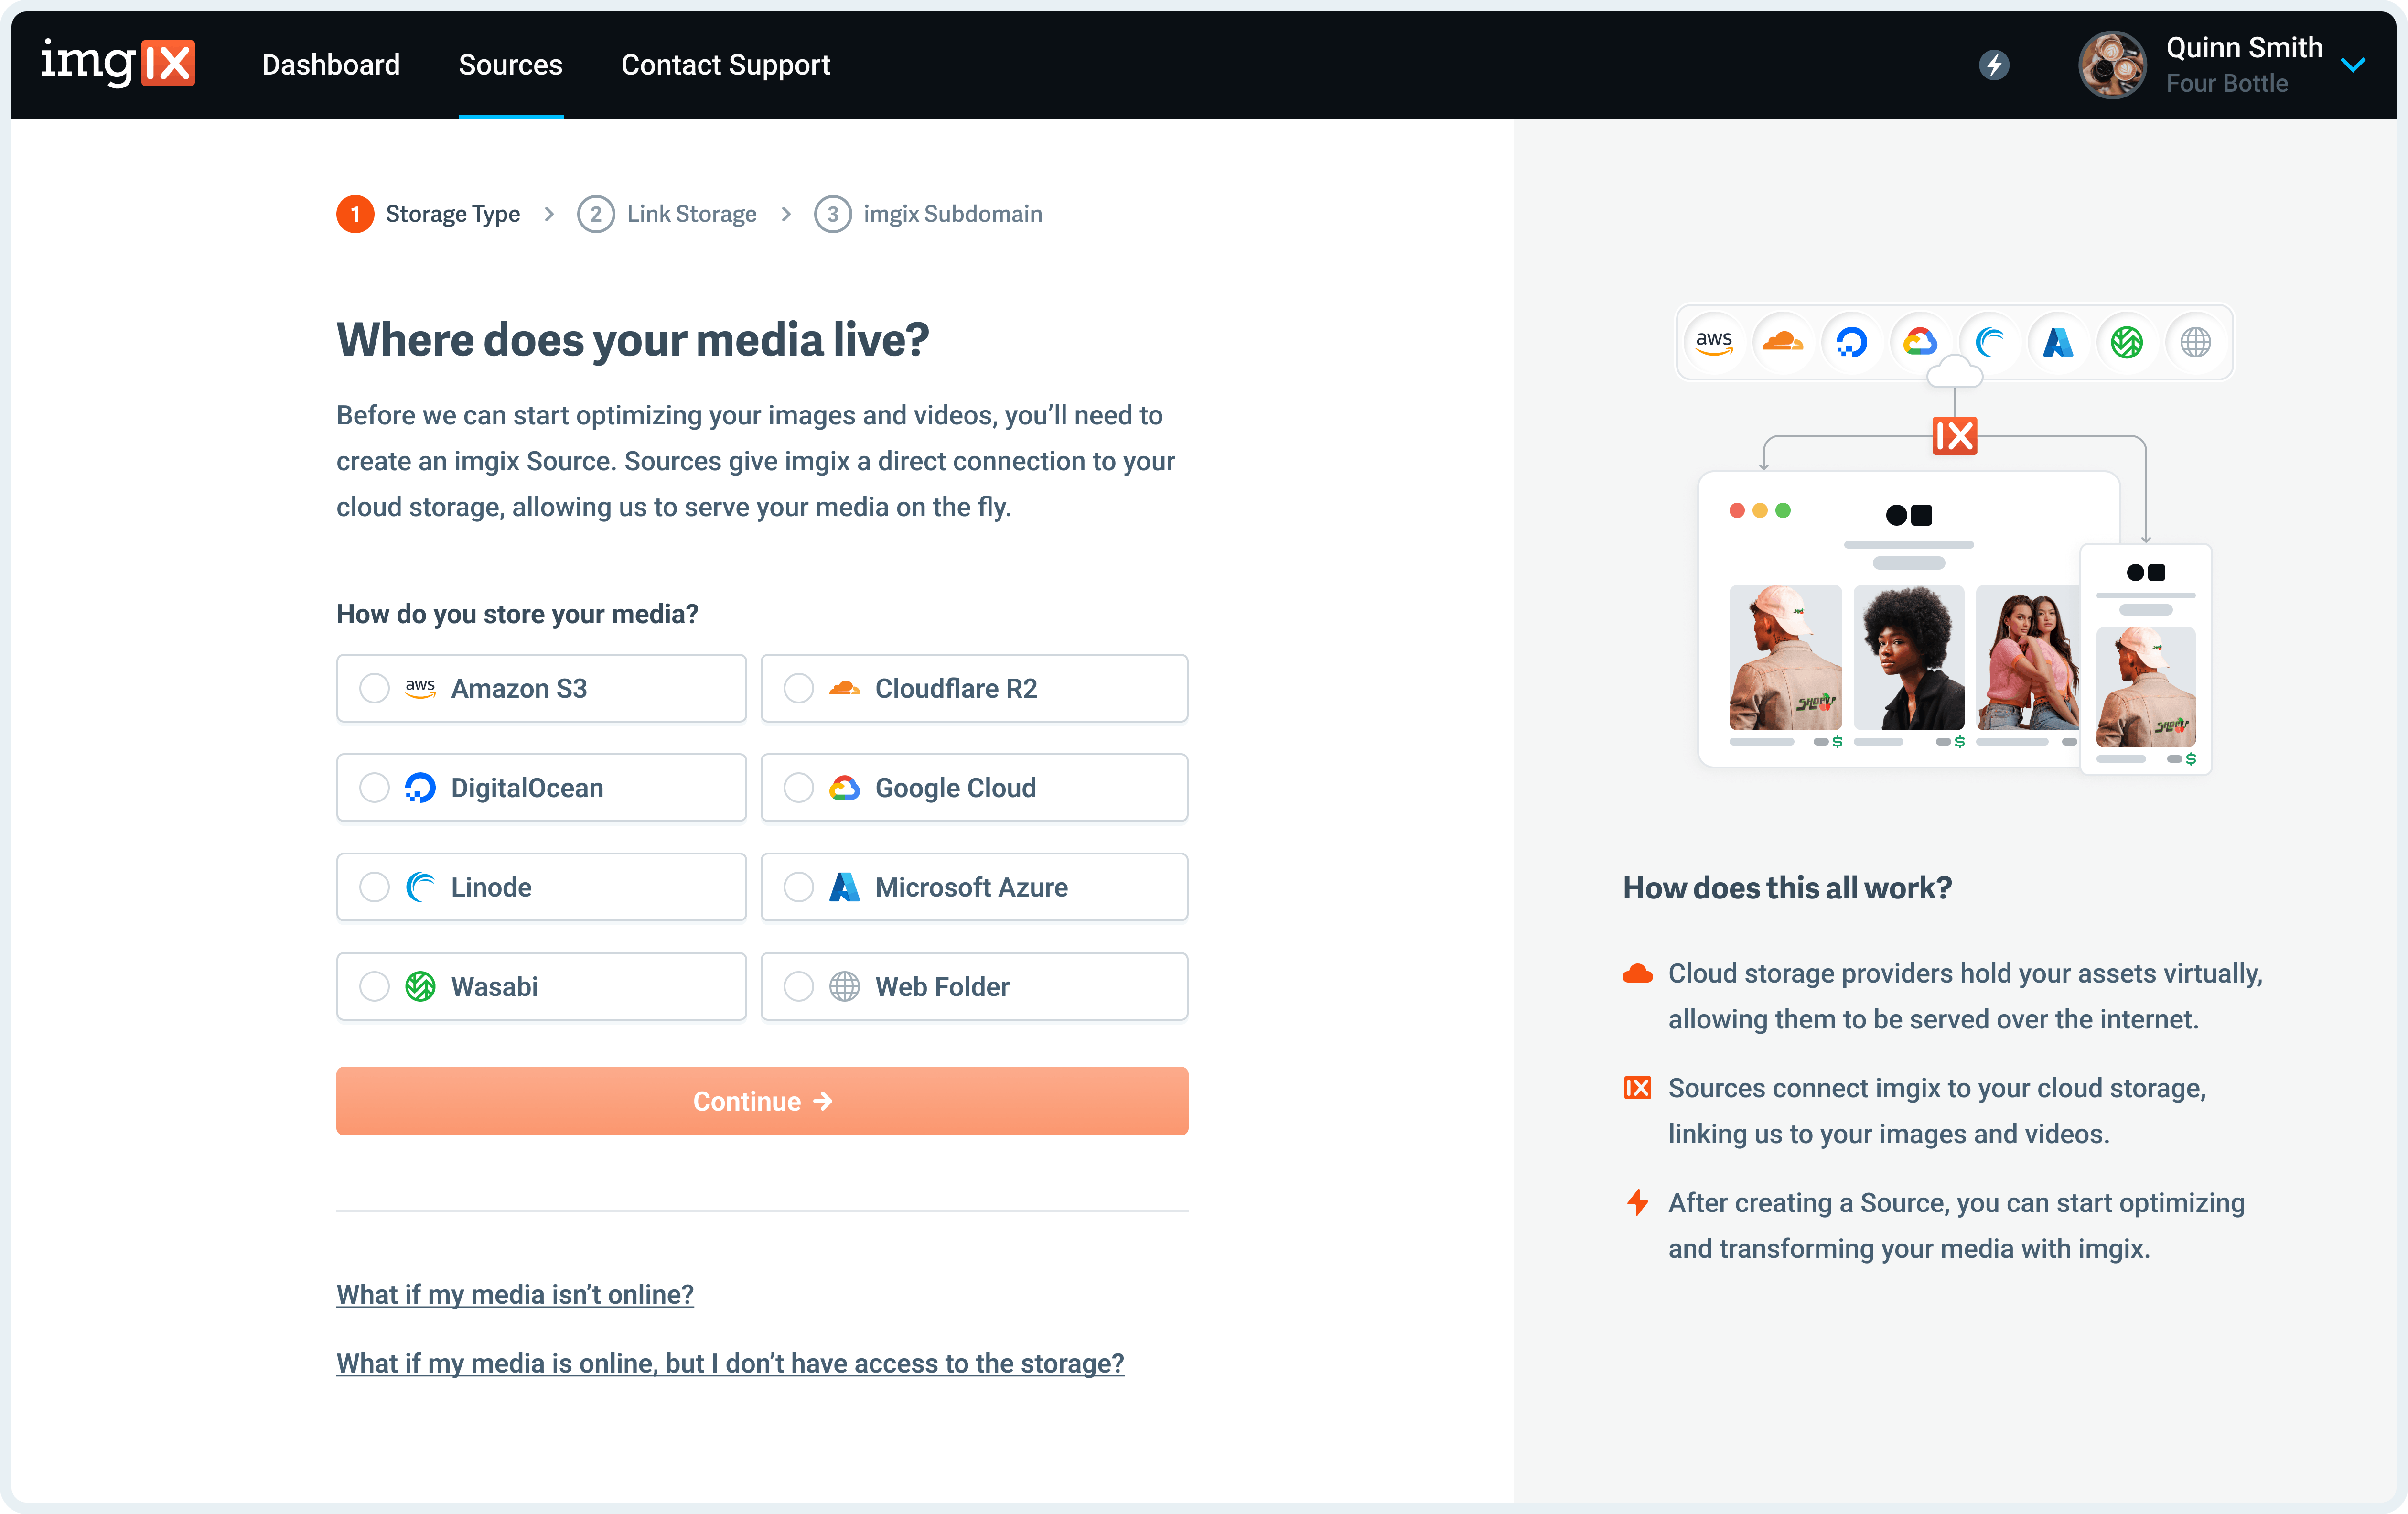
See the Creating Sources guide for more information on creating a Source.
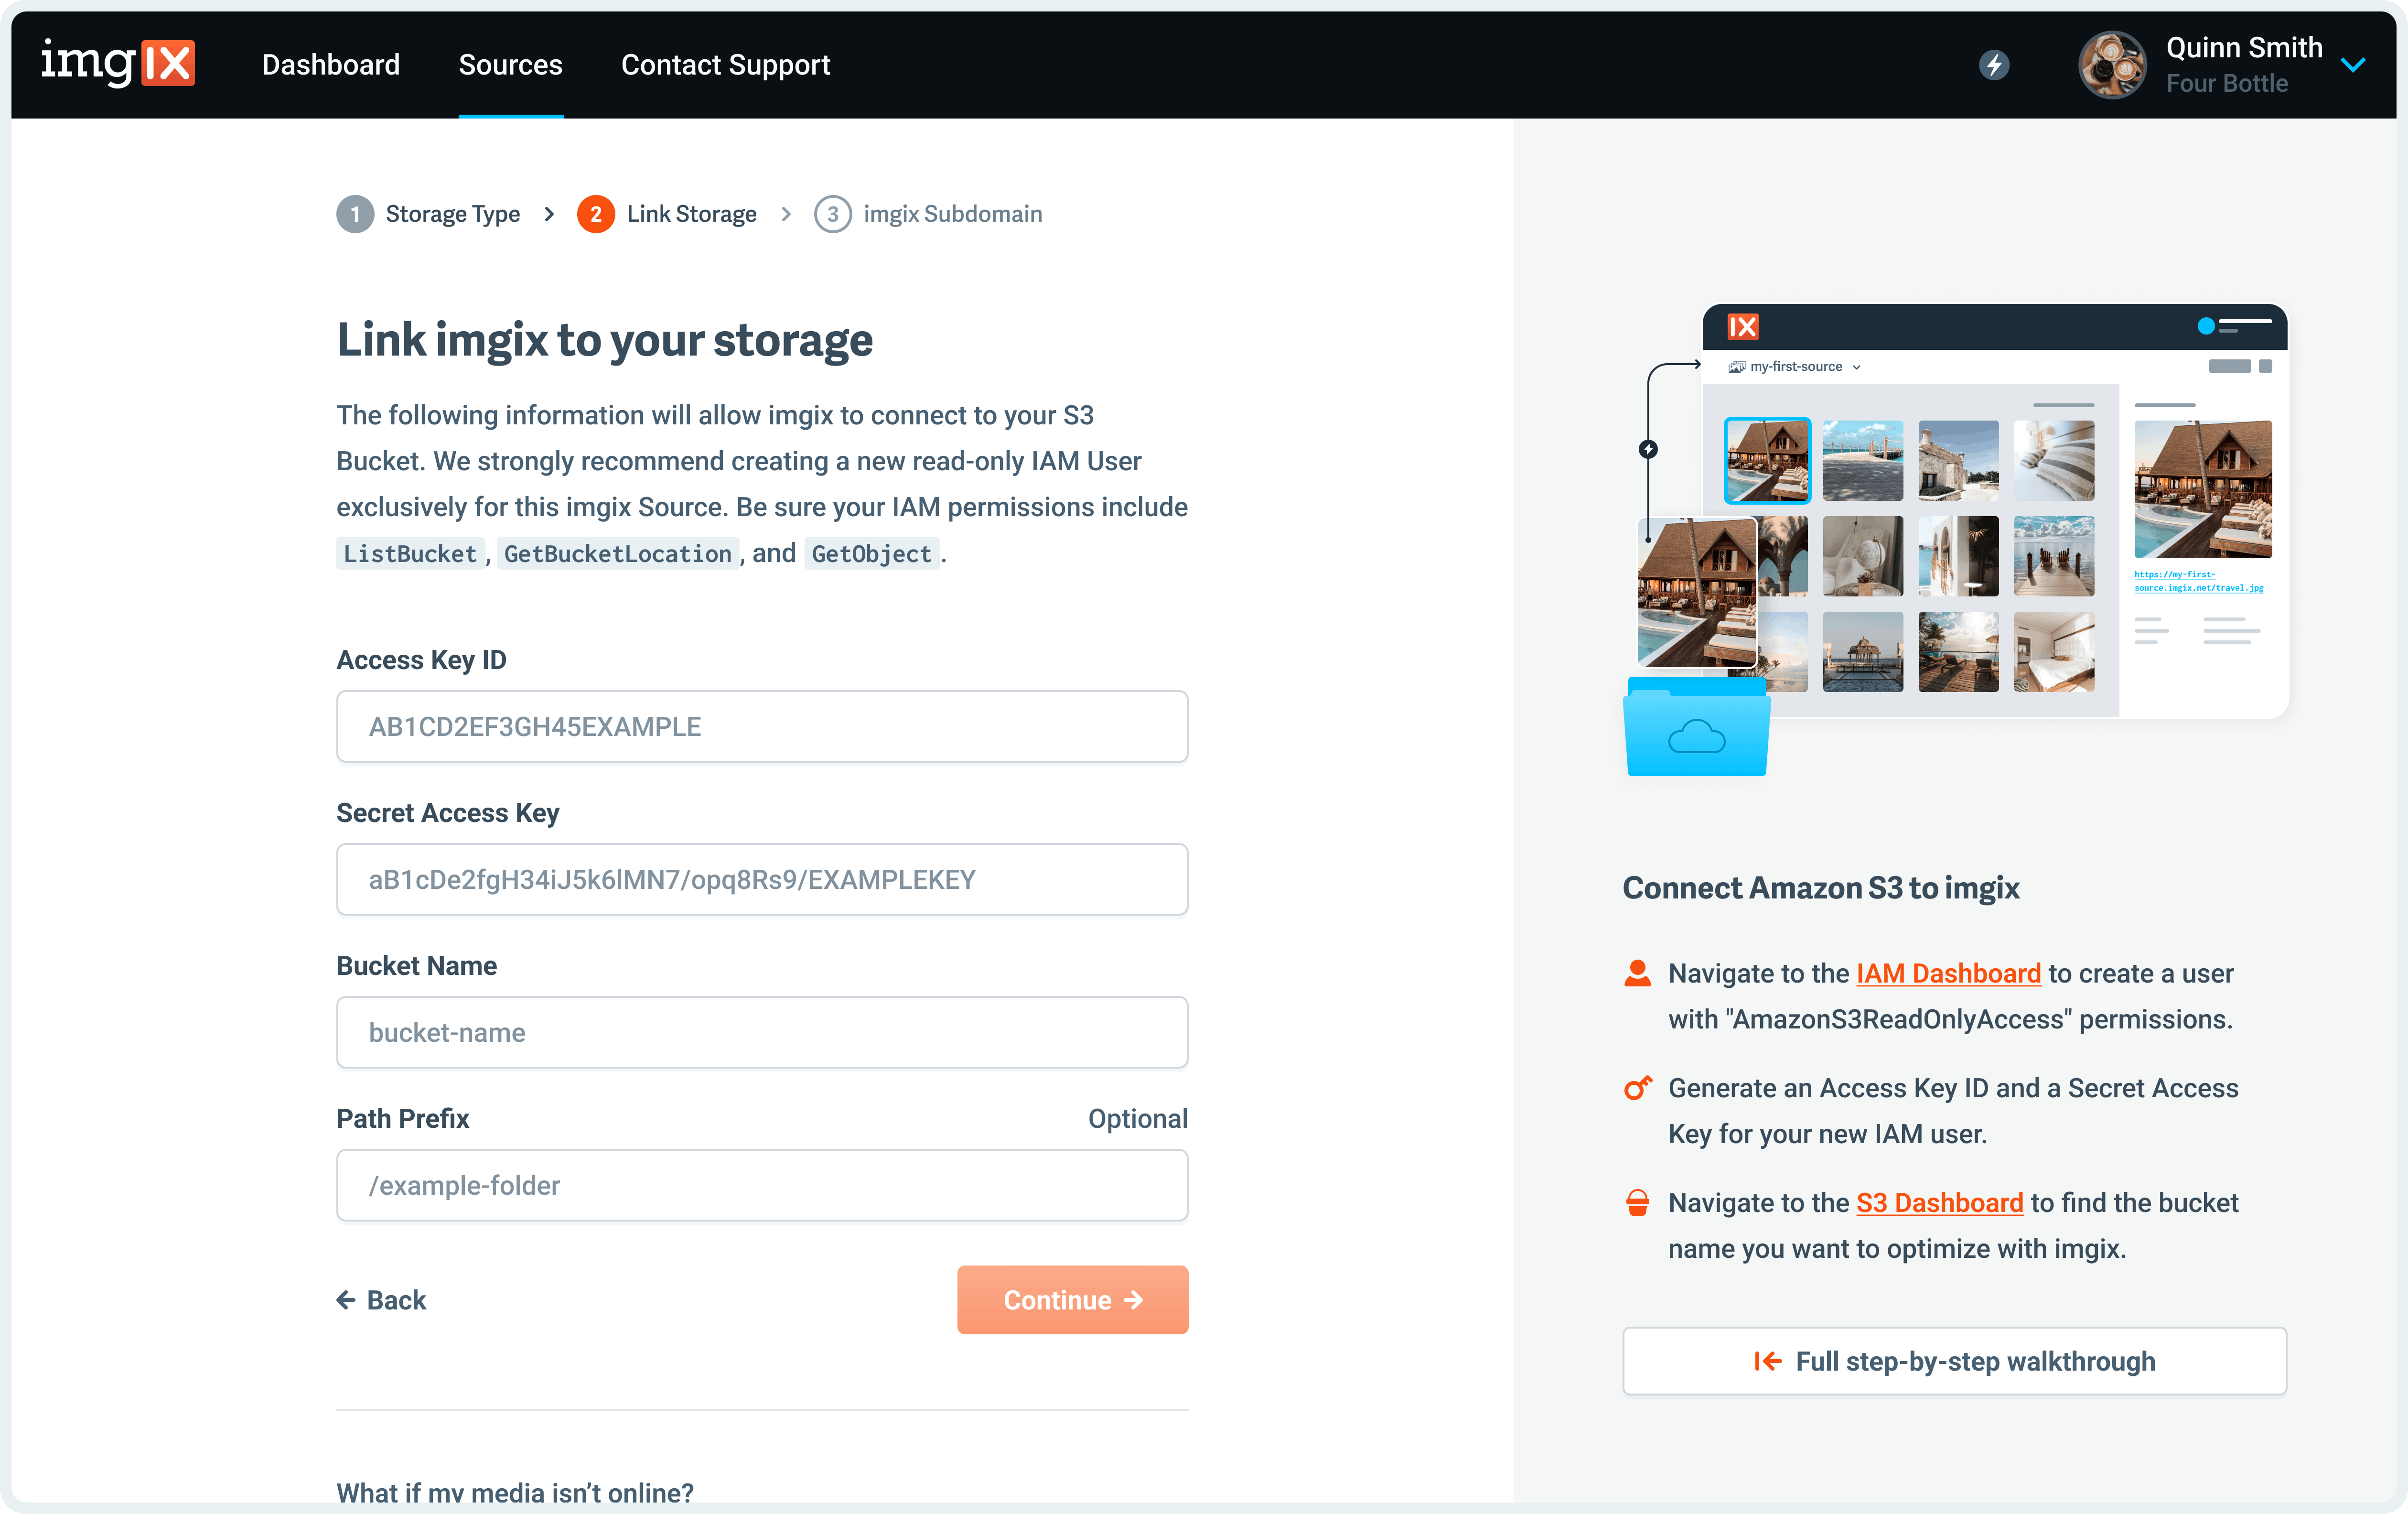
Configure Source Details
In Step #2, you will be prompted to fill in your storage details (this set of options will vary based on your specified storage type).
Define Your Subdomain
In Step #3, you will be prompted to name your imgix.net subdomain (the root of the URL you’ll use to serve assets).
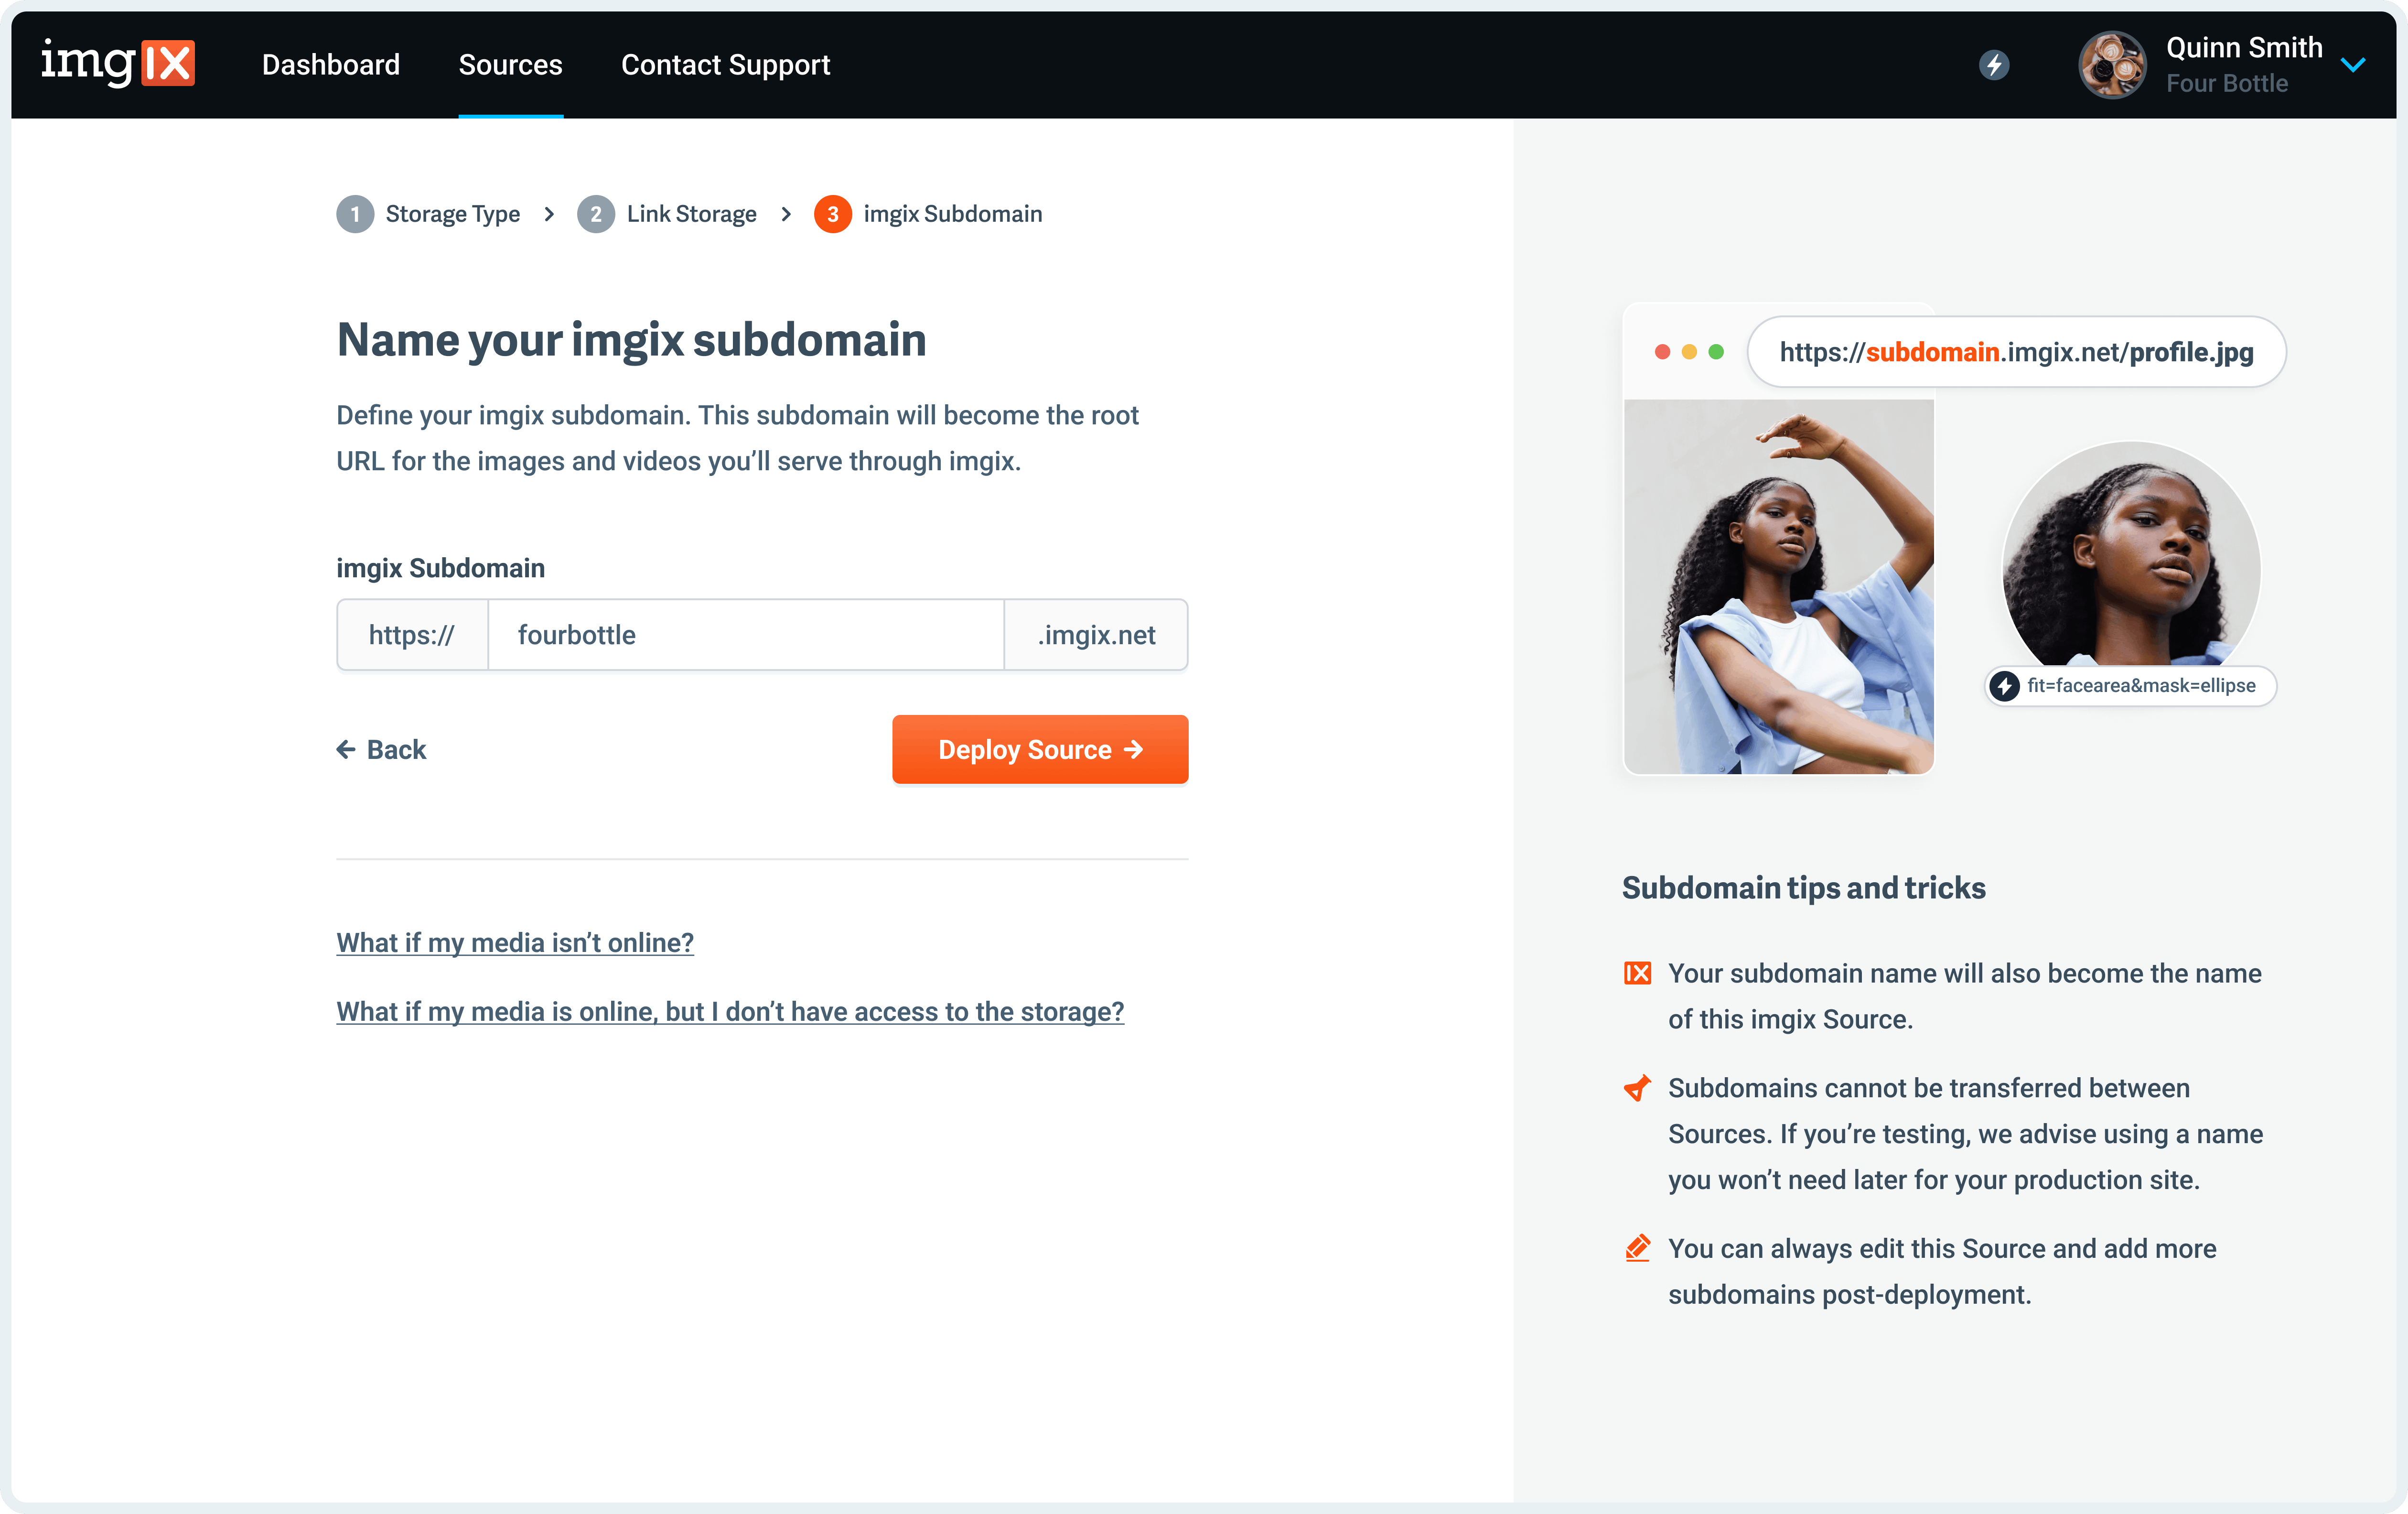 Note: The subdomain name you choose is unique to your Source and can’t be re-used. If you’re setting up a Source with a lot of customization (particularly a Custom Domain), choose the name you plan to use going forward.
Deploy Your Source
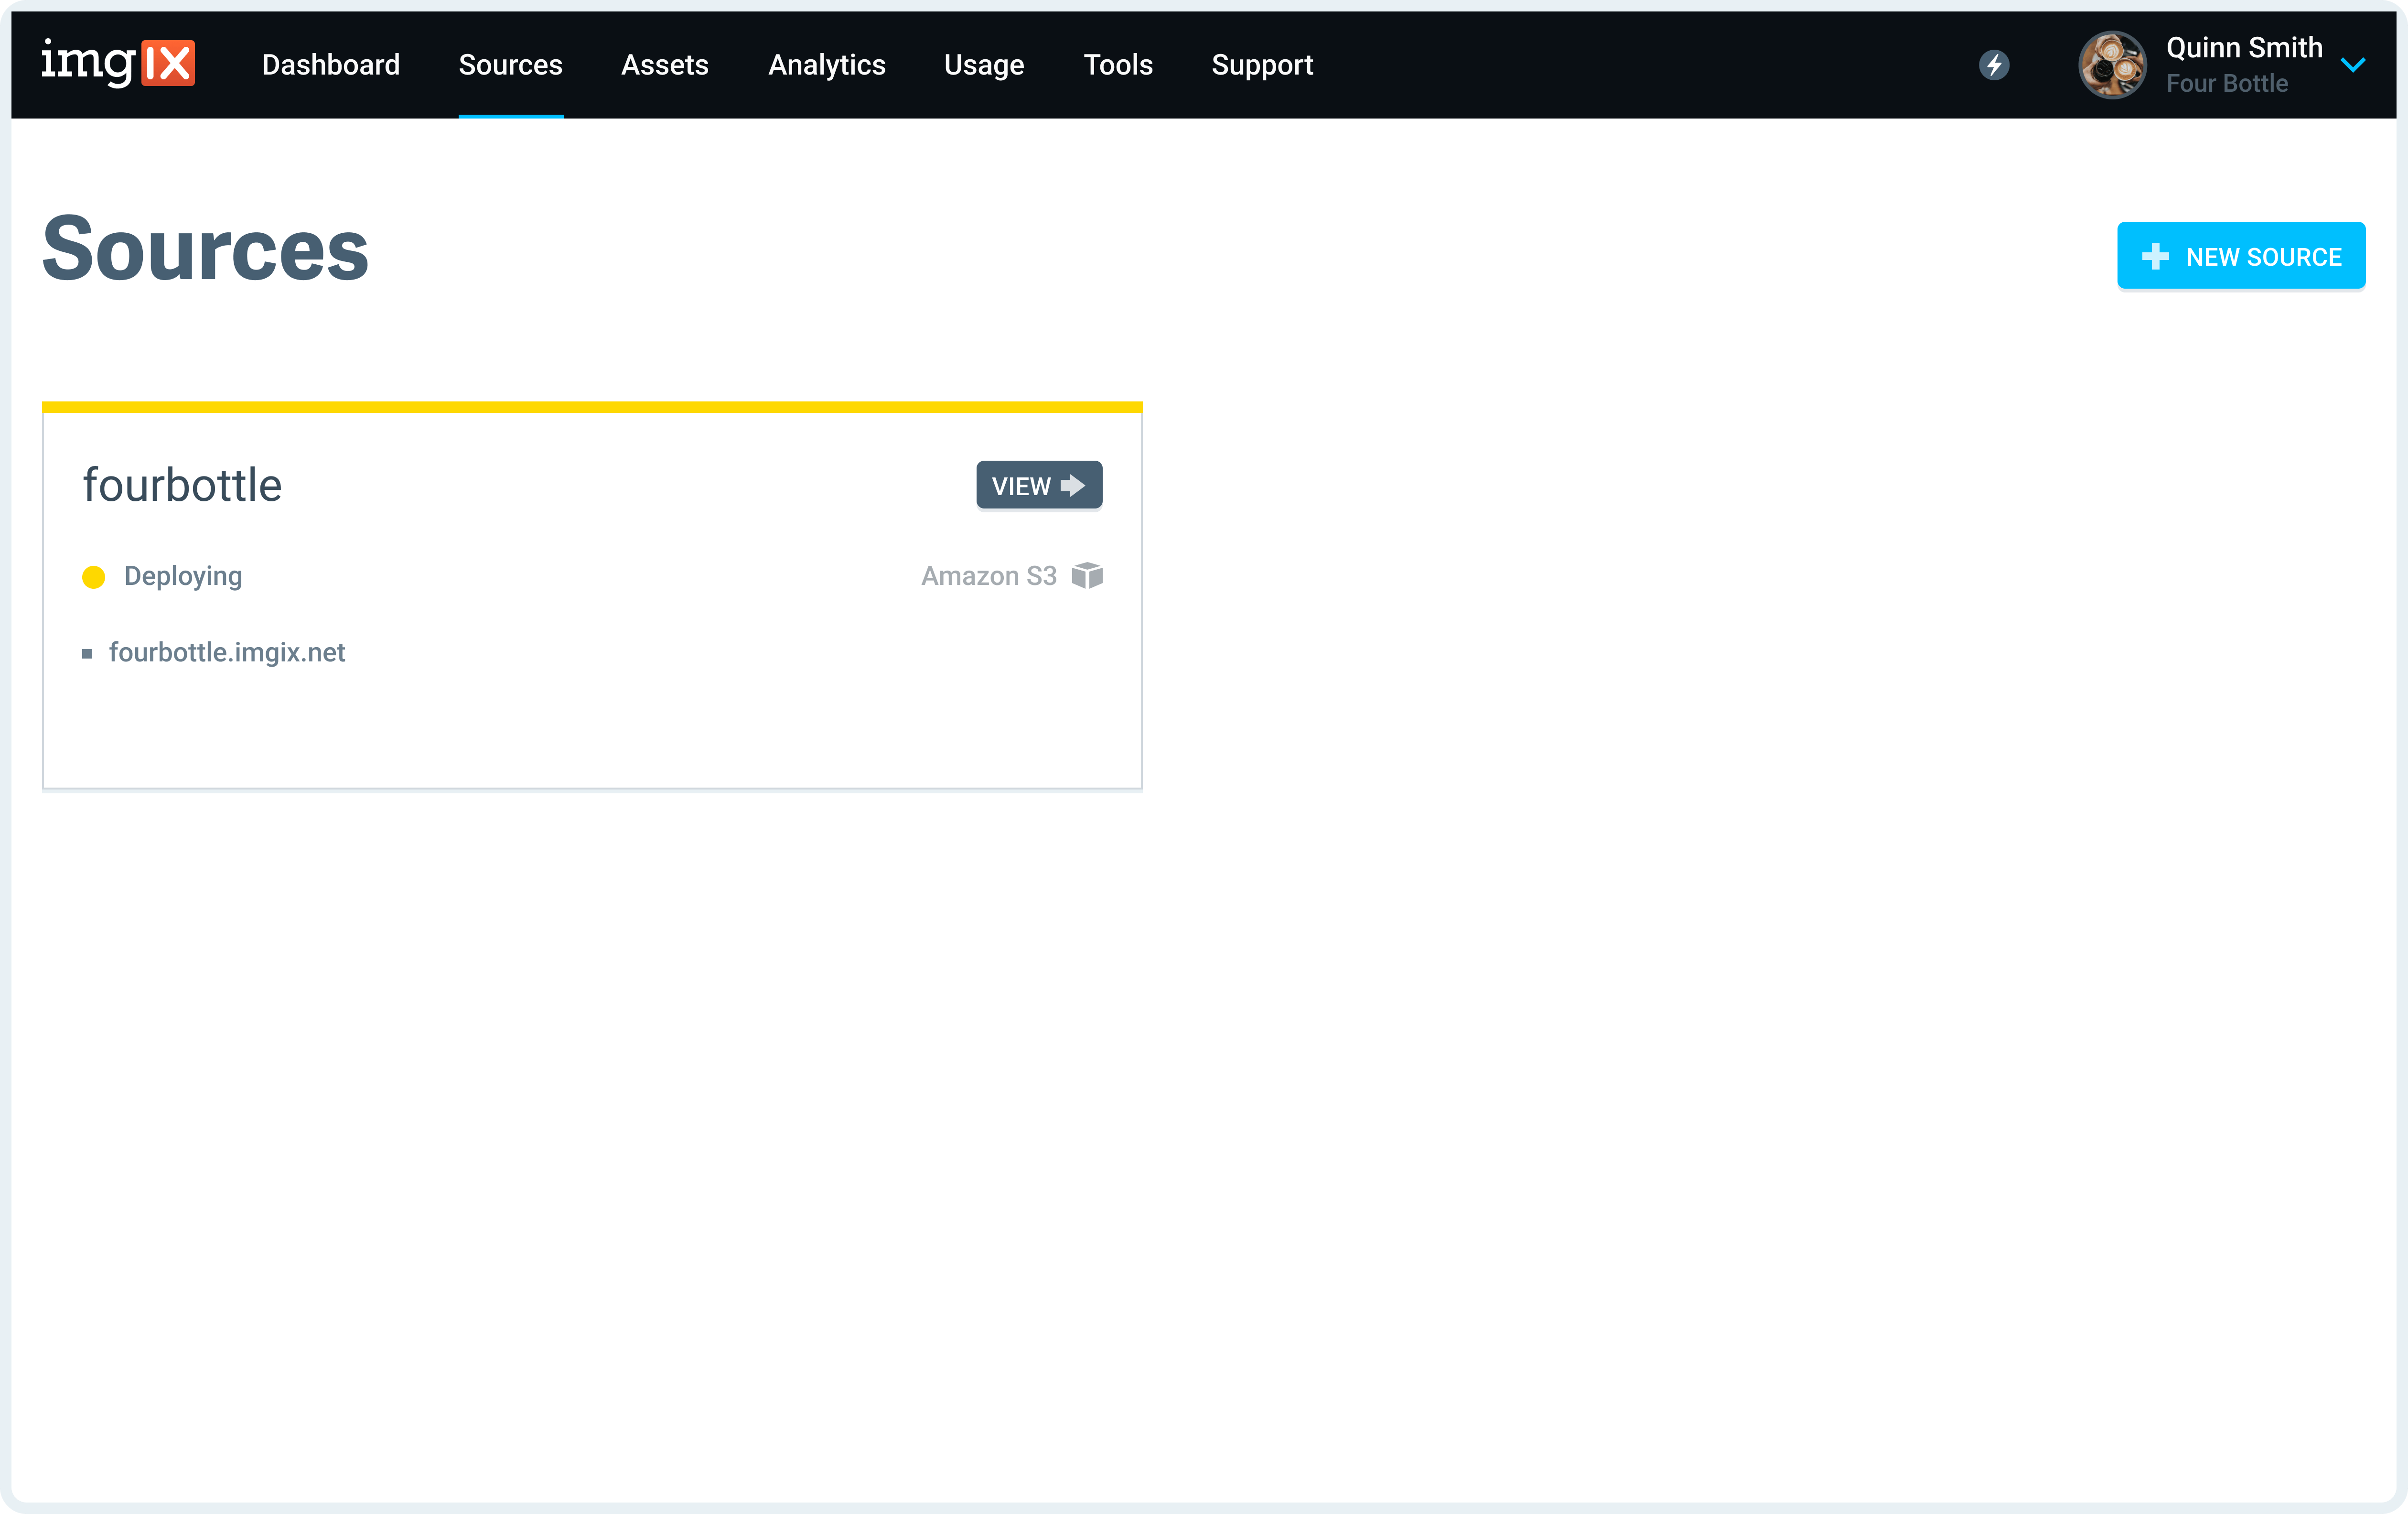
Select the Deploy Source button to save your changes and queue your Source for deployment. Once successfully deployed, your images and videos will become connected to Imgix and the subdomain will be active.
Serve your first Asset
Try out a test asset using the subdomain you created in Step #3. Just type https://your_domain.imgix.net/path-to-your-asset into a browser window and your asset should appear.
The Imgix Sandbox
If you want to experiment with the Rendering API without setting up a Source, you can use the Imgix Sandbox to test out parameters and see the results in real-time.
Alternatively, you can use the Demo Source’s built in Image Editor to experiment with our parameters.
Now that you know the connection is working, you can start applying our API parameters to optimize your assets. Here are some good next steps:
- Rendering API Documentation: Describes all of the available Rendering API parameters, with examples.
- Serving assets guide: This guide will show you the recommended operations that most of our customers use to optimize their assets.
- Advanced Settings: This doc will show you all the various settings that can be configured for any of your Sources.
- Developer Tools: Once you’ve figured out the parameters you want to use, you can use our client libraries to build out image helpers in most modern languages and frameworks.