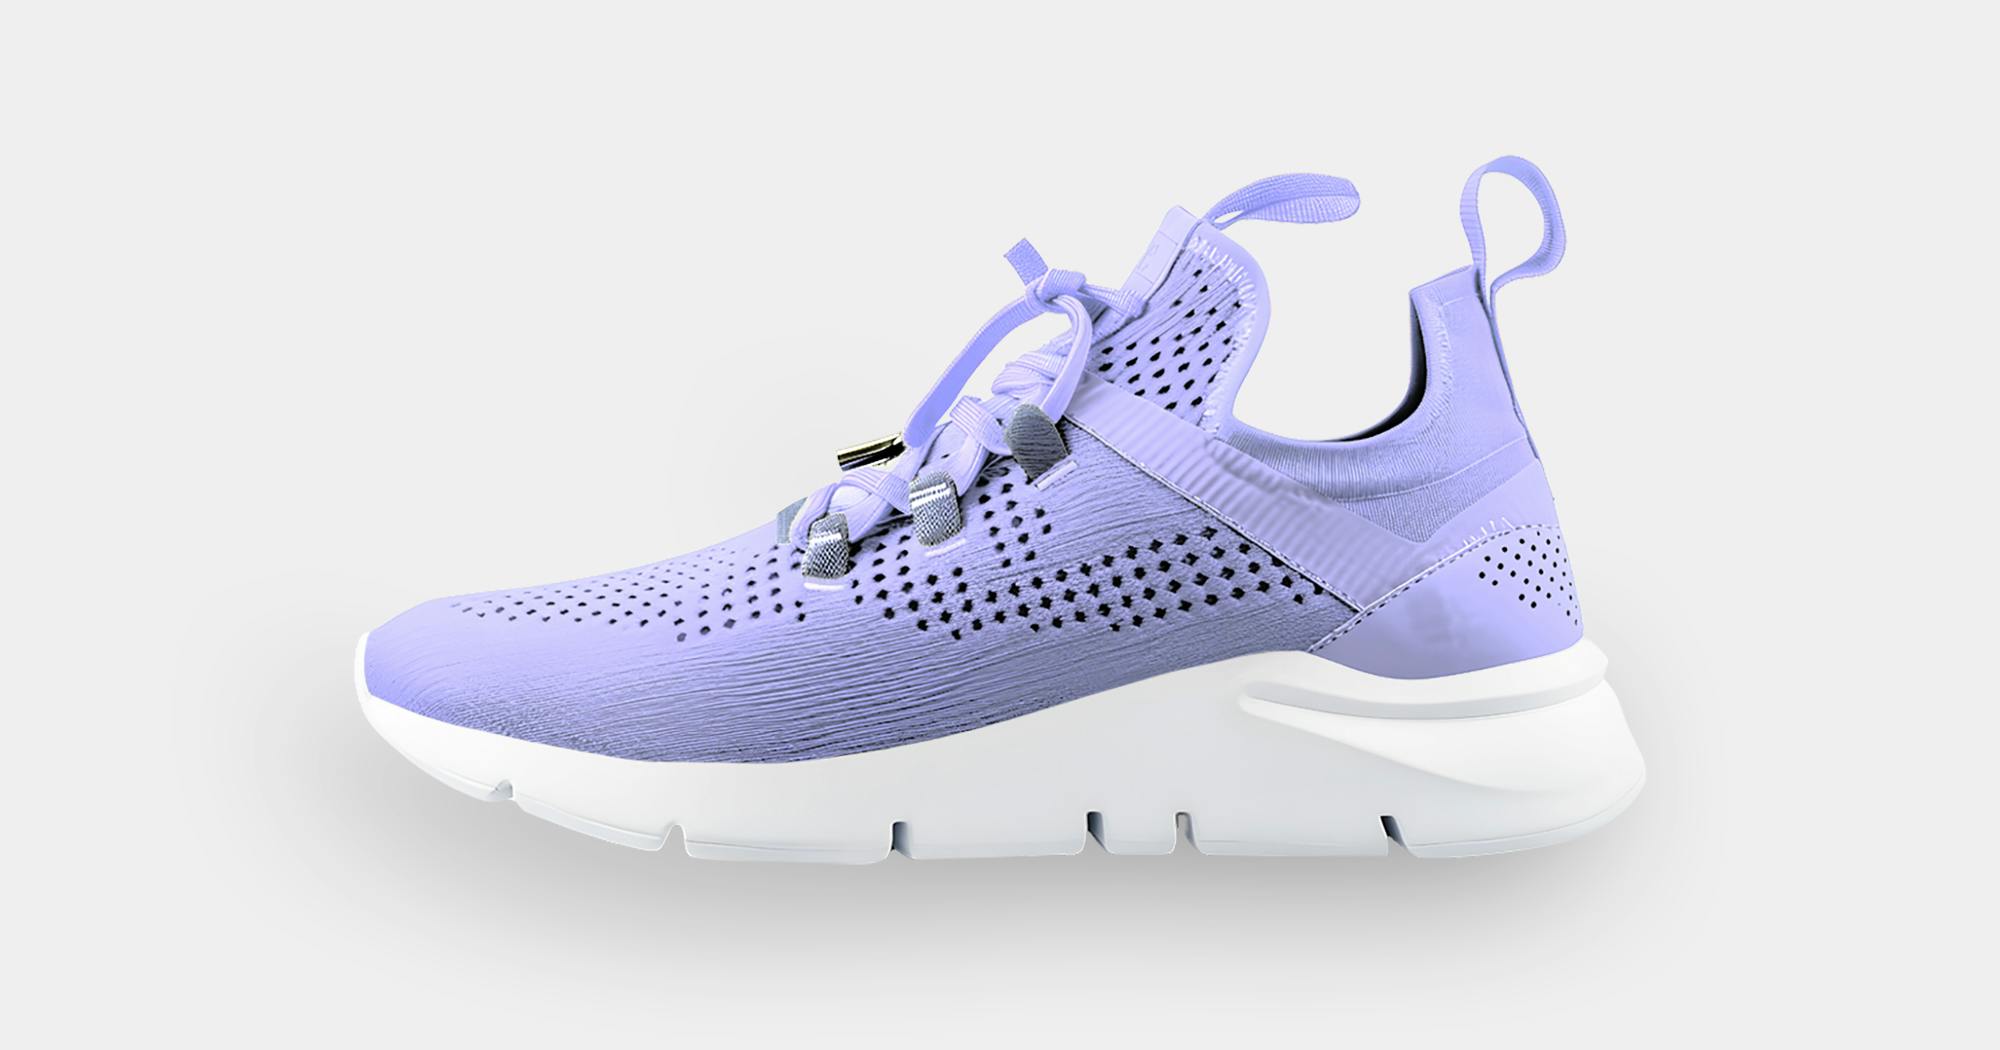
Dynamically Coloring E-commerce Products
In this guide, we will walk through how to dynamically update the color of any product in an HTML <img> element using Imgix, without relying on SVGs or CSS.
Dynamic coloring can significantly enhance the flexibility and scalability of your image library. Traditionally, having multiple different-colored products would require storing every possible variant and loading them individually, which can be impractical and hinder scalability. With dynamic coloring, you can change the color of images on the fly, without affecting page performance or requiring additional front-end code changes. This guide will demonstrate how to achieve dynamic coloring using Imgix.
Prerequisites
Before we begin, ensure you have the following:
- An Imgix account
- Access to your image library
- Basic understanding of HTML and Imgix parameters
Implementation
Step 1: Prepare the Base Layer
First, create a base layer image. This is the default image that will be displayed without any dynamic coloring. Ensure this image looks good on its own, as it will also serve as a fallback.

Step 2: Create the Paint Layer
Next, create a second image, known as the paint layer. This image should be a png file with a transparent background and match the dimensions of the base layer. The paint layer should only contain the areas you want to dynamically color.

Step 3: Apply Color to the Paint Layer
Now, we will use Imgix API parameters to apply color to the paint layer. Here are the key parameters:
w: Width of the imagebri: Adjusts the brightness levelcon: Adjusts the contrastmonochrome: Applies a dynamic hex color to the image
In this example, we use the hexadecimal value #28E398 for a bright green color. You can replace this with any hex value to change the color. Additional parameters are not necessary, but we chose to further customize this layer by setting the width (w) of the image and adjusting the brightness and contrast on the shoe with bri and con.
To layer this paint layer on top of the base image, you first need to URL encode the paint layer’s URL:
https%3A%2F%2Fix-marketing.imgix.net%2FQ3-24-sneaker-paint-layer.png%3Fw%3D1800%26bri%3D3%26con%3D14%26monochrome%3D28E398
Step 4: Stack Layers Using Imgix Watermark Parameters
Finally, we’ll stack the paint layer on top of the base layer using Imgix’s watermark parameters. This will allow us to combine both layers into a single image. You will need to use the following parameters:
w: Ensure the width is identical for both layersmark-align: Aligns the paint layer on top of the base layermark: Encoded URL of the paint layer with applied transformations
Dynamic Color Examples
Here are a few examples with different hex values applied to the paint layer:
Conclusion
With Imgix, you can dynamically serve images with different colors without compromising performance or adding extra front-end code. By using the combination of base and paint layers, along with the watermark and monochrome functionalities, you can easily implement dynamic coloring for any product images.


