Adding an S3-Compatible Source
An S3-Compatible Source connects Imgix to an object storage provider that supports the Amazon S3 API. This includes Amazon S3 as well as other providers such as Cloudflare R2, Wasabi, DigitalOcean Spaces, and similar services.
Imgix connects to your bucket using the credentials you supply, so assets do not need to be publicly accessible.
Setting Up Your S3-Compatible Source
Note: Behavior such as hostname usage, consistency guarantees, and region handling may vary by provider. Refer to your storage provider’s documentation if you are unsure which endpoint or region to use.
-
Go to the Sources page in the Imgix dashboard and click the New Source button.
-
Select S3-Compatible Storage from the How do you store your media? options.

-
Fill in the details for your S3-Compatible Source.

Note: We strongly recommend creating credentials specifically for Imgix with read-only access to your bucket. Imgix only requires permission to list objects and retrieve files in order to serve your assets.
- Access Key ID: The access key used by Imgix to authenticate with your storage provider.
- Secret Access Key: The corresponding secret key for the access key above.
- Bucket Name: The name of the bucket containing the assets you want Imgix to serve.
- Endpoint: The S3-compatible API endpoint provided by your storage service (for example,
s3.amazonaws.com,nyc3.digitaloceanspaces.com, ors3.us-west-1.wasabisys.com). - Region (optional): The region where your bucket is hosted. Some providers require this field, while others ignore it.
- Path Prefix (optional): A folder prefix within the bucket. If set, Imgix prepends this value to the asset path before resolving the object. By default, the asset path is
/.
-
Name the Subdomain you’d like to use as the base URL for your assets.
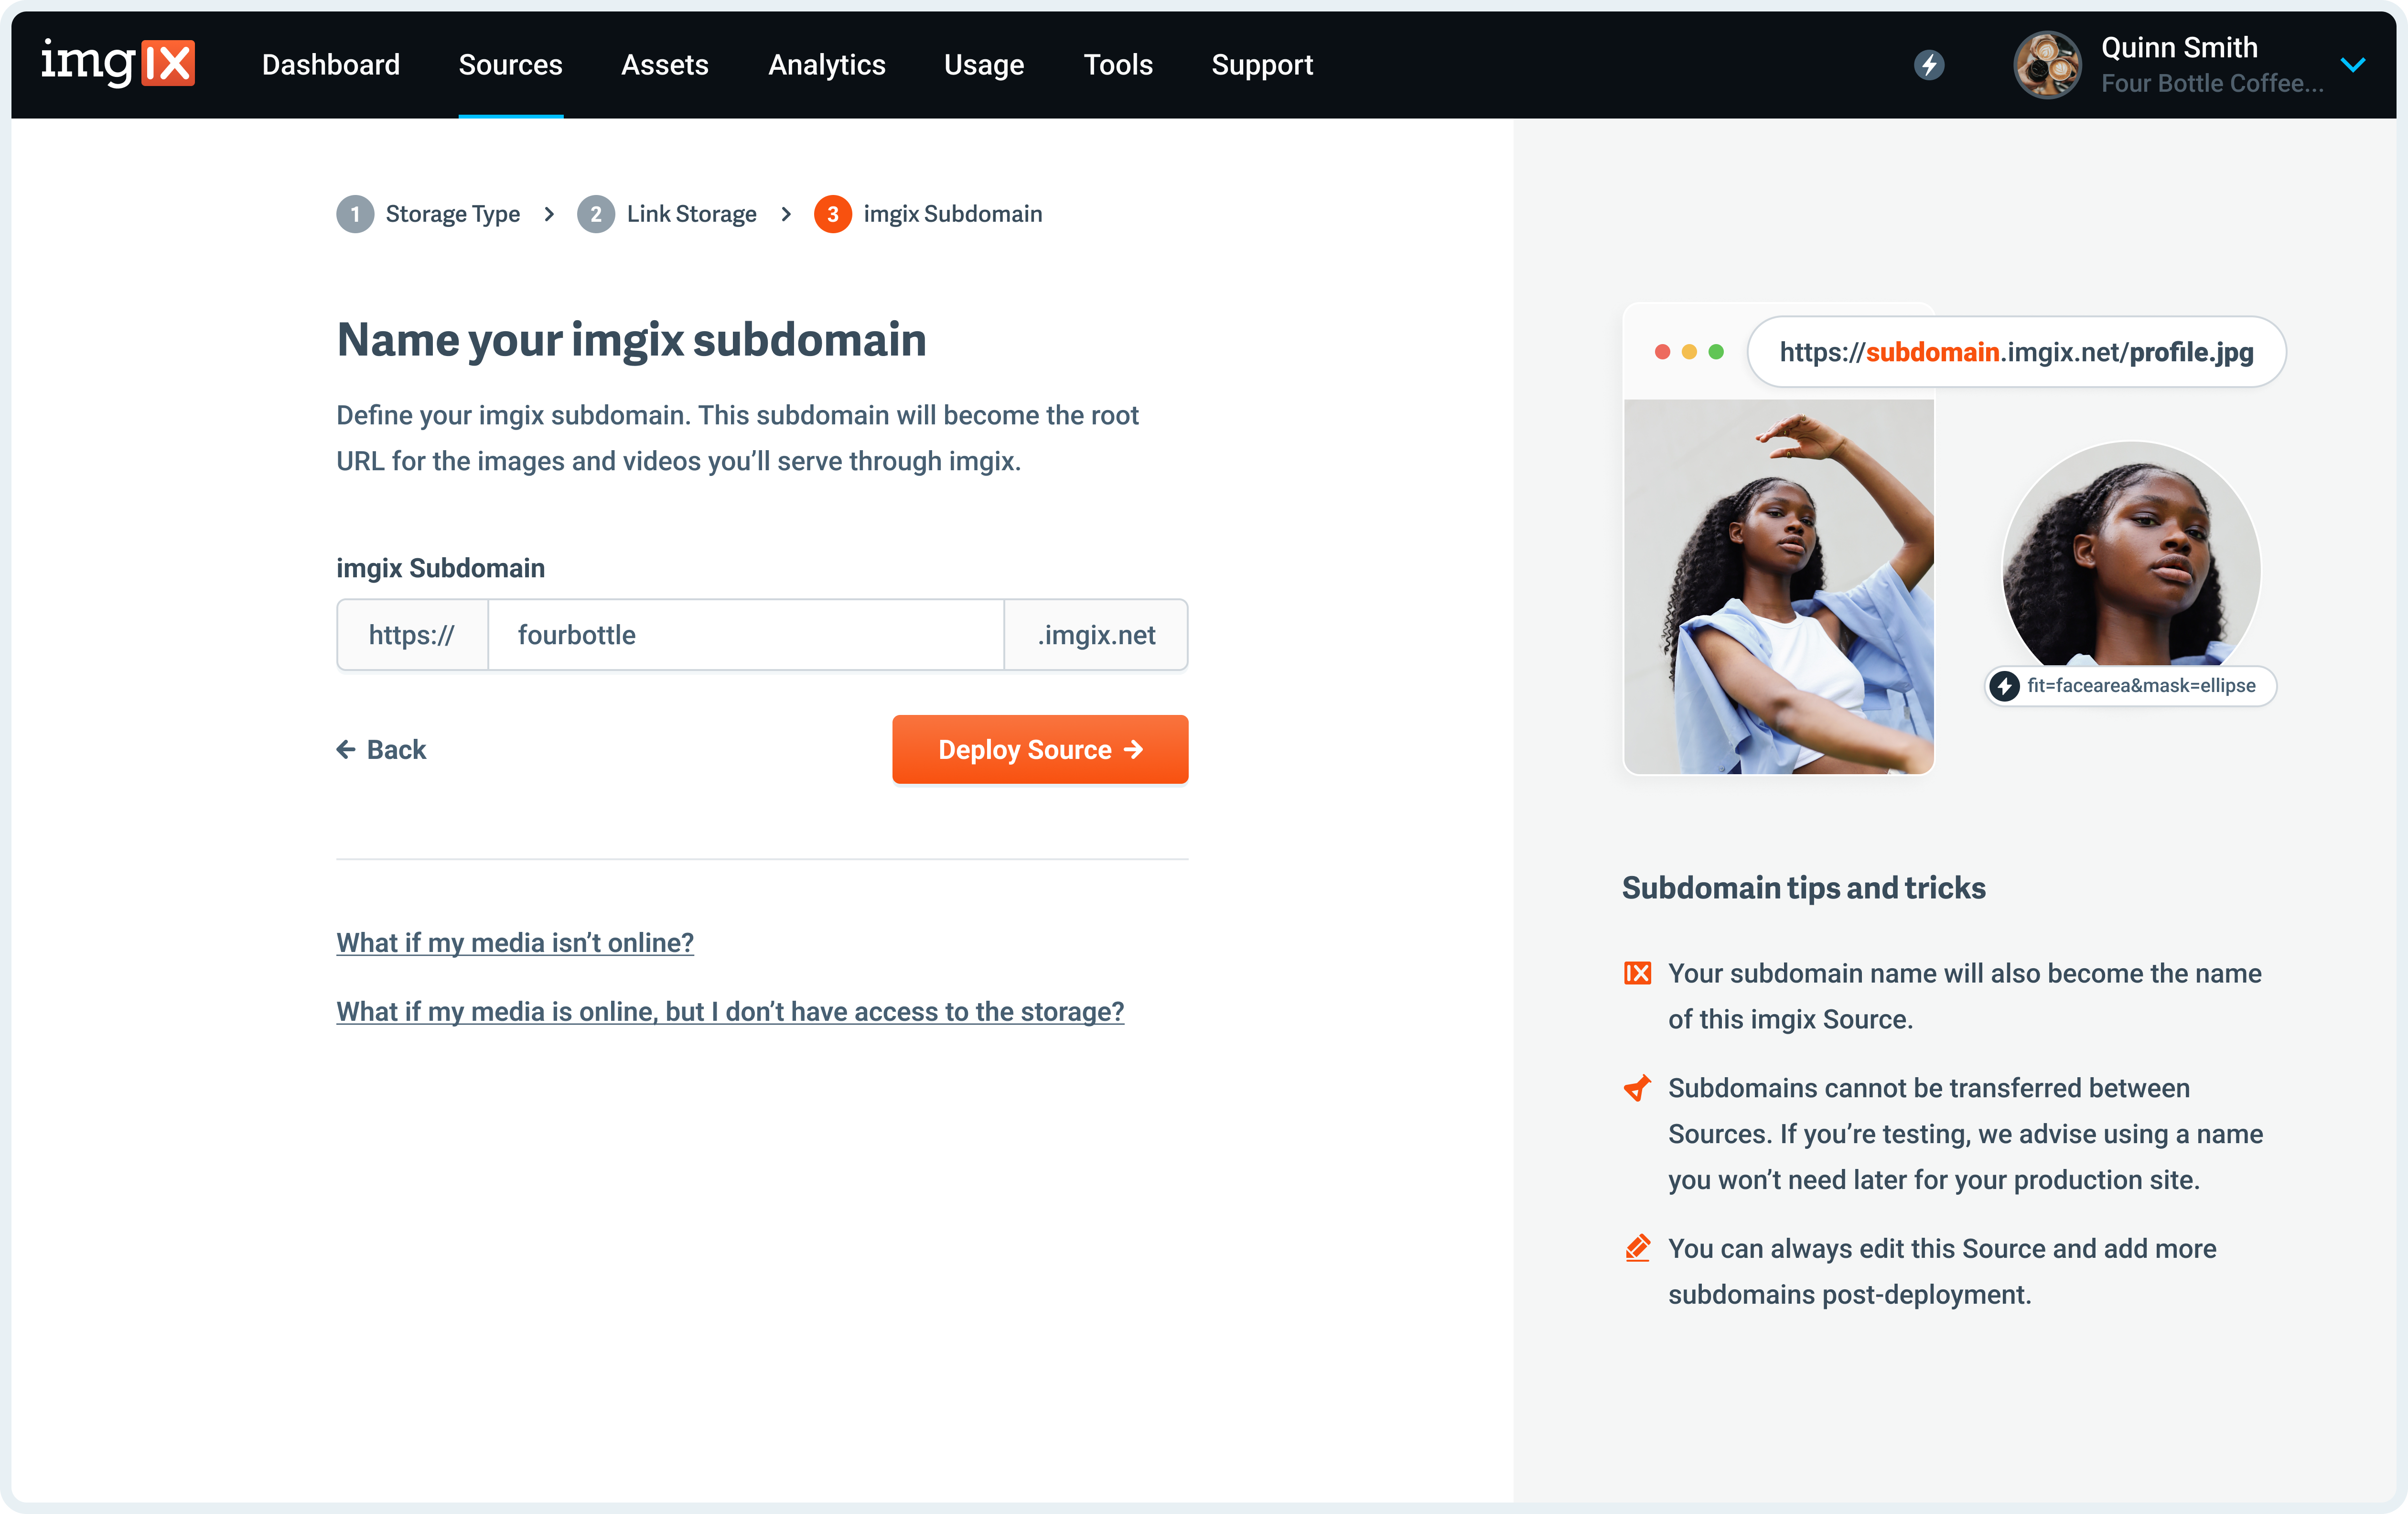
Note: The subdomain name you choose is unique to your Source and cannot be reused. If you plan to add a Custom Domain or other advanced settings later, choose a subdomain you intend to keep long-term.
- Click the Deploy Source button on Step #3 to queue your Source for deployment.
Credentials and Access Control
We strongly recommend creating a dedicated, limited-scope user or access key for Imgix. Credentials are stored using industry-standard cryptographic best practices.
For Amazon S3, this typically means creating an IAM user. For other S3-compatible providers, use the equivalent mechanism offered by that service.
Imgix only requires read-only access to your bucket to function correctly.
Note: Imgix support does not have access to your credentials. Your Access Key ID and Secret Access Key are stored encrypted and cannot be retrieved or viewed by imgix staff. If you need to rotate or update your credentials, you can do so at any time from the Sources page in the dashboard.
Required Permissions
The following S3 API permissions are required for Imgix to fetch and serve assets:
ListBucketGetBucketLocationGetObject
Example Read-Only Policy (Amazon S3)
{
  "Statement": [
    {
      "Effect": "Allow",
      "Action": [
        "s3:GetObject",
        "s3:ListBucket",
        "s3:GetBucketLocation"
      ],
      "Resource": [
        "arn:aws:s3:::your-bucket",
        "arn:aws:s3:::your-bucket/*"
      ]
    }
  ]
}
If you are using a non-AWS provider, consult their documentation for the equivalent policy or permission configuration.
Note: If you manually create or customize policies, we recommend validating them using the Amazon IAM Policy Simulator or your provider’s equivalent tooling.
Advanced Settings
See the Advanced Source Settings documentation for information about configuring:
- Custom domains
- Default parameters
- Cache TTL behavior
Uploading Assets
Additional configuration is required to upload assets directly to S3-compatible storage through Imgix.
Refer to the relevant uploading guide for your provider: