Using the Asset Manager
You can open the Asset Manager by clicking the Assets link in the top navigation bar of the Dashboard. This will bring you to the Asset Manager page. This will take you to the Asset Manager homepage, where you can upload, search, organize, and browse your assets.
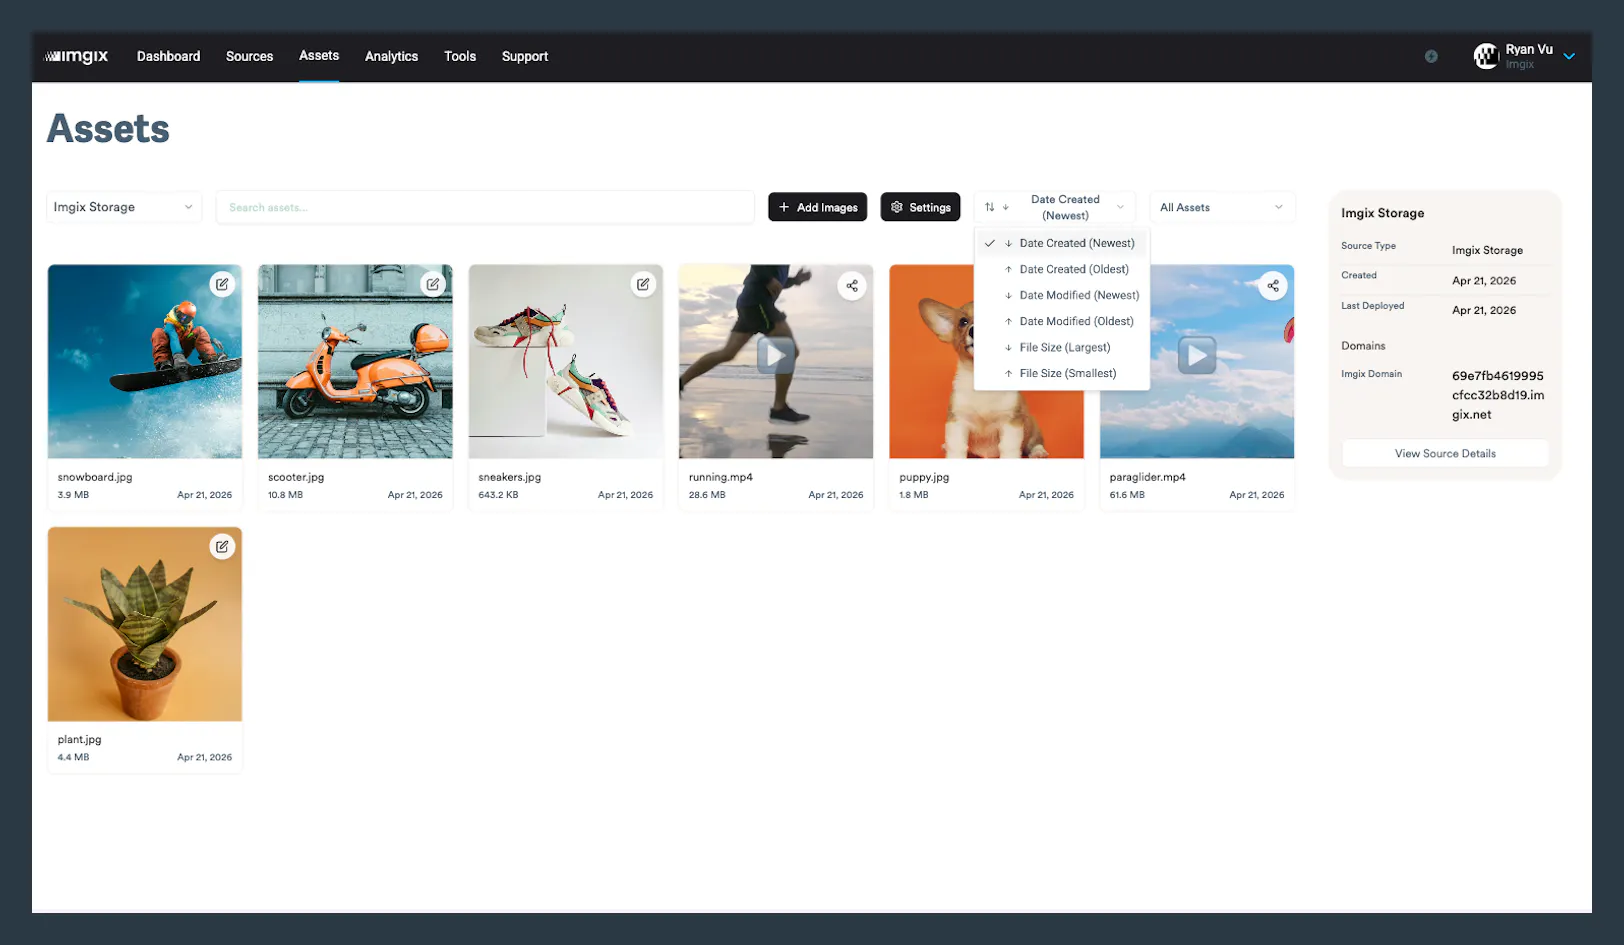
The Asset Manager homepage will show the List View, which you can use to browse all of your assets in a particular Source. You can switch between Sources by selecting from the Source dropdown in the upper left corner (you will not see a dropdown option if your Asset Manager setup has only one Source with assets).

By default, assets are sorted by Date Created, with the most recent assets first. The other supported sorts are Date Updated and File Size. All sorts can be either ascending or descending.
All of the data returned by the Asset Manager is also available through the Management API. For more information, see the Management API documentation.
Searching
Keyword Search
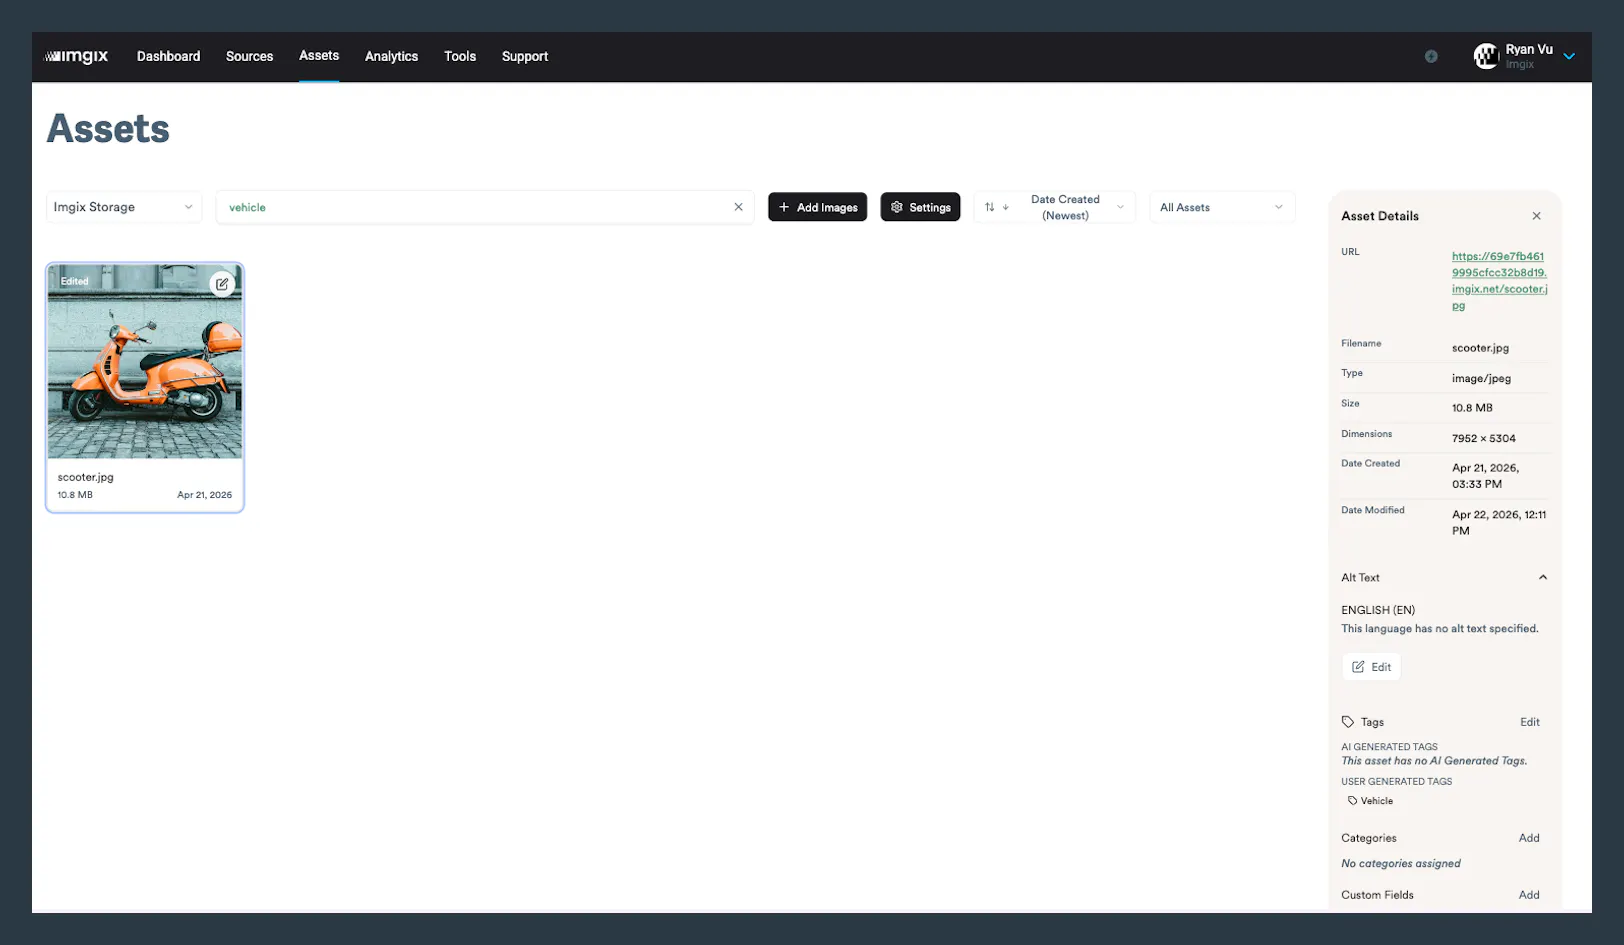
Typing in the search box near the top of the screen will execute a keyword search. This will search across multiple pre-determined fields, such as the image origin path, the name, description, tag, category, custom field, etc. Exact behavior is subject to change.

Tag Search
Searching can be performed by tag. Navigate to an image and click on one of its tags to execute a search for other images with the same tag.
Category Search
Searching can be performed by category. Navigate to an image and click on one of its categories to execute a search for other images with the same category.
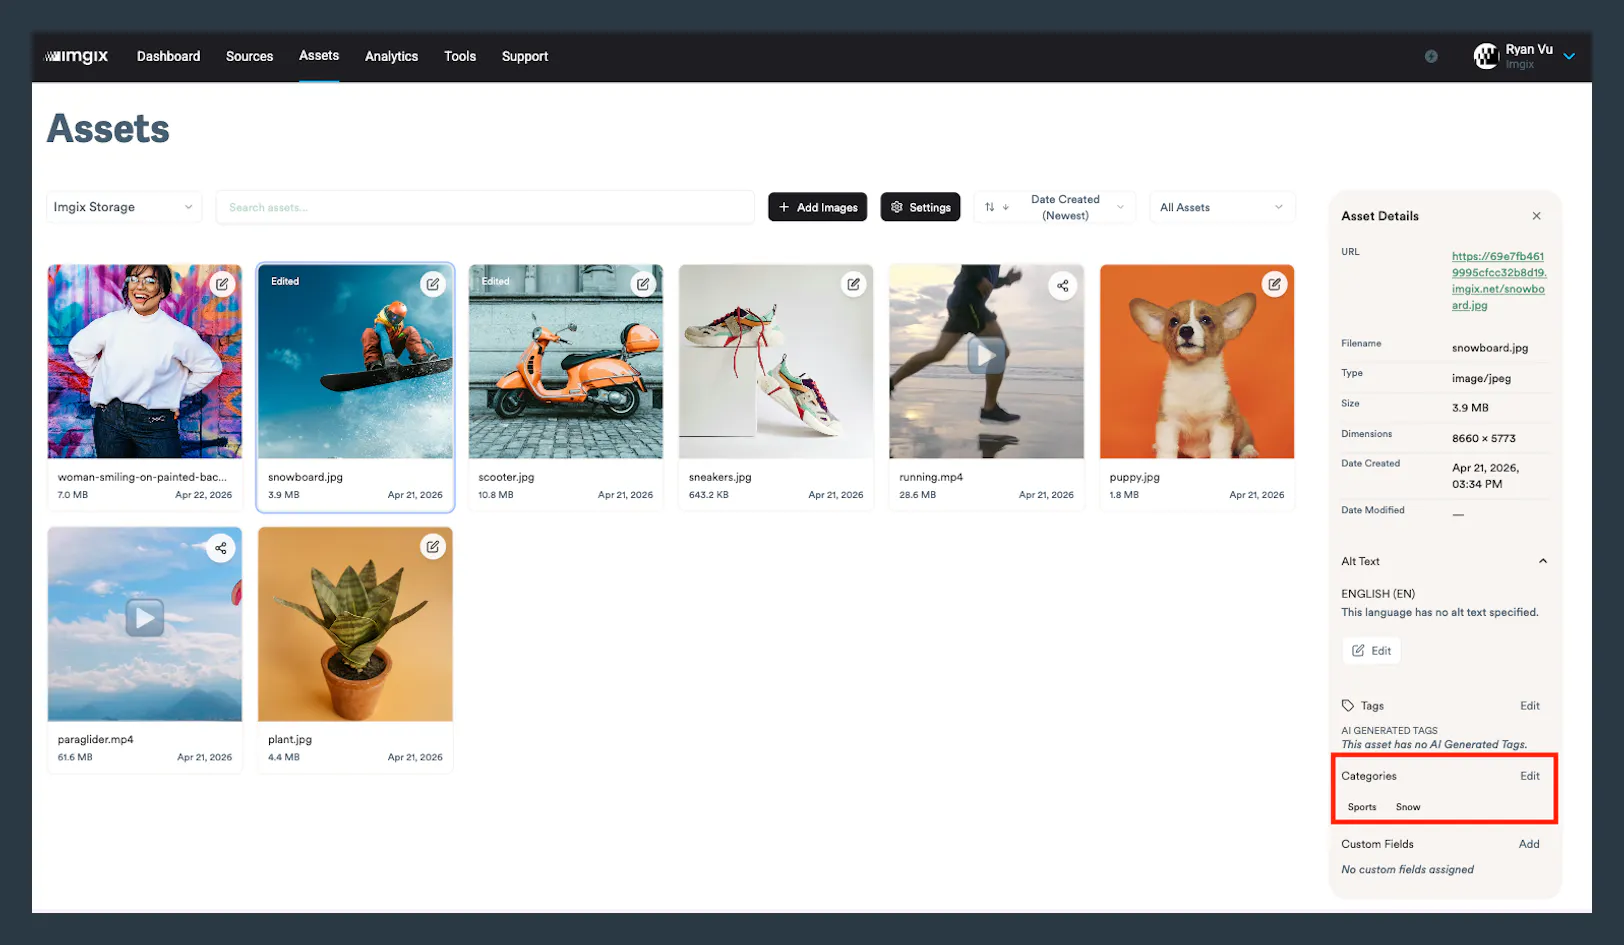
Image Details
Clicking on an image thumbnail in the List View will load that image’s details in the Info Panel on the right.

The Info Panel displays metadata, AI-powered tags, user-defined categories, and user-defined custom fields. Each section can be toggled open or closed and Asset Manager will remember the closed/open state per device/browser.
Note: Asset Manager has a 500MB limit for each image.
Image Detail View
The image detail view shows an image at a larger size and at its original aspect ratio. Open the image detail view either by clicking on an already-selected image thumbnail in the list view or by double-clicking on an image thumbnail in the list view. Exit the image detail view by clicking the “x” in the upper left corner or by pressing Esc on your keyboard.
Uploading
You can upload images by clicking the Add Images button at the top of Asset Manager or by dragging and dropping files into the List View.

For more information on configuring uploading in Asset Manager, see the Uploading page.
Video Status
Premium Feature
The Video API is currently available for Imgix customers on a Premium plan. If you’re interested in this feature, please contact our sales team to get more information on this feature.
Note that videos are still available as a passthrough using the Rendering API.
When video is enabled on a Source, compatible input formats will be automatically detected and transcoded. Video transcoding will end with one of the following statuses:
- Processing: The video is currently being processed by our service.
- Processed: The video has been successfully converted and can now be served through the
imgix.videodomain. It will remain until it is detected to have been deleted from the bucket. - Errored: There was an issue while processing the video. Issues might be due to one of the following:
- Incorrect input format: the video was detected in the bucket but is incompatible with the current supported formats.
- File too short: video files must be a minimum of 0.5 seconds in length.
- File inaccessible: issue accessing file in bucket.
If a video was processed and is deleted, it should disappear from your Asset Manager within 72 hours. If a deleted video persists for more than 72 hours, or if you have a video that is unexpectedly missing in the Asset Manager, please contact support with your video URL.
Asset Manager Settings
The Asset Manager Settings page allows users to edit their created categories and custom fields keys. Access this page by clicking on the link in the Account Settings page or by clicking on the gear icon in the upper right corner of the Asset Manager.

Editing a category or a custom field key will automatically update that category or custom field key for every image that is associated with that metadata. Deleting a category or custom field key will remove that metadata from every image with which it is currently associated. Note: Deleting a category or a custom field key is not reversible, so proceed with caution.