How Assets Are Added to the Asset Manager
The Asset Manager shows all assets that exist in your Origin.
After you configure a Source to fetch assets from a compatible Origin, the system automatically indexes assets you request through the Rendering API. The Asset Manager then displays these assets.
Assets appear in Asset Manager a few minutes after you request them.
By default, Imgix indexes up to 50,000 assets per month. To index more, contact support or use the add endpoint to index assets manually.
In addition to automatic indexing, you can use several other methods to make your Origin assets available in Asset Manager. The sections below outline these additional ways.
Uploading Via the Asset Manager UI
Note: Uploading to Asset Manager will also upload directly to your cloud storage bucket.
-
Navigate to the Imgix Dashboard.
-
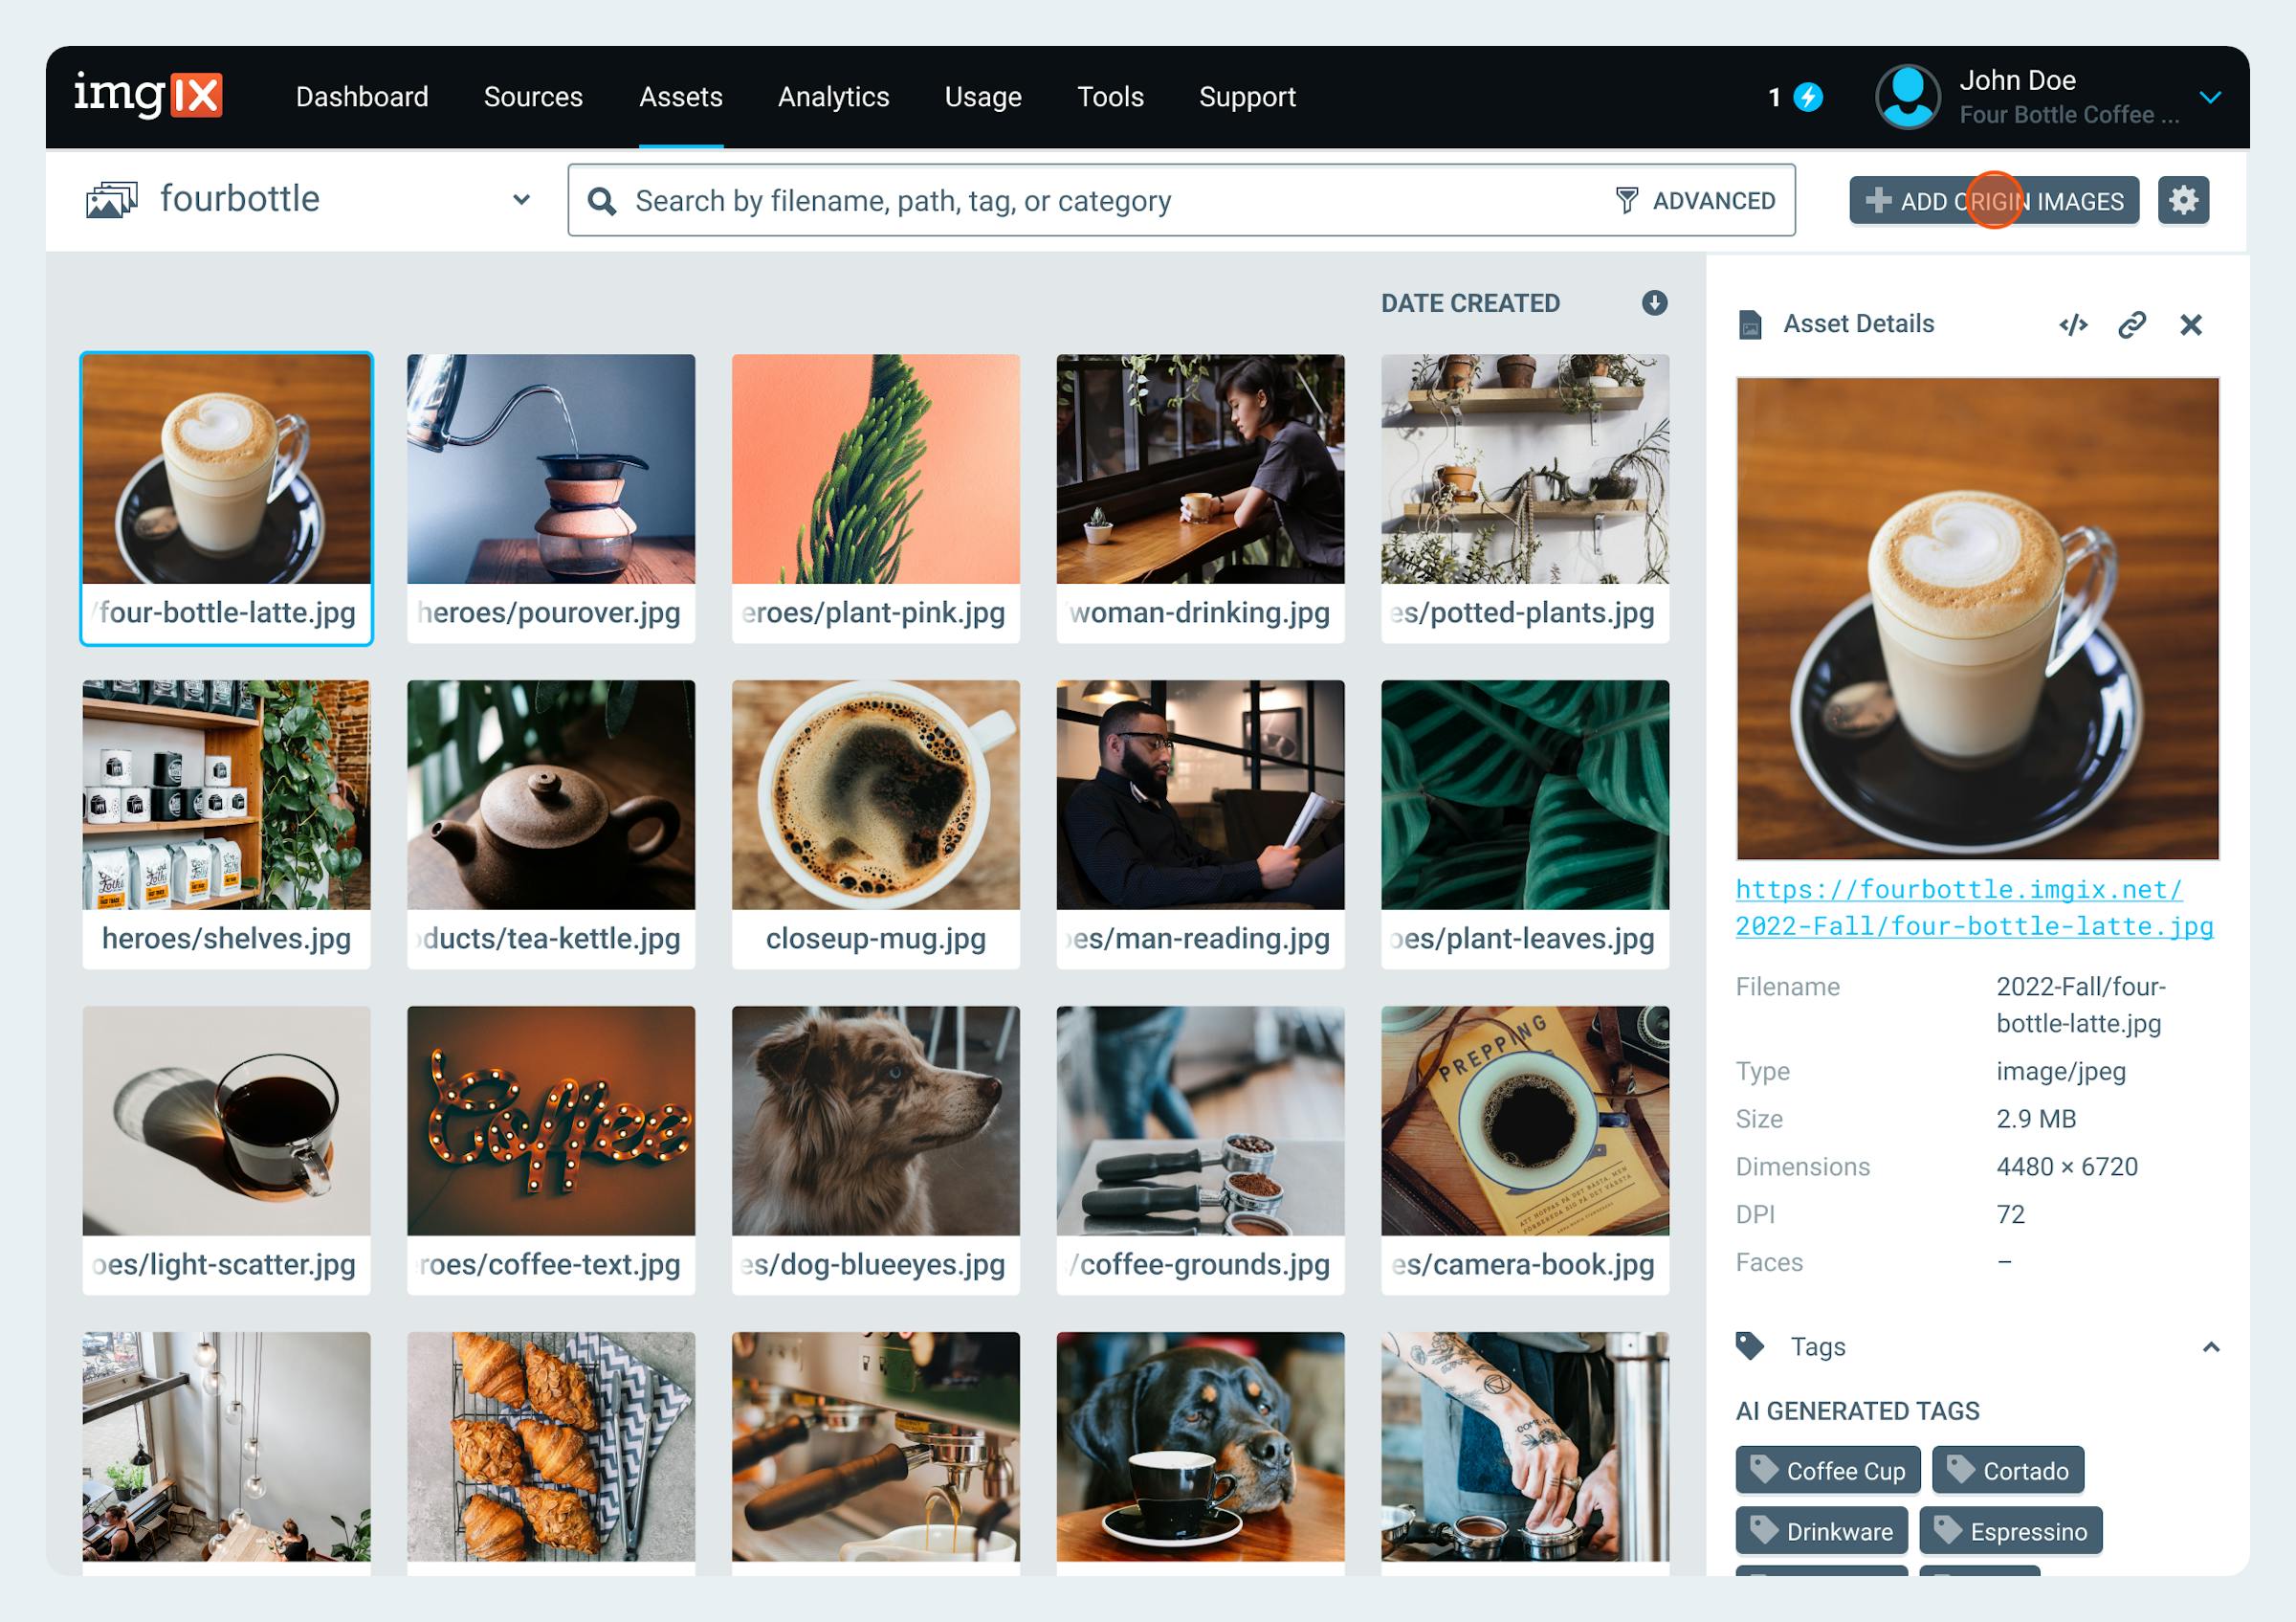
Click the Assets button.
-
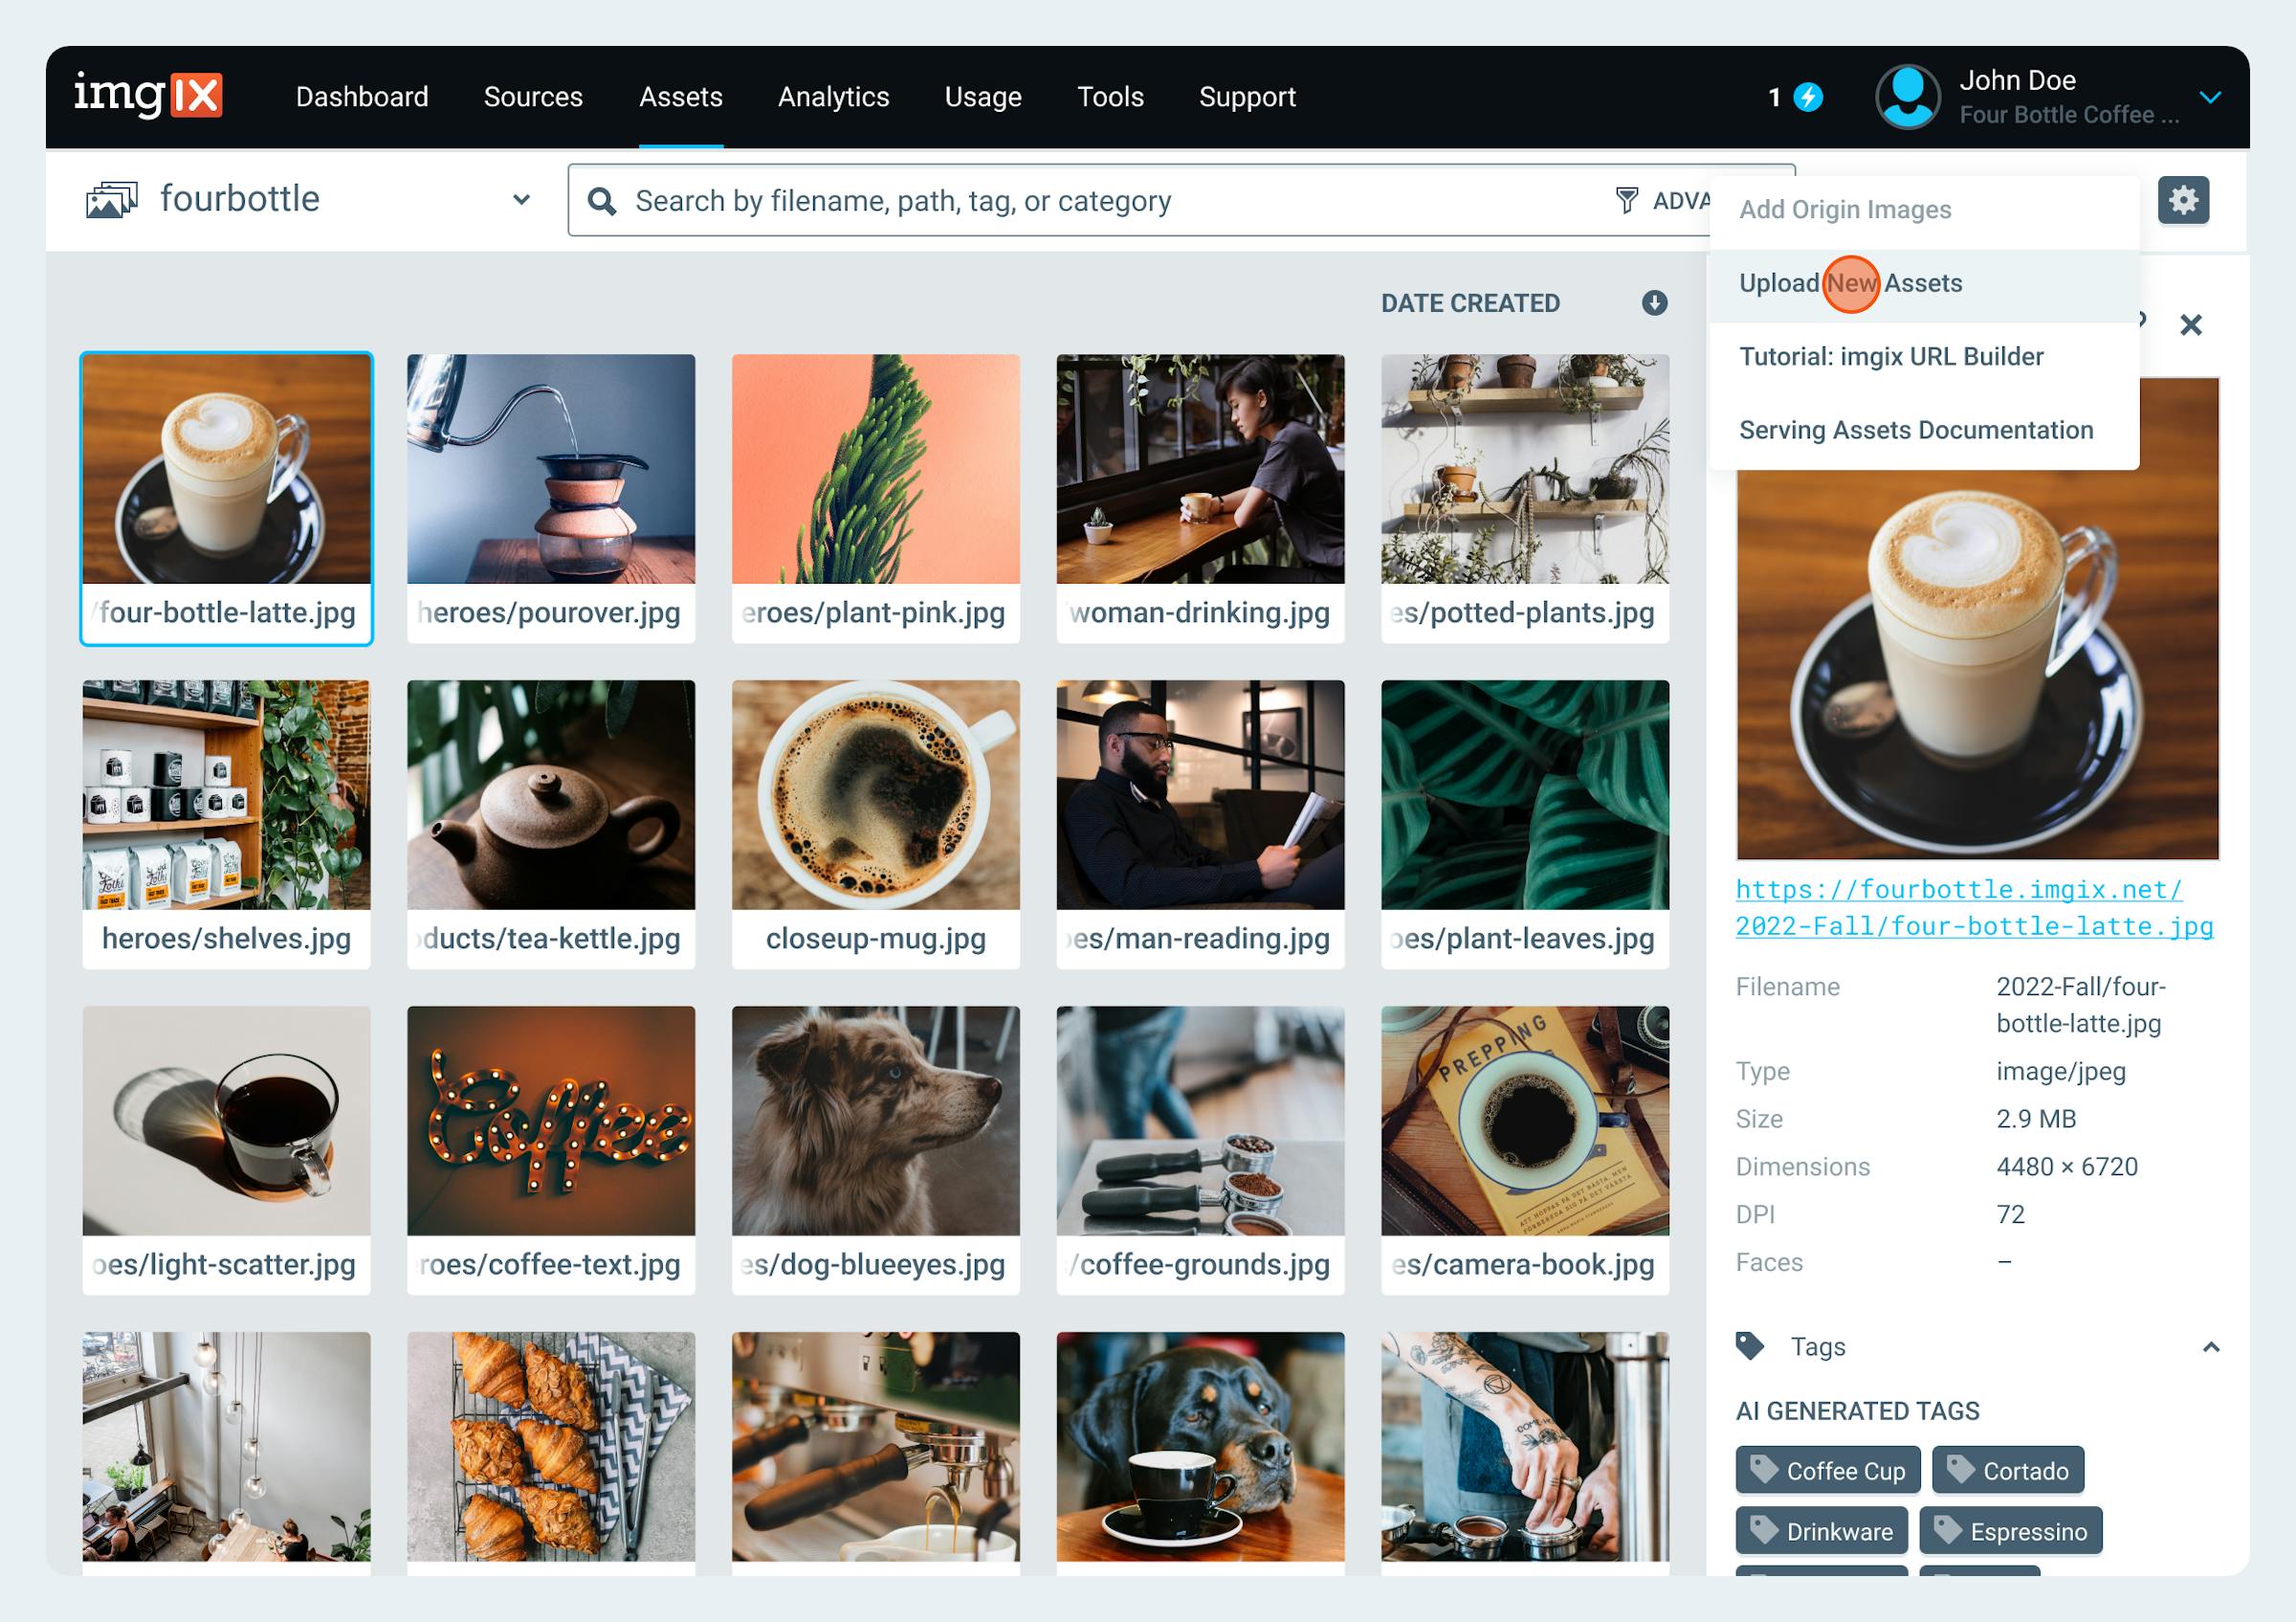
Click the Add Origin Images button.
-
Click the Upload New Assets option.
-
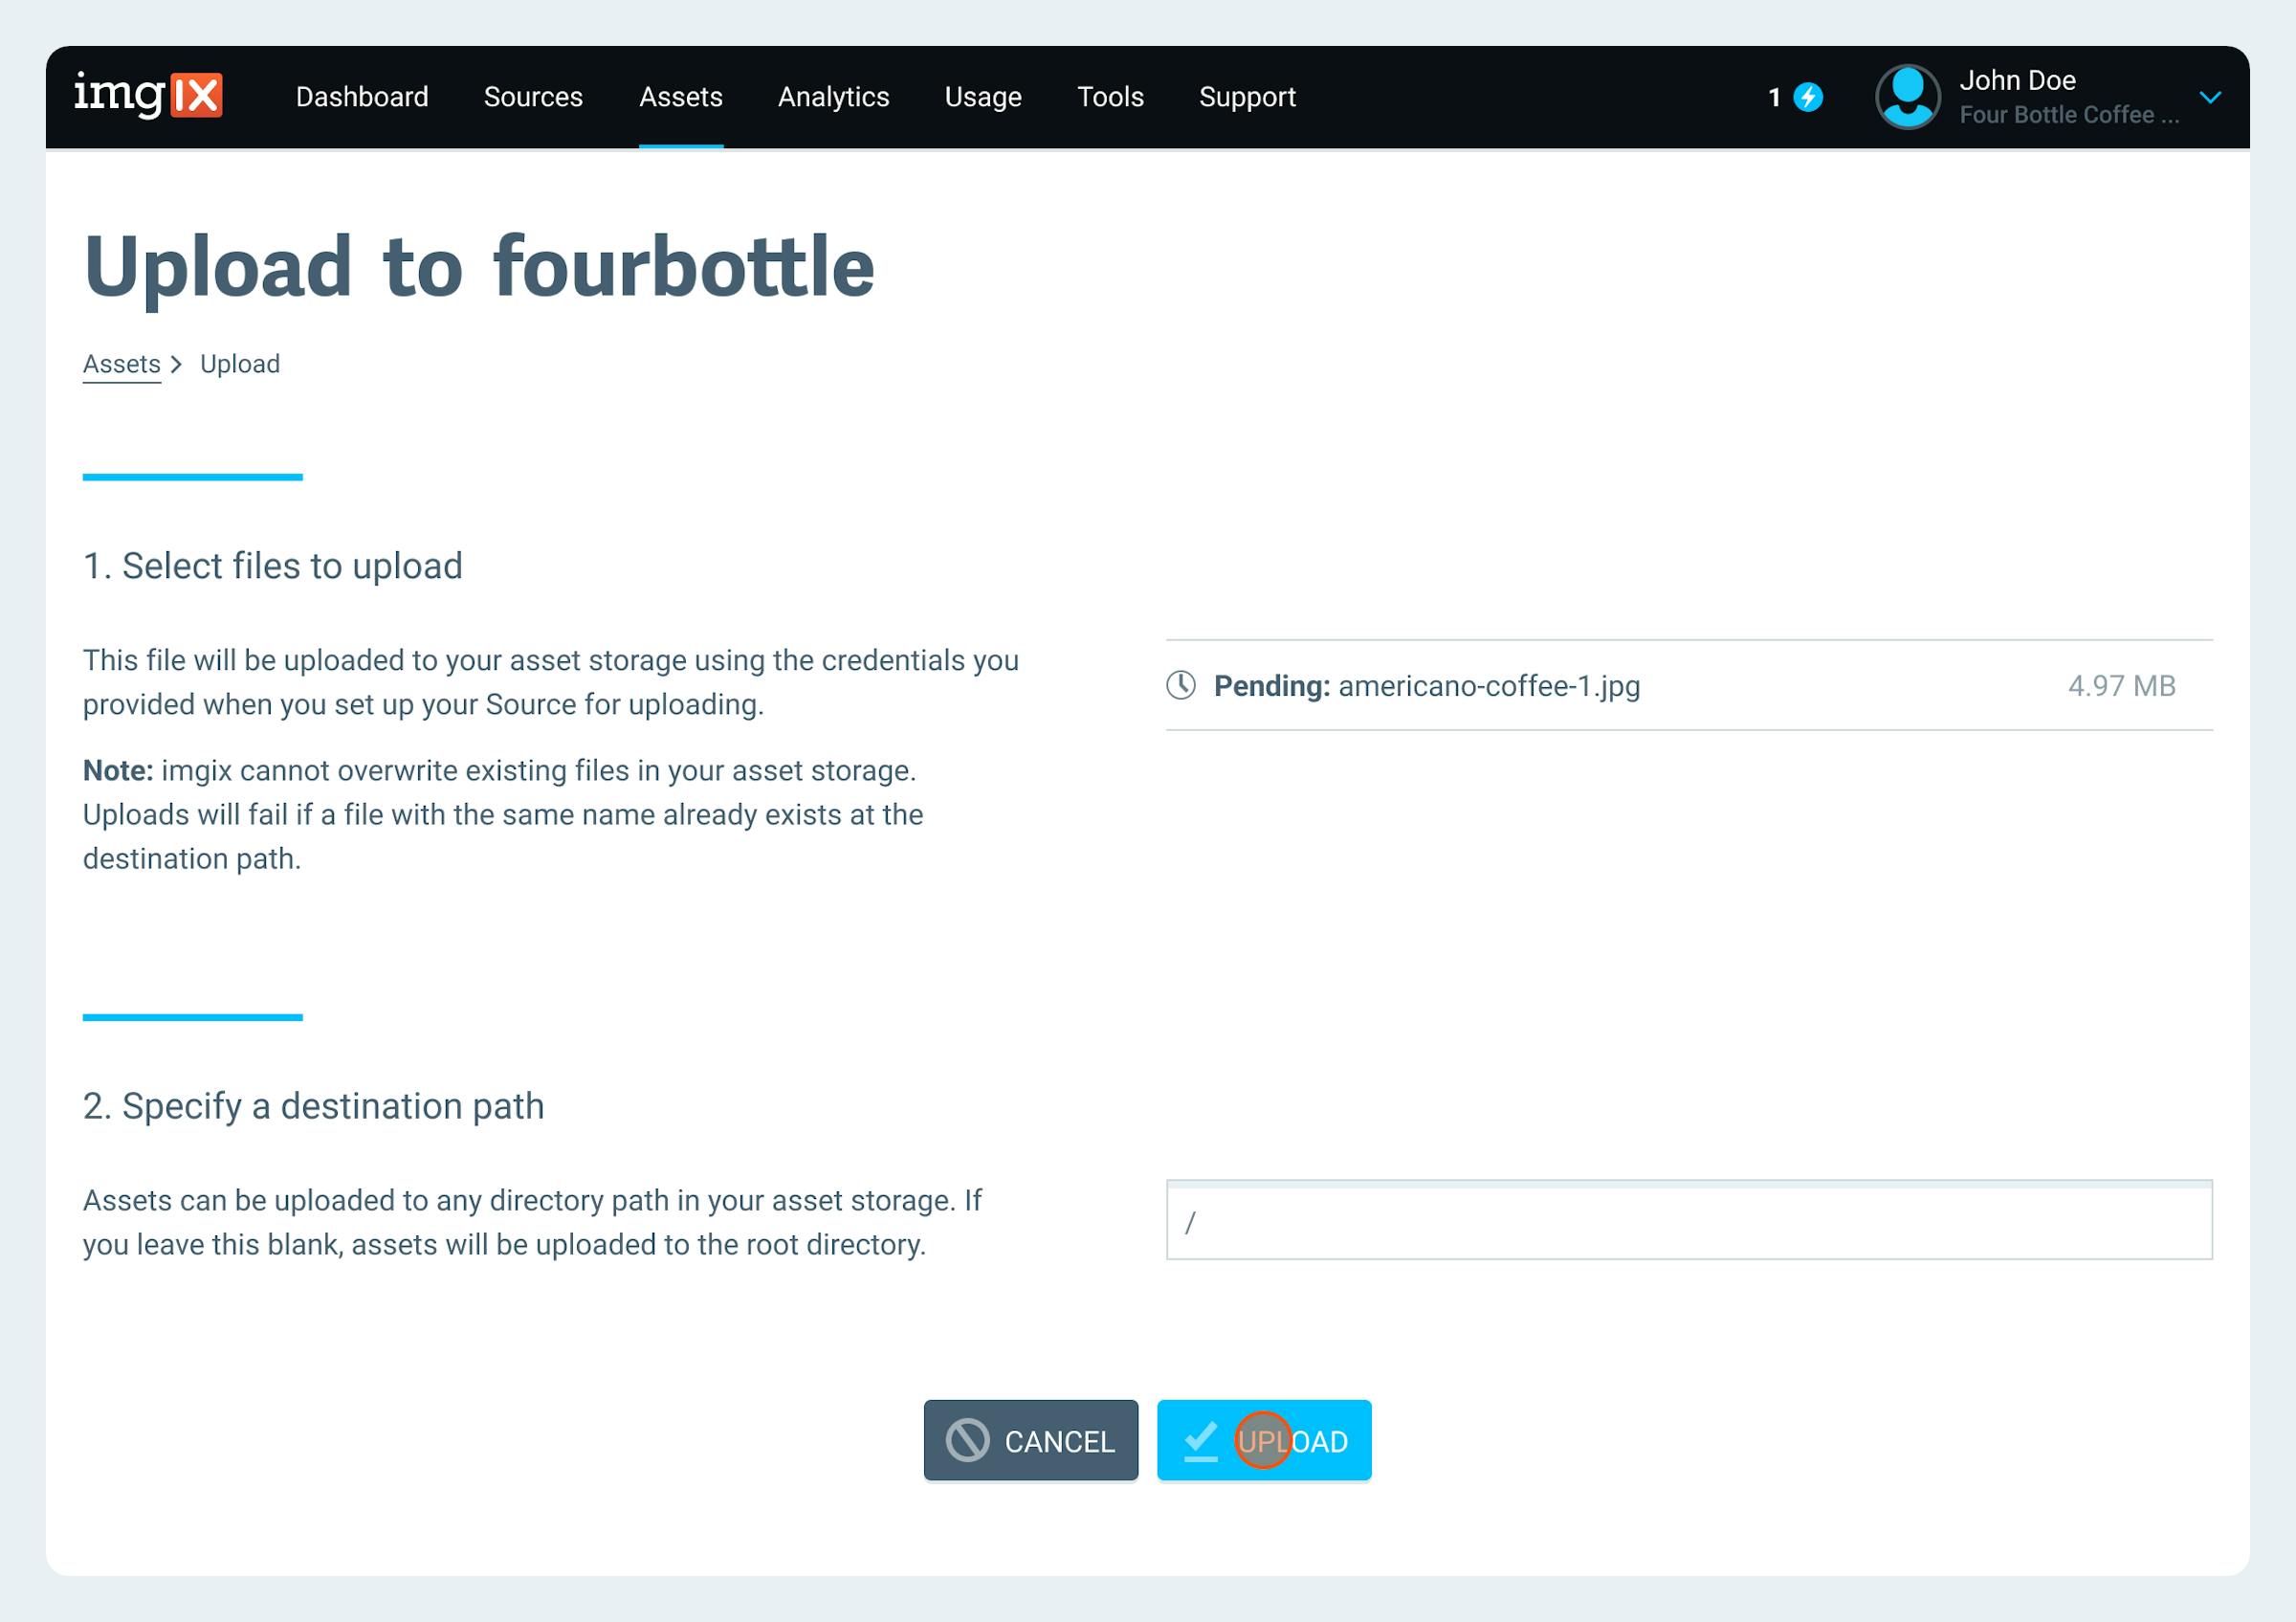
Choose the asset you would like to upload.
-
Click the Upload button.
Uploading via the Management API
Alternatively, you can upload assets programmatically to a supported cloud storage Source using the Management API’s uploading endpoint. This directly uploads assets to the bucket connected to your Source and updates Asset Manager.
Note: The Asset Manager does not support uploading to Web Folder and Web Proxy Sources.
To get started with uploading via the API, ensure that you configure your upload credentials.
After configuration, upload assets under 30MB with a POST request to api/v1/sources/:source_id/upload/:origin_path. Place the raw binary data in the request body. For more details, see here.
Uploading with Upload Sessions
The Upload Sessions workflow lets you upload large assets, like videos, that exceed the typical 50MB limit. This process involves multiple sequential steps to ensure successful uploads for bigger files.
The Upload Session Flow:
- Create an upload session. One session should be created per uploaded file. The session and presigned URL will stay open for 8 hours.
- Use the session’s presigned URL to perform an HTTP PUT to upload the file.
- Close the session when the upload is complete. Closing the session is not required, but it will expedite asset processing and is strongly recommended. Unclosed sessions will close after 8 hours.
- Check upload status to follow processing states. See below for valid upload session states.
Adding assets using the Add endpoint
Use the add endpoint to queue an Origin asset path for Asset Manager. It does not upload the asset to your Origin, but tells Asset Manager to fetch the asset.
For an asset to be added successfully, the asset must exist at the specified asset path. The Origin must return a 200 response for that path. The Source must have sufficient read permissions.
Use the add endpoint if you need assets in Asset Manager before requesting them via the Rendering API.
To add an asset, issue a POST request to sources/:source_id/assets/add/:origin-path with an empty POST body.
Here’s an example:
# Request
POST api/v1/sources/5ae507164b595f0001e048bc/assets/add/marketing/logo.png
{}
Also see this related article: Automatically adding an Asset using AWS Lambda
Using Asset Refresh
When you change assets at the Origin, Asset Manager refreshes them every 24–48 hours by default. This keeps files up to date with your Origin.
Use the refresh endpoint to update an asset in Asset Manager without waiting for the automated process.
Making a request to refresh the asset will:
- Refetch the asset from the Origin.
- Reprocess the asset if the ETag has changed since the last time the asset was processed.
- If the asset has never been pulled into the Asset Manager, the refresh endpoint will pull the asset into the Asset Manager.
- Purge the asset from all Imgix caches. You may still have to refresh your browser to see any updated assets.
To refresh an asset, issue a POST request to sources/:source_id/assets/refresh/:origin-path with an empty POST body.
Here’s an example:
# Request
POST api/v1/sources/5ae507164b595f0001e048bc/assets/refresh/marketing/logo.png
{}