Dynamic Masking
Masking gives you the ability to have seamless edges and creative layering by defining the visible and non-visible areas of images.
Imgix’s mask parameter can accept one of two values: ellipse or an image URL. Additionally, when processed as a PNG file using fm=png, masked areas will be transparent.
mask=ellipse
mask=https:// yourdomain.com/maskexample.jpg
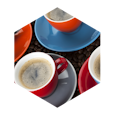
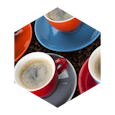
Ellipse Masks
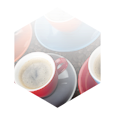
Appending mask=ellipse to your Imgix image will stretch-fit an ellipse mask to the bounds of the image. To border the image with a perfect circle, the image must first be cropped to a square and set with the same width and height. The following ellipse mask examples are applied to a square crop and tall crop of the same image.
Hover to see each image’s parameters below. Click to view in a new tab and review the exact URL string in the browser.
espresso.jpg?fm=png&mask=ellipse


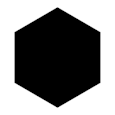
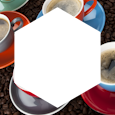
Image Masks
When you set an image URL as the value for the mask parameter, Imgix will use the luminance values (brightness) of the image as well as any existing transparency data to define the visible and hidden pixels. Similar to the ellipse, image masks will stretch to fill the space of the image being masked.
White areas denote what is visible, while black areas will be hidden. Full 24 bit-transparency is supported, meaning that values of grey translated from the mask will be semi-transparent. When using a full-color image as a mask, the luminance value in each pixel will determine transparency.
Hover to see each image’s parameters below. Click to view in a new tab and review the exact URL string in the browser.
espresso.jpg?fm=png&mask=https://assets.imgix.com/mask1.png